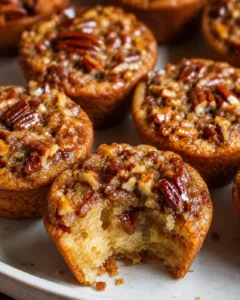
Pumpkin Dump Cake

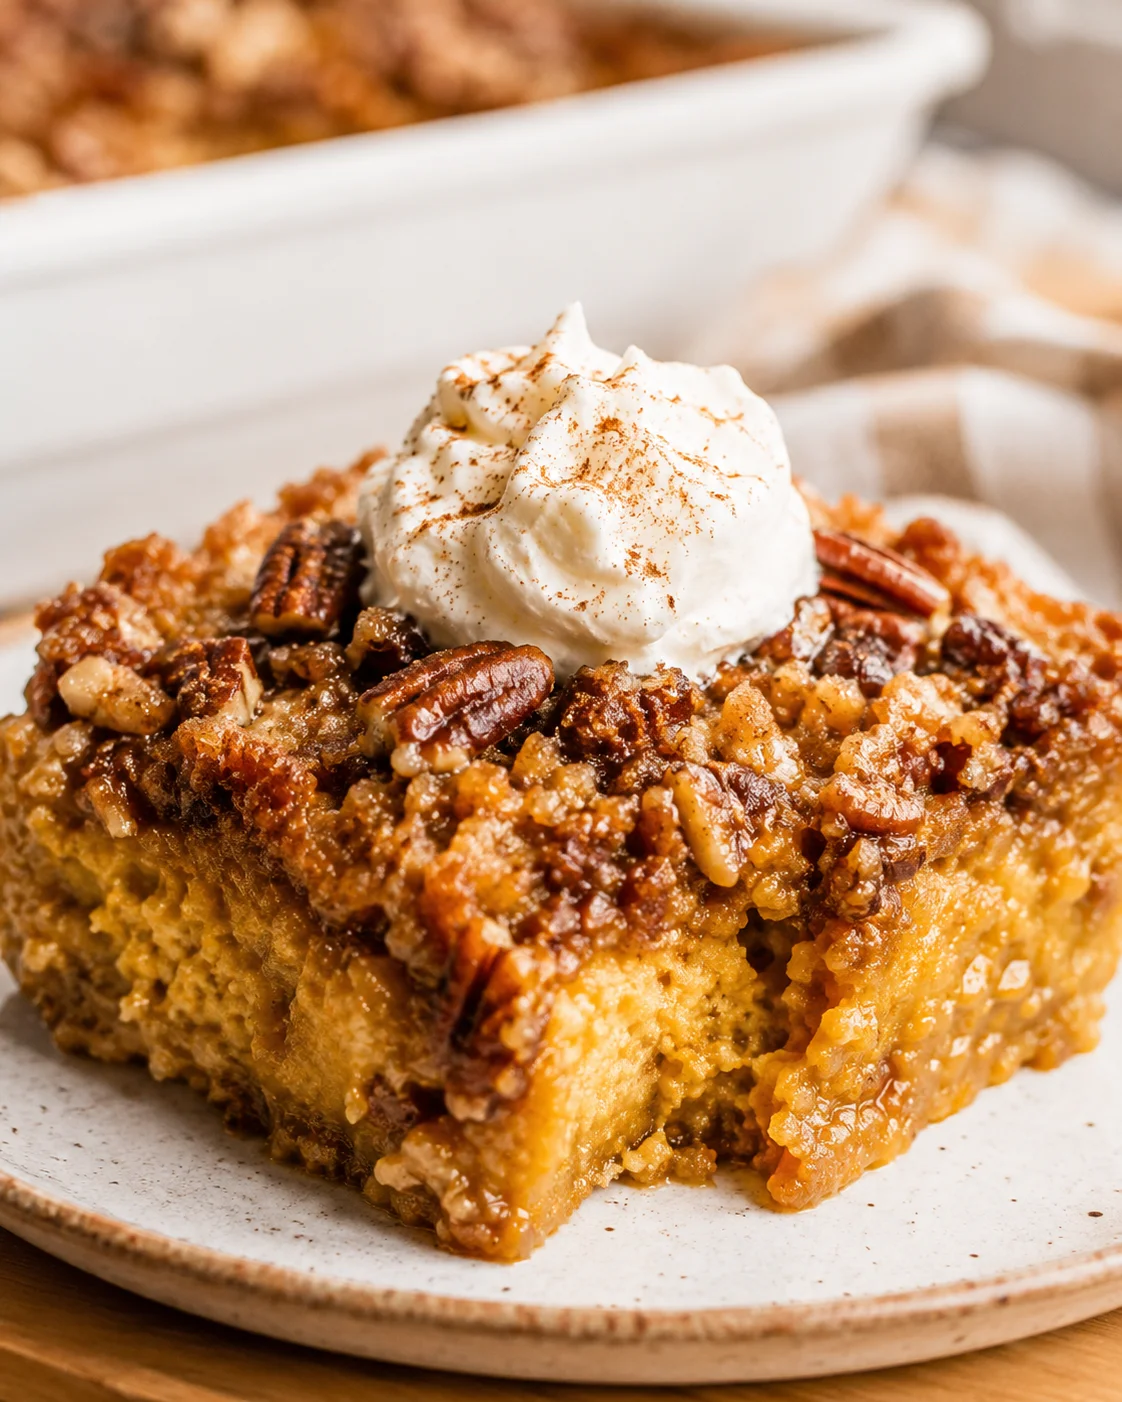
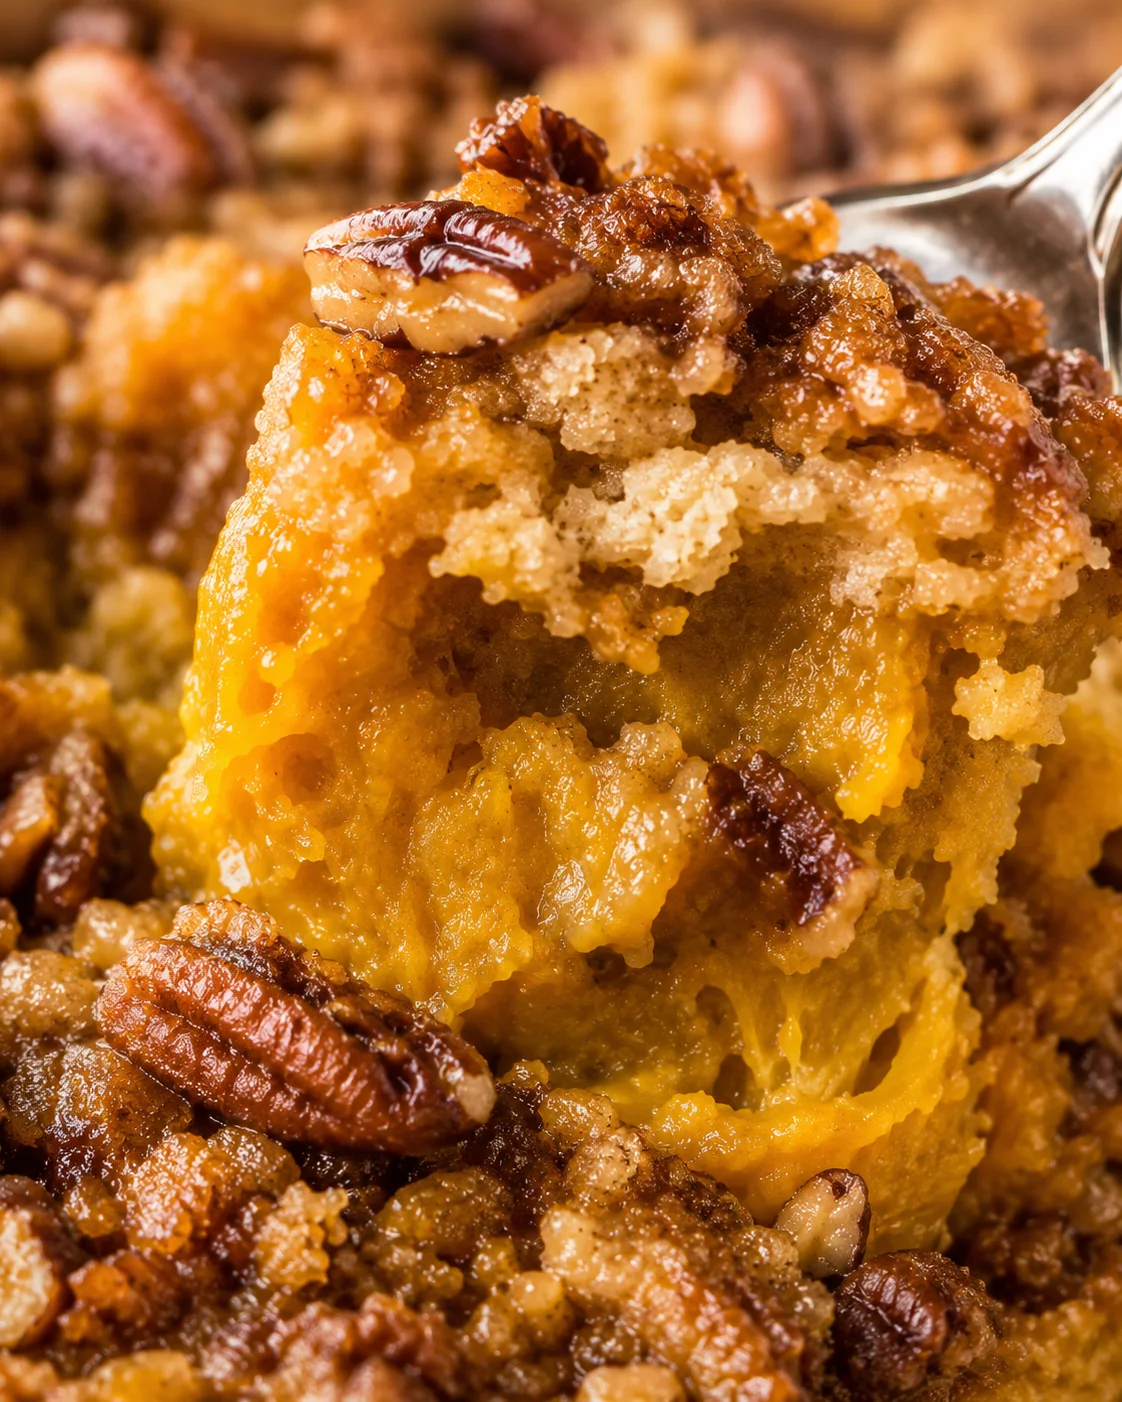
This easy pumpkin dump cake recipe is the ultimate no-fuss fall dessert. You literally just mix the pumpkin filling, dump it in a pan, top it with cake mix, and bake. The pumpkin layer is smooth and creamy—just like pumpkin pie—while the buttery pecan crumb topping delivers the perfect crunch every time.
Wondering what a dump cake really is? It’s one of those magical kitchen shortcuts that makes baking a breeze. Especially in fall, I love working with pumpkin for that cozy flavor. This pumpkin dump cake couldn’t be simpler—you just stir the filling, pour it into your pan, cover it with a boxed cake mix, drizzle melted butter, and bake.
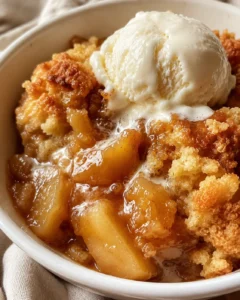
If you’re like me, you need stress-free recipes that don’t take forever. Life gets hectic, especially around the holidays! This pumpkin dump cake fits that need perfectly. Serve it just as it is, or sprinkle on a little whipped cream or add a scoop of vanilla ice cream to take it over the top for a heartwarming fall dessert everyone will love.
What Makes It So Good
- Simple fall dessert: With just a few steps, you mix, dump, and bake your way to a tasty treat. No complicated baking skills required. For another quick fall bake, try chewy pumpkin cookies.
- Fall flavor party: The pumpkin puree along with pumpkin pie spice and cinnamon fills every bite with warm, homey flavors.
- Great for gatherings: This dessert travels well and can be served warm, room temperature, or even chilled, making it ideal for potlucks and family parties.
If you crave cozy, homemade-tasting fall desserts that don’t need hours in the kitchen, this pumpkin dump cake is your new go-to. Here’s what makes it so special and easy to fall in love with again and again:
- Lightning-fast prep: You’ll have this layered dessert ready to bake in about 5 minutes flat. Mix the pumpkin filling, dump it in, sprinkle the cake mix, drizzle the butter, and pop it in the oven. So easy!
- Beginner-friendly with pantry staples: All you need is canned pumpkin, a boxed cake mix, butter, eggs, and a few simple spices. No fancy ingredients or baking degrees required.
- Perfect autumn texture and taste: The pumpkin layer bakes up creamy and moist thanks to evaporated milk and eggs, while the cake mix plus melted butter form a golden, crunchy crust with a little nutty kick.
- Customizable for your flavor faves: Switch up the cake mix flavor, throw in chocolate chips or dried fruit, add shredded coconut, or finish with caramel sauce to keep this pumpkin dump cake fresh each time you make it. Or lean into crunch with a Pumpkin Pecan Dump Cake variation.
- Party-ready and portable: Baked in a 9×13 standard pan, it easily feeds a crowd. You can even bake individual portions in ramekins or muffins for quick bites or fun presentations.
- Great ahead and freezer friendly: You can assemble it ahead or bake then refrigerate for a few days. This dessert also freezes beautifully for up to 2 months — perfect for prepping for fall celebrations.
- Easy serving with a little flair: Just scoop from the pan and serve as-is, or top with a spoonful of whipped cream or a scoop of vanilla ice cream for a show-stopping fall treat.
Ingredients and Pantry Staples
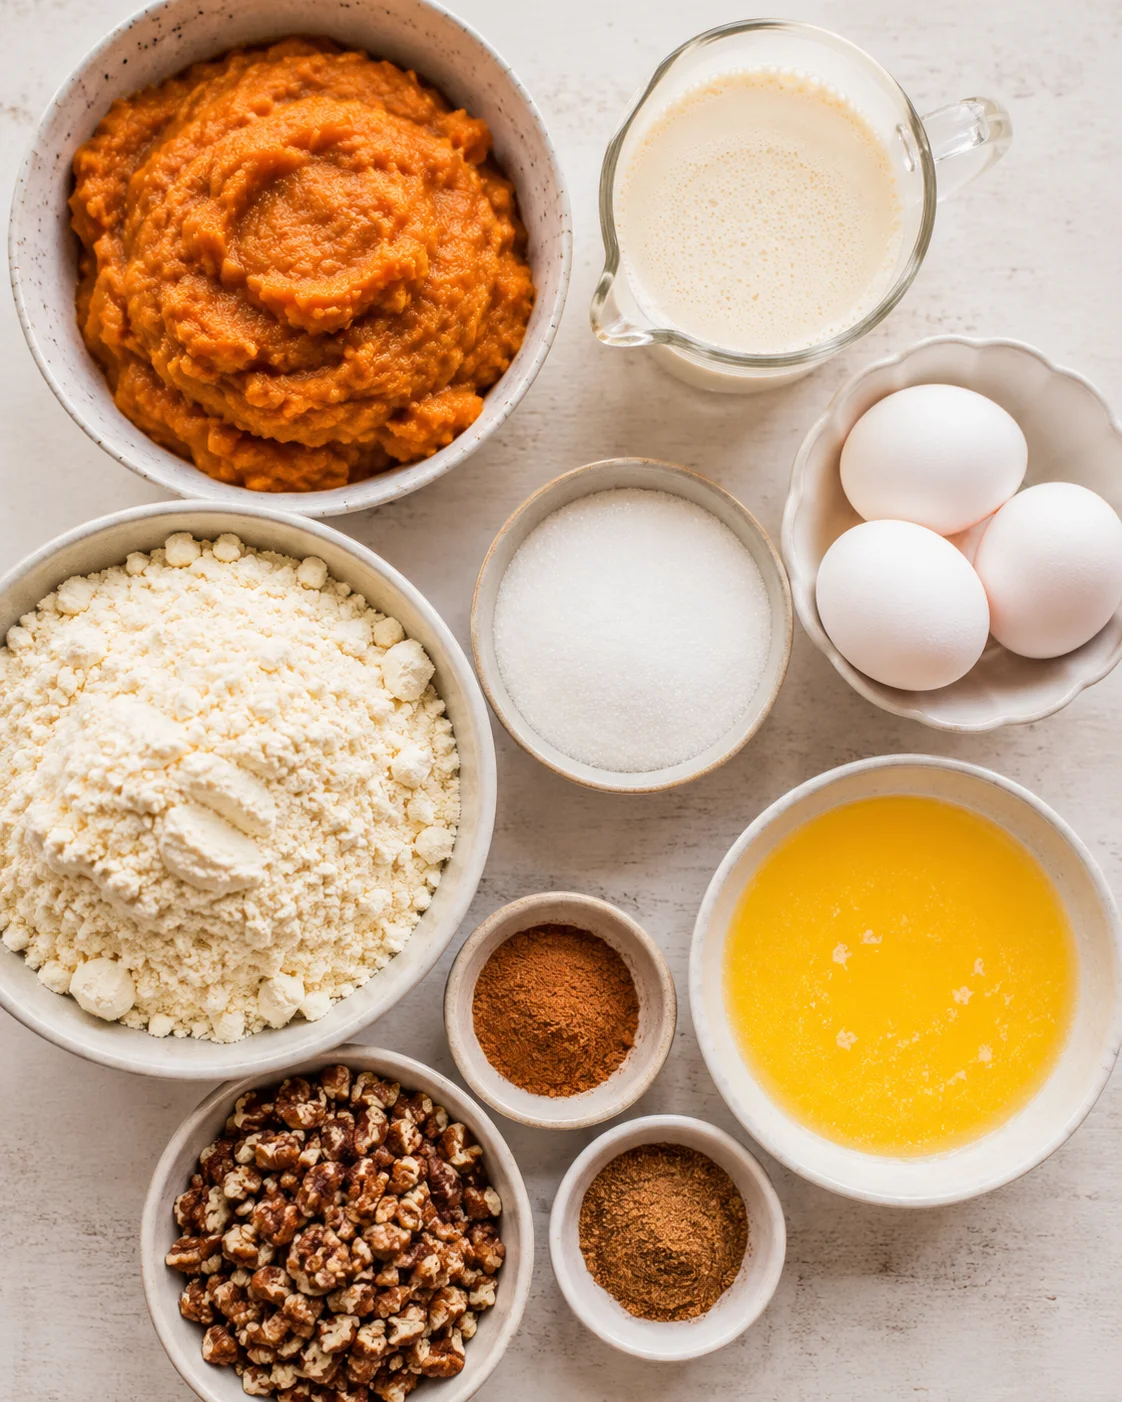
- Canned pumpkin puree — make sure it’s just pumpkin, not pumpkin pie filling.
- Evaporated milk
- Eggs
- Sugar (regular white granulated sugar)
- Cinnamon
- Pumpkin pie spice
- Yellow cake mix (dry boxed yellow cake mix)
- Butter (cut into slices so you can melt and drizzle it over the cake mix topping)
- Chopped pecans or walnuts
How to Make the Cake
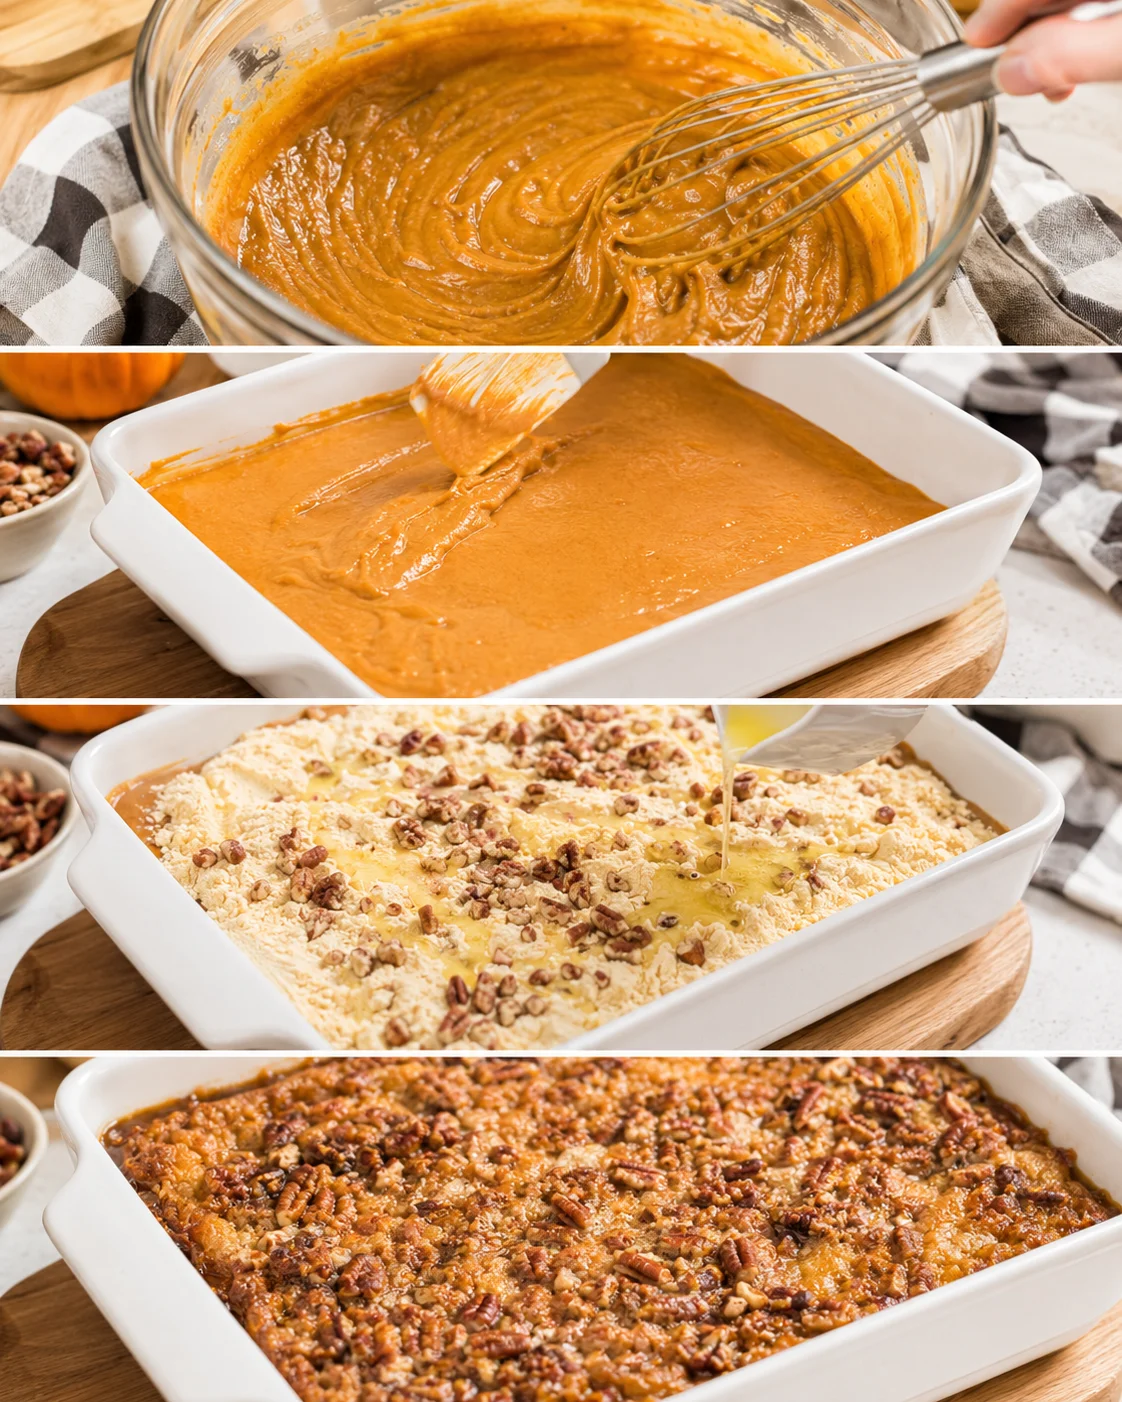
- Preheat oven to 350°F and generously spray a 9×13-inch baking dish.
- In a medium bowl whisk together canned pumpkin puree, evaporated milk, eggs, sugar, cinnamon, and pumpkin pie spice until smooth.
- Pour the pumpkin filling evenly into the prepared baking dish.
- Sprinkle the dry yellow cake mix evenly over the pumpkin layer, covering it uniformly.
- Melt butter and drizzle it slowly and evenly over the cake mix topping.
- Sprinkle chopped pecans or walnuts evenly over the top.
-
Bake for about 1 hour, until the top is golden and the filling is set.
- If the edges brown too quickly, loosely cover the pan with foil for the last 10–15 minutes of baking.
- Let the cake rest 10–15 minutes before slicing and serving.
Helpful Tips for Best Results
Even with a simple dump cake, a few little tips help you get the best results every single time. Here’s what I suggest:
- Always use canned pumpkin puree—not pumpkin pie filling (see a classic pumpkin pie recipe to understand the difference). The puree is pure pumpkin and gives the right texture and flavor without extra sweetness; if you prefer to make your own, start with easy roasted pumpkin.
- When pouring the dry cake mix over the pumpkin, try to distribute it evenly. Shake the pan a bit or gently spread with a spoon if needed so the topping bakes with an even golden crust.
- Pour melted butter slowly and evenly over the cake mix. This trick is what creates that beautiful, crispy, buttery topping instead of dry patches.
- If you notice the edges brown too quickly in your oven, cover loosely with foil for the last 10 to 15 minutes of baking to prevent burning.
- Want to mix up flavors? Add 1 teaspoon vanilla extract to your pumpkin filling for extra depth or fold in chocolate chips, shredded coconut, or dried fruit before adding the topping.
- Once out of the oven, let your pumpkin dump cake rest at room temperature for 10 to 15 minutes. This helps the pumpkin layer set so it slices more neatly and is easier to serve.
- For smaller portions or faster baking, assemble the cake in individual ramekins or muffin tins. Just watch them closely and reduce baking time; they’ll be done when the centers are set.
Flavor Swaps and Add-Ins
- Switch up your cake mix: This recipe uses yellow cake mix, but you can totally try white cake, butter pecan, or spice cake mixes to change up the topping flavor.
- Vanilla extract: Stir a teaspoon into the pumpkin filling to add a subtle vanilla warmth.
- Shredded coconut: Sprinkle on the cake mix topping before drizzling with butter to add a chewy, sweet crunch.
- Dried fruit: Toss in raisins, dried cranberries, or chopped dried apricots to the pumpkin filling for extra chewy bursts of sweetness.
- Spiced whipped cream: Give your whipped cream a kick by whisking in a pinch of cinnamon and nutmeg before serving.
- Chocolate chips: Pumpkin and chocolate are a match made in heaven—see our Chocolate Pumpkin Cheesecake Cake for another decadent take. Sprinkle chips over the cake mix before the butter.
- Drizzle toppings: After baking, try drizzling caramel or butterscotch sauce on top of the pumpkin dump cake for an extra layer of indulgence.
Storing, Reheating, and Make-Ahead
Here’s how to store, reheat, and prepare this pumpkin dump cake ahead of time so it fits your busy schedule:
- Refrigerate: Once cooled to room temp, cover the pan tightly with plastic wrap or foil and store in the fridge for 3 to 4 days. Add whipped cream or ice cream only right before serving.
- Reheat: Warm individual slices in the microwave for 20–45 seconds depending on your power setting. For oven reheating, cover the cake with foil and heat at 325–350°F for 8–15 minutes until warmed through.
- Freeze: Cool completely and wrap tightly with plastic wrap followed by foil. Freeze for up to 2 months. Thaw overnight in the fridge and reheat before serving.
- Make ahead: You can assemble the pumpkin dump cake unbaked and keep it in the fridge, covered, for up to 24 hours before baking. Just let it sit at room temp for a bit before baking and add a few extra minutes to the bake time if needed. Or bake ahead and reheat when you’re ready to serve.
Common Questions Answered
If you want cute, individual servings, try using ramekins or even muffin tins instead of a big 9×13 pan—or make no-bake mini pumpkin pie cheesecakes for easy, pre-portioned desserts.
You might be tempted to use fresh pumpkin, but canned pumpkin puree is a lifesaver here. It’s pure pumpkin with no added sugars or spices, giving you consistent results every time—plus, it’s way easier to work with than fresh pumpkin. For a step-by-step version that uses canned pumpkin, see our Easy Pumpkin Dump Cake Recipe.
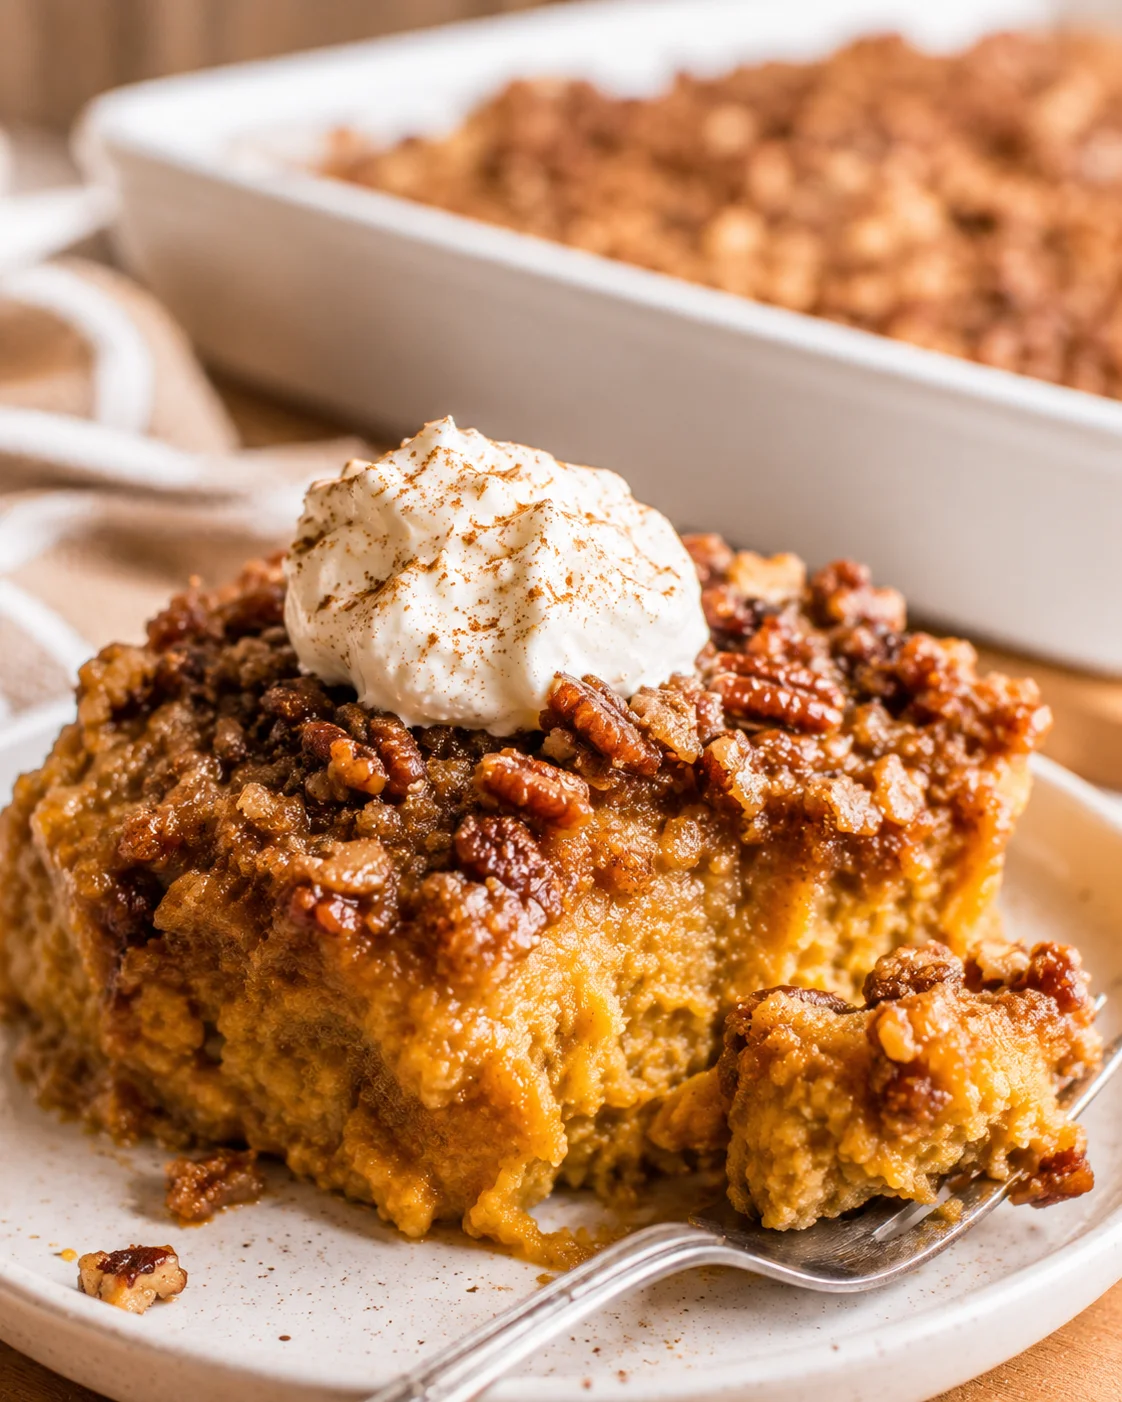
A simple and delicious fall dessert with a creamy pumpkin filling topped with a buttery cake mix crumb and pecans, baked to golden perfection.
- Prep Time: 5 minutes
- Cook Time: 1 hour
- Total Time: 1 hour 5 minutes
- Yield: 12 servings 1x
- Category: Dessert
Ingredients
- 1 can (15 oz) pumpkin puree (not pumpkin pie filling)
- 1 can (12 oz) evaporated milk
- 3 large eggs
- 1 cup granulated white sugar
- 1 teaspoon ground cinnamon
- 1 tablespoon pumpkin pie spice
- 1 box (15.25 oz) yellow cake mix (dry)
- 1/2 cup (1 stick) unsalted butter, melted and sliced
- 1/2 cup chopped pecans or walnuts
Instructions
- Preheat oven to 350°F (175°C) and generously spray a 9×13-inch baking dish.
- In a medium bowl, whisk together canned pumpkin puree, evaporated milk, eggs, sugar, cinnamon, and pumpkin pie spice until smooth.
- Pour the pumpkin filling evenly into the prepared baking dish.
- Sprinkle the dry yellow cake mix evenly over the pumpkin layer, covering it uniformly.
- Melt butter and drizzle it slowly and evenly over the cake mix topping.
- Sprinkle chopped pecans or walnuts evenly over the top.
- Bake for about 1 hour, until the top is golden and the filling is set.
- If the edges brown too quickly, loosely cover the pan with foil for the last 10–15 minutes of baking.
- Let the cake rest 10–15 minutes before slicing and serving.
Notes
Use canned pumpkin puree, not pumpkin pie filling, for best texture and flavor., Ensure the dry cake mix is evenly distributed for a golden crust., Drizzle melted butter slowly to create a crispy topping., Cover with foil if edges brown too quickly., Optional: Add 1 teaspoon vanilla extract to pumpkin filling for extra flavor., Optional add-ins: chocolate chips, shredded coconut, dried fruit., Serve with whipped cream or vanilla ice cream for extra indulgence., Can be baked in individual ramekins or muffin tins; adjust baking time accordingly., Refrigerate leftovers for up to 4 days, reheat before serving., Freeze for up to 2 months; thaw overnight in fridge before reheating.
Nutrition
- Serving Size: 1 slice
- Calories: Approx. 290 calories per serving
- Fat: Approx. 10 g per serving
- Carbohydrates: Approx. 45 g per serving
- Protein: Approx. 5 g per serving
More in Uncategorized
Amish Apple Fritter Bread Recipe
Caramel Apple Dump Cake
Behind The Scenes