Easy Plum Crumble Bars
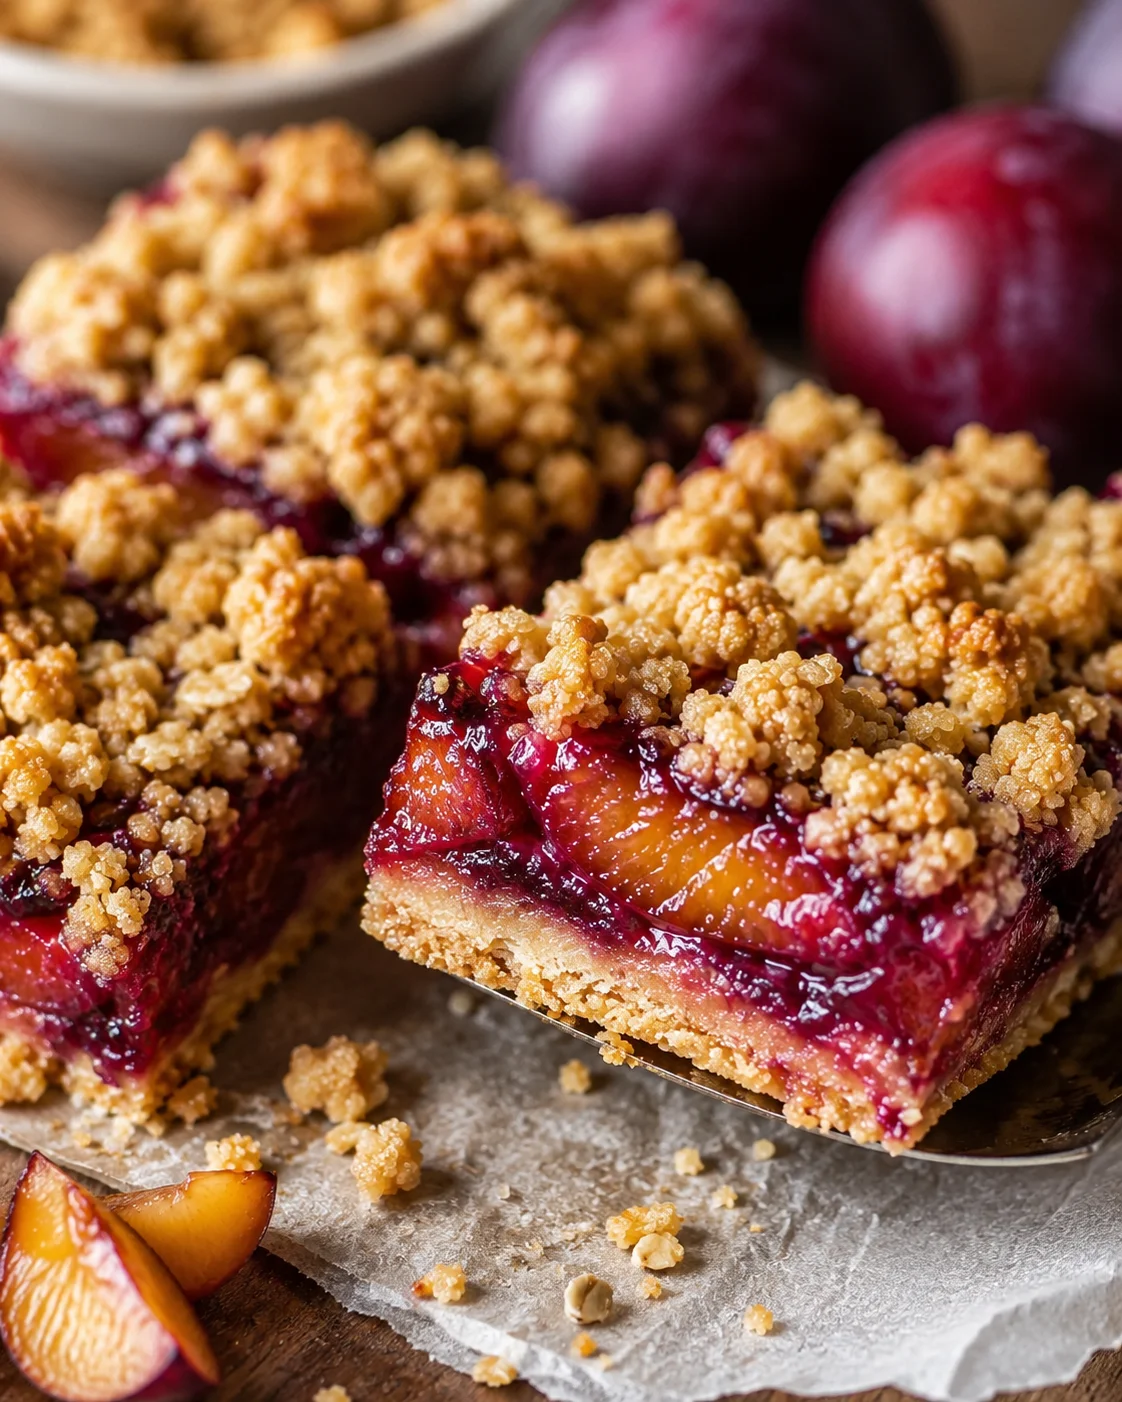
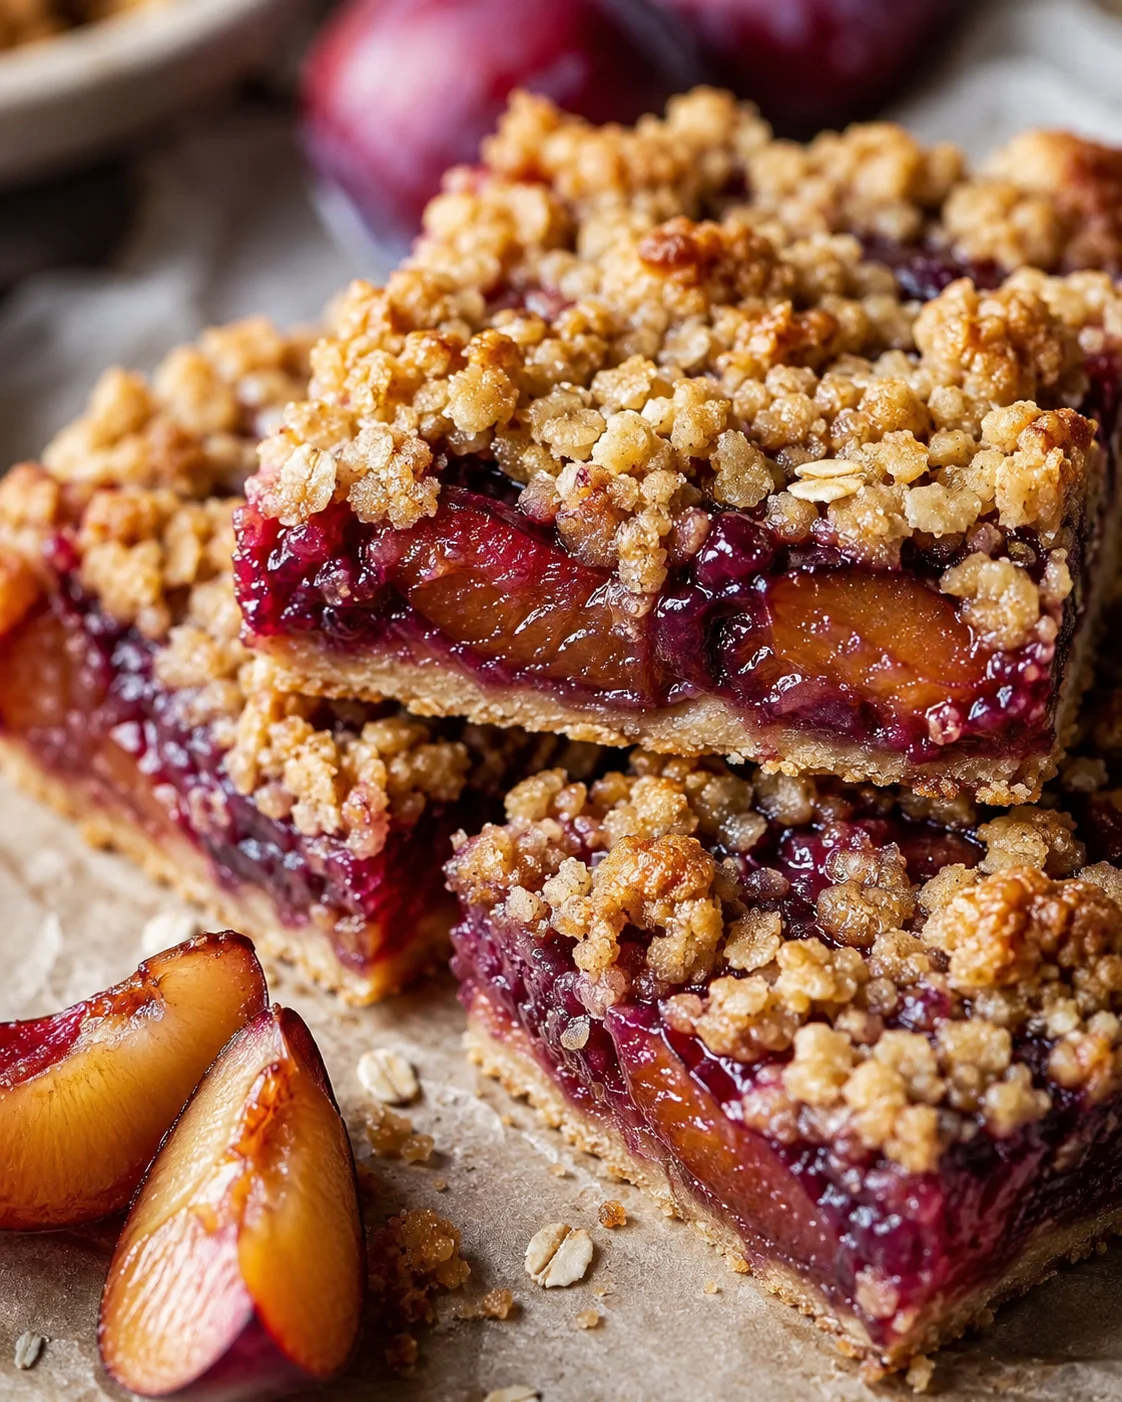
These plum crumble bars bring together sweet, spiced plums and a crunchy, buttery oat topping that’s downright irresistible. The juicy, slightly tart plums blend perfectly with the golden crumble, making this treat a winner for any time you want a cozy dessert.
These plum crumble bars combine tender, lightly spiced plums with a rich, buttery oat crumble to create a dessert that feels both comforting and just a little fancy. Picture juicy fruit bubbled into a jammy layer, all crowned with a golden, crisp topping. They’re great for fall baking, a sweet afternoon snack, or even that quick weeknight family treat you’ve been craving.
Right here, you’ll get everything you need to make plum crumble bars like a pro: a clear list of ingredients (check out the full recipe card down below), easy-to-follow steps to build the bars, and helpful tips I’ve gathered from years of cooking to really boost the flavor and texture. Plus, I’ll share smart swaps, storage advice, and answers to common questions so you can bake these bars with total confidence, no matter the occasion.
What Makes Them Irresistible
These plum crumble bars hit the perfect balance of juicy fruit and crunchy topping—similar to these Honey-Glazed Peach Crumble Bars—making every bite a delight. They’re simple to whip up, use wholesome ingredients, and aren’t fussy at all. Whether you’re baking for family or guests, these bars bring cozy, homey vibes and sweet satisfaction without a ton of work.
Essential Ingredients
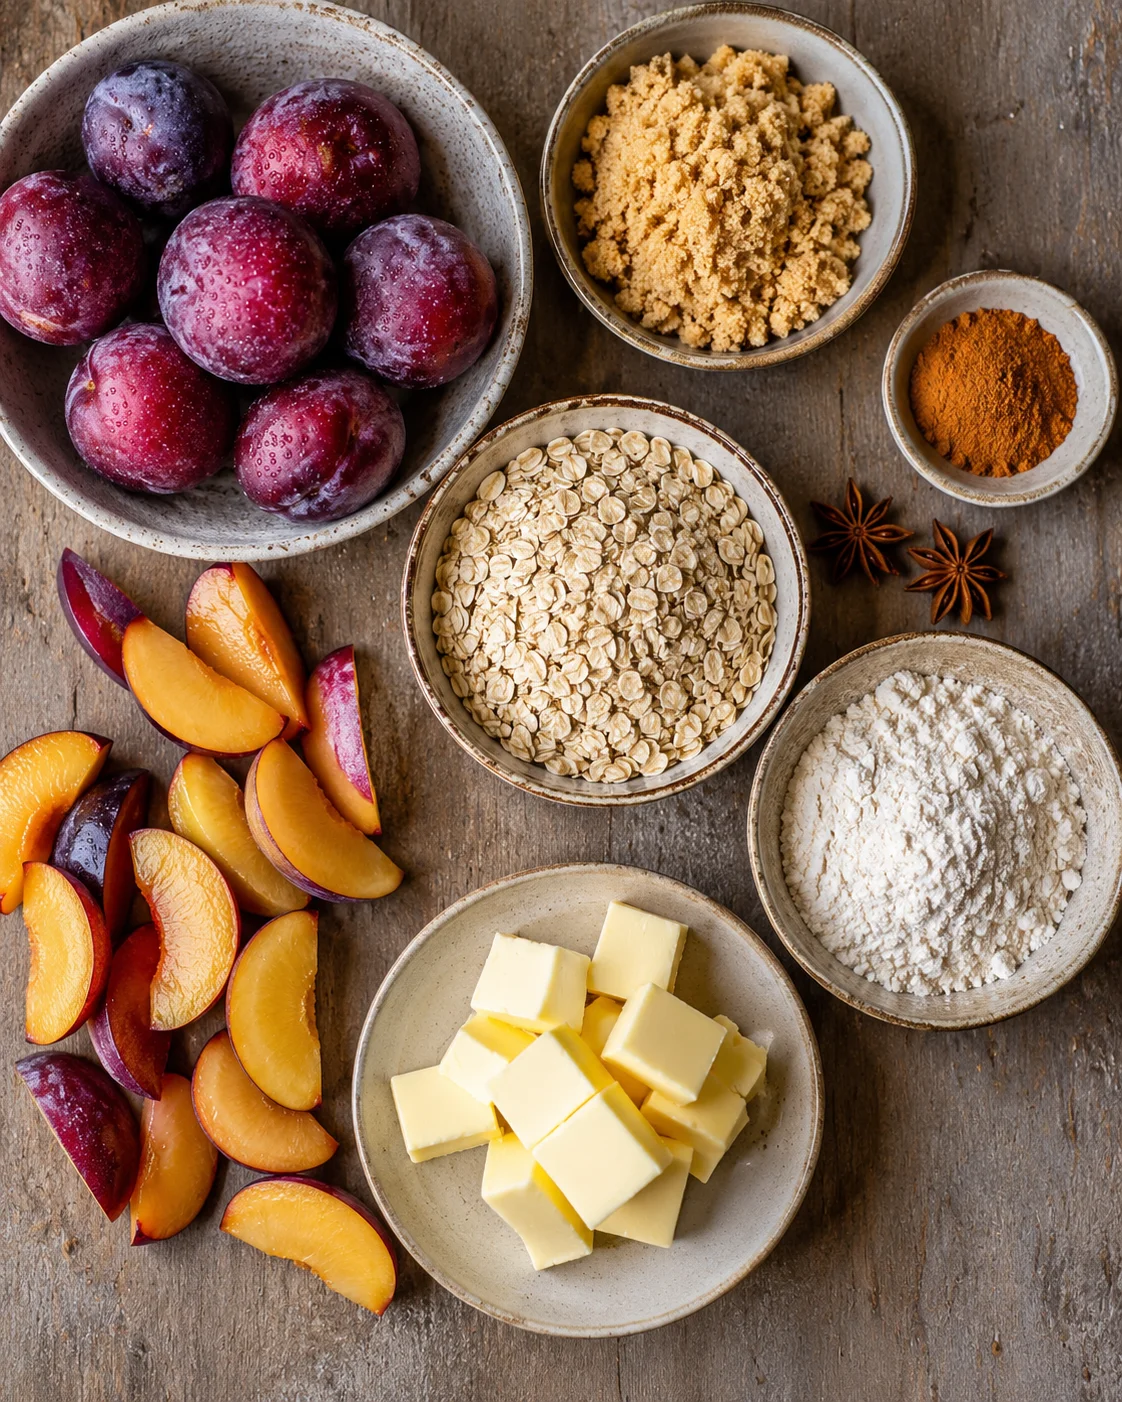
- Plums: Fresh, juicy plums — wash, pit, and chop
- Light Brown Sugar
- Ground Cinnamon
- Star Anise
- Jumbo Rolled Oats
- All-Purpose Flour
- Butter
Step-by-Step Baking Method
- Wash, pit, and chop the plums.
- If using frozen plums, thaw and drain them well.
- Combine chopped plums with light brown sugar, ground cinnamon, and a hint of star anise.
-
Simmer the plum mixture gently until thick and jammy.
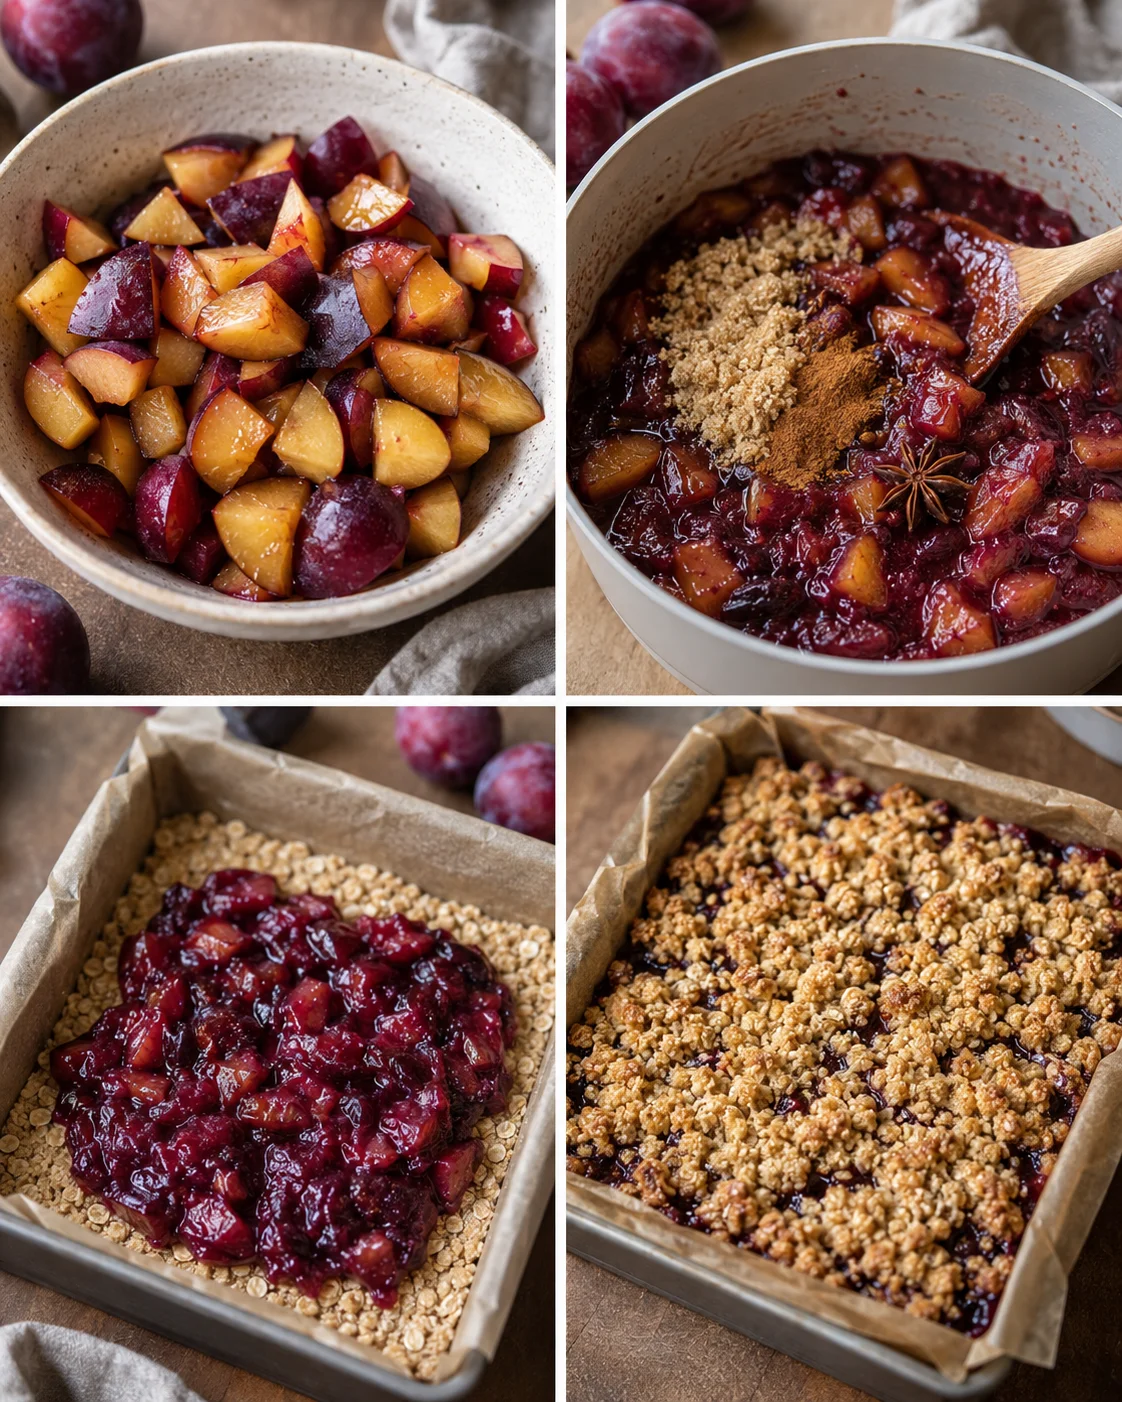
- Combine jumbo rolled oats, all-purpose flour, light brown sugar, and butter; mix until crumbly yet moist to make the crumble topping.
- Press half of the crumble mixture into the pan to form a sturdy base.
- Spread the spiced plum filling evenly over the crust.
- Sprinkle the remaining crumble mixture over the plum layer.
- Bake until the topping is golden and the filling is bubbly.
- Let the bars cool so they hold together well before cutting.
Pro Tips for Best Results
After years working in kitchens and learning the ropes at Cordon Bleu, I’ve picked up some game-changing tips to make your plum crumble bars absolutely shine.
- Boost the Flavor: Try roasting your plums with a drizzle of honey before adding them to the filling. It caramelizes the fruit a bit, adding a lovely depth of flavor.
- Crunch Factor: Stir in a handful of chopped nuts like almonds or pecans into your crumble topping (or try a brown butter crumble like in these blueberry cheesecake crumb bars with brown butter crumble). This adds a fantastic crunch and some extra nutty flavor that’s seriously delicious.
- Keep Bars from Getting Soggy: Make sure your plum filling is thick and jammy before layering it onto the crust—similar to how the fruit is cooked down in these strawberry rhubarb bars. A runny filling can make the bars too soft and tricky to cut.
Plum crumble bars shine all on their own, but a few simple touches can take them to the next level. For a cozy dessert, serve the bars warm with a scoop of vanilla ice cream or a dollop of whipped cream. They also pair beautifully with a cup of hot tea or coffee for an afternoon pick-me-up.
Feeling fancy? Drizzle a little honey or caramel sauce on top, or sprinkle with toasted nuts for extra crunch. These bars also work well plated with a side of fresh berries or a splash of cream to brighten the flavors even more. How do you like to enjoy your plum crumble bars?
Easy Swaps and Add-Ins
- Fruit Options: If plums aren’t what you have on hand, peaches, apricots, or berries make excellent, tasty alternatives for this crumble bar base.
- Spice Twists: Swap cinnamon for nutmeg or cardamom to play around with new, warm spices that bring a different vibe to the filling.
- Gluten-Free Version: Simply choose gluten-free oats and flour blends to adapt the crumble for gluten sensitivities without losing texture or flavor.
- Vegan Adaptation: Use plant-based butter or coconut oil in place of regular butter to turn this into a delicious vegan-friendly dessert. For a fully dairy-free and gluten-free crumble example, see this vegan rhubarb crumble.
If you want to switch things up a bit, try adding a handful of dried fruit like cranberries or cherries to the filling for bursts of tart sweetness. You can also mix in lemon or orange zest with the plums to add a bright citrus note. For an extra indulgent crumble, swirl in some cream cheese or mascarpone before adding the topping—it’s like a little cheesecake surprise in every bar, similar to these mini peach cobbler cheesecakes!
For a nutty spin, fold chopped toasted hazelnuts or walnuts into the crumble dough. And if you prefer a more rustic look, leave some plum chunks larger rather than breaking everything down—it makes for a super homemade feel.
Storing, Freezing, and Reheating
- Refrigeration: Once cooled, store your plum crumble bars in an airtight container in the fridge for up to five days. They keep their deliciousness well and make a perfect grab-and-go snack or dessert.
- Freezing: To keep them longer, wrap each bar individually in plastic wrap, then pop them all into a freezer-safe bag or box. They freeze well for up to three months and thaw quickly.
- Warming Up: If you want to serve them warm, place the bars on a baking sheet and reheat in a 150ºC (300ºF) oven for 10-15 minutes. This brings back that crisp crumble texture and melty, comforting fruit filling.
This recipe is perfect for prepping ahead of time. You can prepare the crumble mixture and plum filling separately and refrigerate them overnight. When ready to bake, just assemble and pop into the oven. Plus, baked bars store well in the fridge and actually slice neater after chilling for a few hours—much like classic lemon bars.
If you’re making these for a gathering, bake them the day before and keep them covered at room temperature for quick, stress-free serving. You’ll love how easy that makes your dessert prep!
Common Questions Answered
Can I use frozen plums?
Absolutely! Just make sure to thaw and drain them well before using so the filling isn’t too watery. This helps keep your plum crumble bars nice and firm. If plums aren’t in season, a similar fruit-forward bake to try is these Raspberry Mango Bars.
How do I prevent the crumble from becoming too dry?
Be sure the butter is fully mixed into the crumble. If it feels crumbly or dry while mixing, adding a little extra butter can help keep that perfect crumbly texture without drying out.
Can I make this recipe ahead of time?
Definitely! These plum crumble bars taste great made a day ahead. In fact, chilling them overnight makes cutting easier and the flavors taste even better. You’ll see the same make-ahead payoff in White Chocolate Key Lime Bars with a creamy citrus layer.
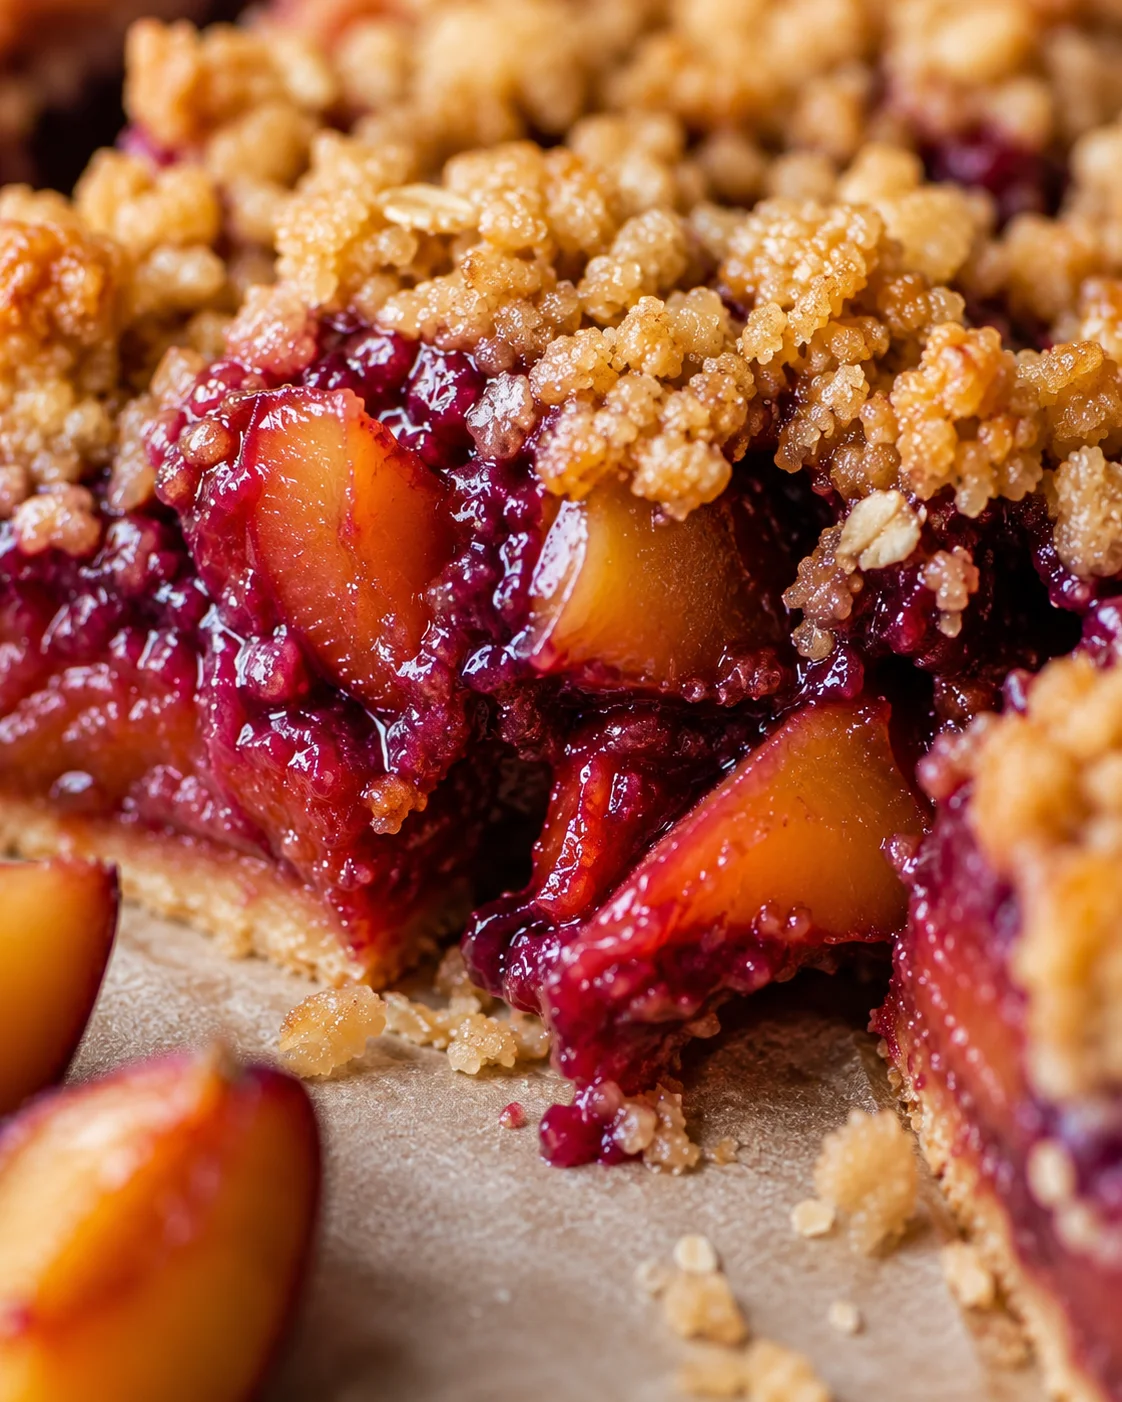
Sweet and spiced plum crumble bars with a crunchy buttery oat topping, perfect for a cozy dessert or snack.
- Prep Time: 20 minutes
- Cook Time: 40 minutes
- Total Time: 1 hour
- Yield: 12 bars 1x
- Category: Dessert
Ingredients
- 500 grams fresh plums, washed, pitted, and chopped
- 100 grams light brown sugar, divided
- 1 teaspoon ground cinnamon
- 1/2 teaspoon ground star anise (or a small whole star anise for infusion)
- 150 grams jumbo rolled oats
- 200 grams all-purpose flour
- 150 grams unsalted butter, cold and cubed
Instructions
- Wash, pit, and chop the fresh plums.
- If using frozen plums, thaw and drain them well.
- Combine chopped plums with 75 grams light brown sugar, ground cinnamon, and ground star anise in a saucepan.
- Simmer the plum mixture gently over medium-low heat until thick and jammy, stirring occasionally.
- In a mixing bowl, combine jumbo rolled oats, all-purpose flour, remaining 25 grams light brown sugar, and cold cubed butter.
- Mix the crumble ingredients with your hands or a pastry cutter until crumbly yet moist.
- Press half of the crumble mixture firmly into the base of a baking pan to form a sturdy crust.
- Spread the spiced plum filling evenly over the crust layer.
- Sprinkle the remaining crumble mixture evenly over the plum filling.
- Bake in a preheated oven at 175°C (350°F) until the topping is golden brown and the filling is bubbly, about 35-40 minutes.
- Allow the bars to cool fully to set before cutting into squares or bars.
Notes
For enhanced flavor, roast plums with a drizzle of honey before simmering., Add chopped nuts like almonds or pecans to the crumble for extra crunch and flavor., Ensure plum filling is thick and jammy to prevent soggy bars., Substitute cinnamon with nutmeg or cardamom for varied spice profile., Use gluten-free oats and flour to make a gluten-free version., Replace butter with plant-based butter or coconut oil for a vegan adaptation., Add dried fruit like cranberries or cherries to the filling for tart sweetness., Swirl cream cheese or mascarpone into crumble for a cheesecake-like surprise., Store cooled bars in an airtight container in the refrigerator for up to 5 days., Freeze individually wrapped bars for up to 3 months., Reheat bars in a 150ºC (300ºF) oven for 10-15 minutes to restore texture.
Nutrition
- Serving Size: 1 bar
- Calories: Approximately 220 calories per bar
- Fat: 8 grams per serving
- Carbohydrates: 35 grams per serving
- Protein: 3 grams per serving
More in Uncategorized
Apple Crisp Cookies
Caramel Apple Cinnamon Roll Lasagna
Peach Crumb Bars