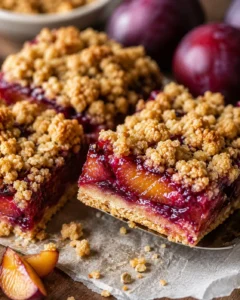
Pumpkin Bars with Chocolate Chips
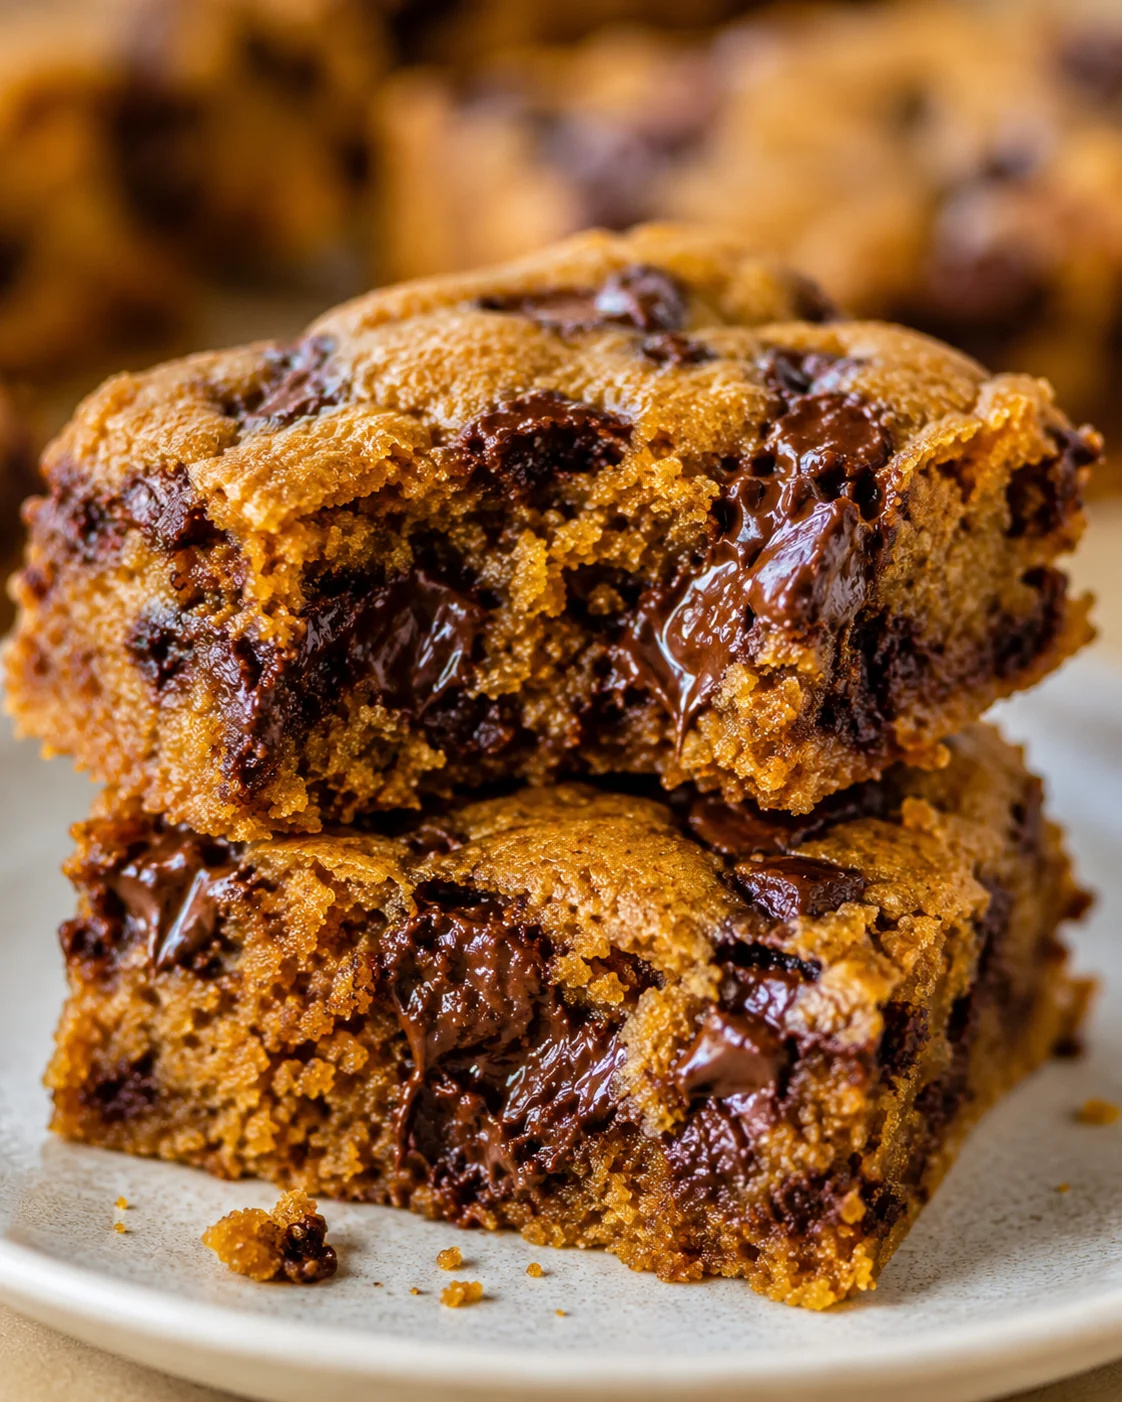
Hey there! You’re about to whip up some seriously fudgy pumpkin chocolate chip bars — also known as pumpkin blondies — that come together in just around 40 minutes and make 12 big, delicious bars. These fall favorites feel like a treat but don’t demand hours slaving away in the kitchen. Just a quick stovetop mix, a handful of chocolate chips, and then straight into the oven.
I’m going to guide you through each step, starting with a simple list of pantry basics you probably already have on hand — butter, canned pumpkin, sugars, flour, spices, and chocolate. The method is super straightforward: melting the butter first, which gives these bars that dreamy dense, fudgy texture you love. Plus, I’ll share plenty of photos so you can see exactly how your batter and bars should look along the way. The printable recipe card with exact details is at the bottom for easy reference.
Along the way, I’ll spill a few tricks that really boost the flavor — like toasting the pumpkin pie spice in warm butter, why pumpkin helps bind this batter like an egg, how to keep your chocolate chips from melting too fast, and a fun optional browned-butter twist (plus a quick tip about adding water when you brown butter). If you’re curious about mixing things up, I’ve included ideas for add-ins, different pan sizes, gluten-free or vegan swaps, and even how to store and freeze leftovers so you always have a stash of these bars ready.
Keep reading for the full recipe, photos, and then head to my Expert Tips or FAQs if you want quick answers while you bake.
Why These Bars Shine
I adore these pumpkin chocolate chip bars because they’re so quick! There’s no messing around — just stir everything together, pour it in a pan, and bake. No complicated steps or fancy tools. If you love fast, one-pan desserts too, you might also enjoy this Easy Pumpkin Dump Cake recipe.
Ingredient Checklist
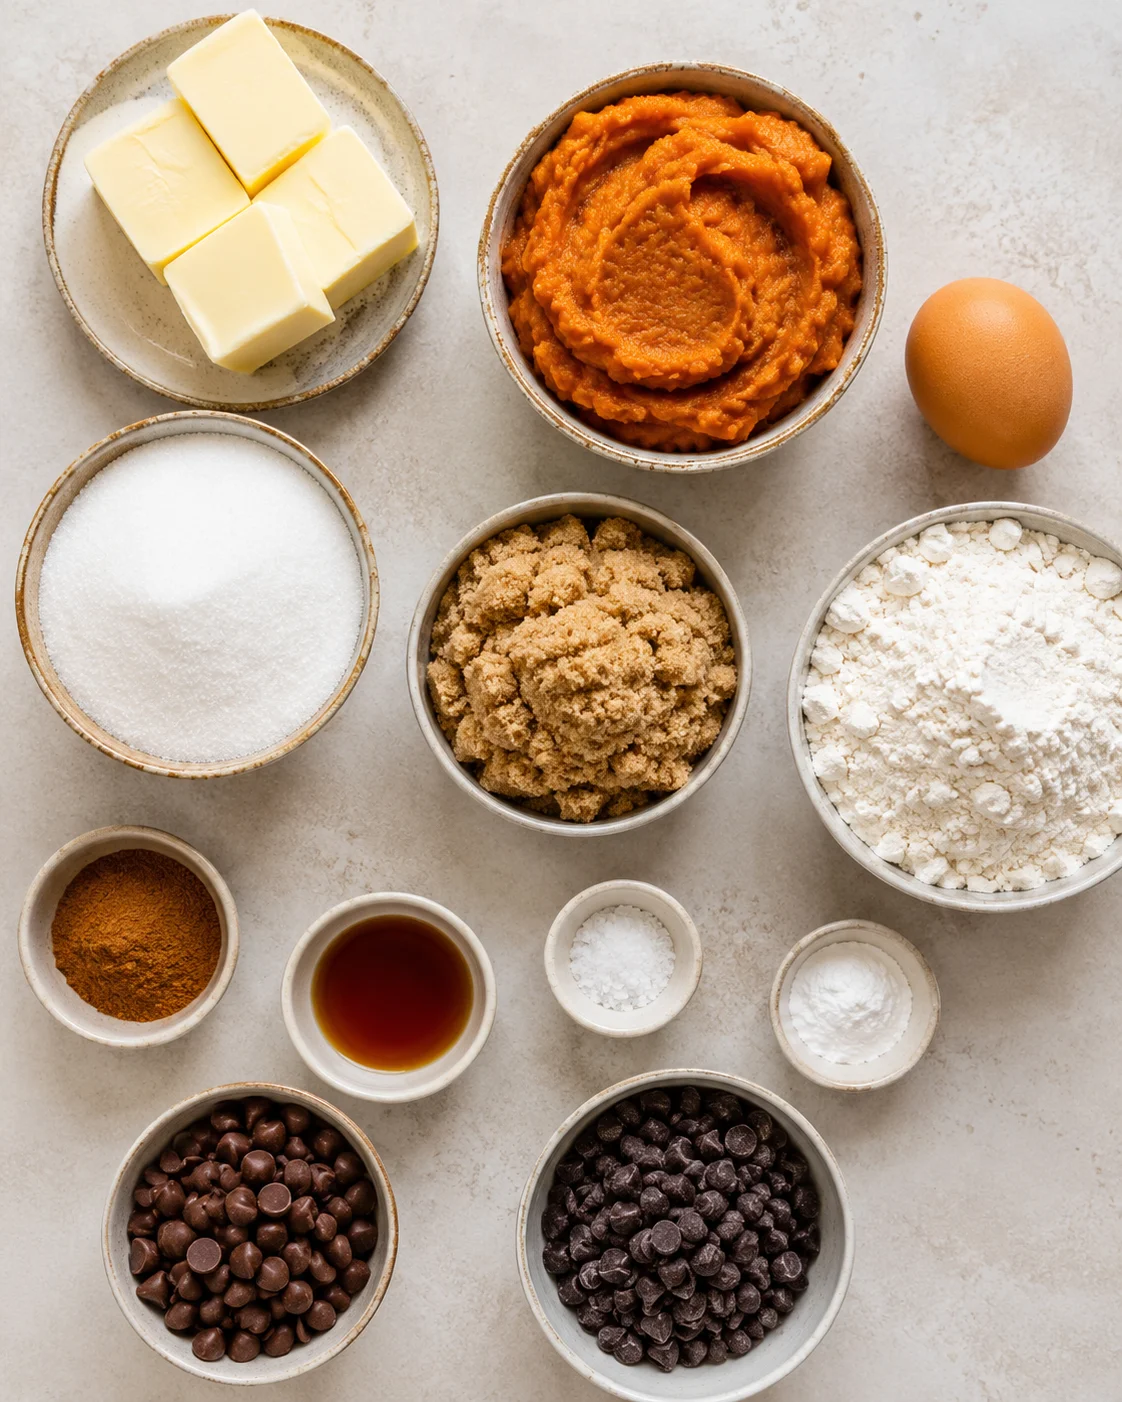
- 1 cup butter (2 sticks)
- 1 tablespoon pumpkin pie spice*
- 1 cup granulated sugar
- 1 cup brown sugar, packed
- 1 (8-oz) cup pumpkin, canned (not pumpkin pie filling)
- 2 teaspoons vanilla
- 1/2 teaspoon kosher salt
- 1 large egg
- 2 cups all purpose flour, spooned and leveled
- 1 teaspoon baking powder
- 1 cup semisweet chocolate chips
- 1 cup dark chocolate chips
Baking Directions
- Preheat oven to 350°F and grease a 9×13-inch pan or line it with parchment paper.
- Melt 1 cup (2 sticks) butter in a medium saucepan over medium heat.
- When the butter is hot and bubbly (not browned), stir in 1 tablespoon pumpkin pie spice and toast for a few seconds, then remove the pan from the heat.
- Stir in 1 cup granulated sugar and 1 cup packed brown sugar until smooth.
- Add 1 cup canned pumpkin puree and stir to combine.
- Add 2 teaspoons vanilla and 1/2 teaspoon kosher salt.
- Crack in 1 large egg and stir quickly to combine; if the butter mixture is very hot, let it cool 1–2 minutes before adding the egg to avoid scrambling.
- Whisk together 2 cups all-purpose flour and 1 teaspoon baking powder in a separate bowl.
- Add the flour mixture to the wet ingredients and stir until mostly smooth and lumps are mostly gone; do not add chocolate chips yet.
- Pour the batter into the prepared pan and spread it evenly to the edges.
- Sprinkle 1 cup semisweet chocolate chips and 1 cup dark chocolate chips evenly over the top, then gently fold them into the batter in the pan to avoid melting.
-
Bake at 350°F for about 25–30 minutes, until a toothpick inserted in the center comes out with no wet batter and the edges start to pull away from the pan.
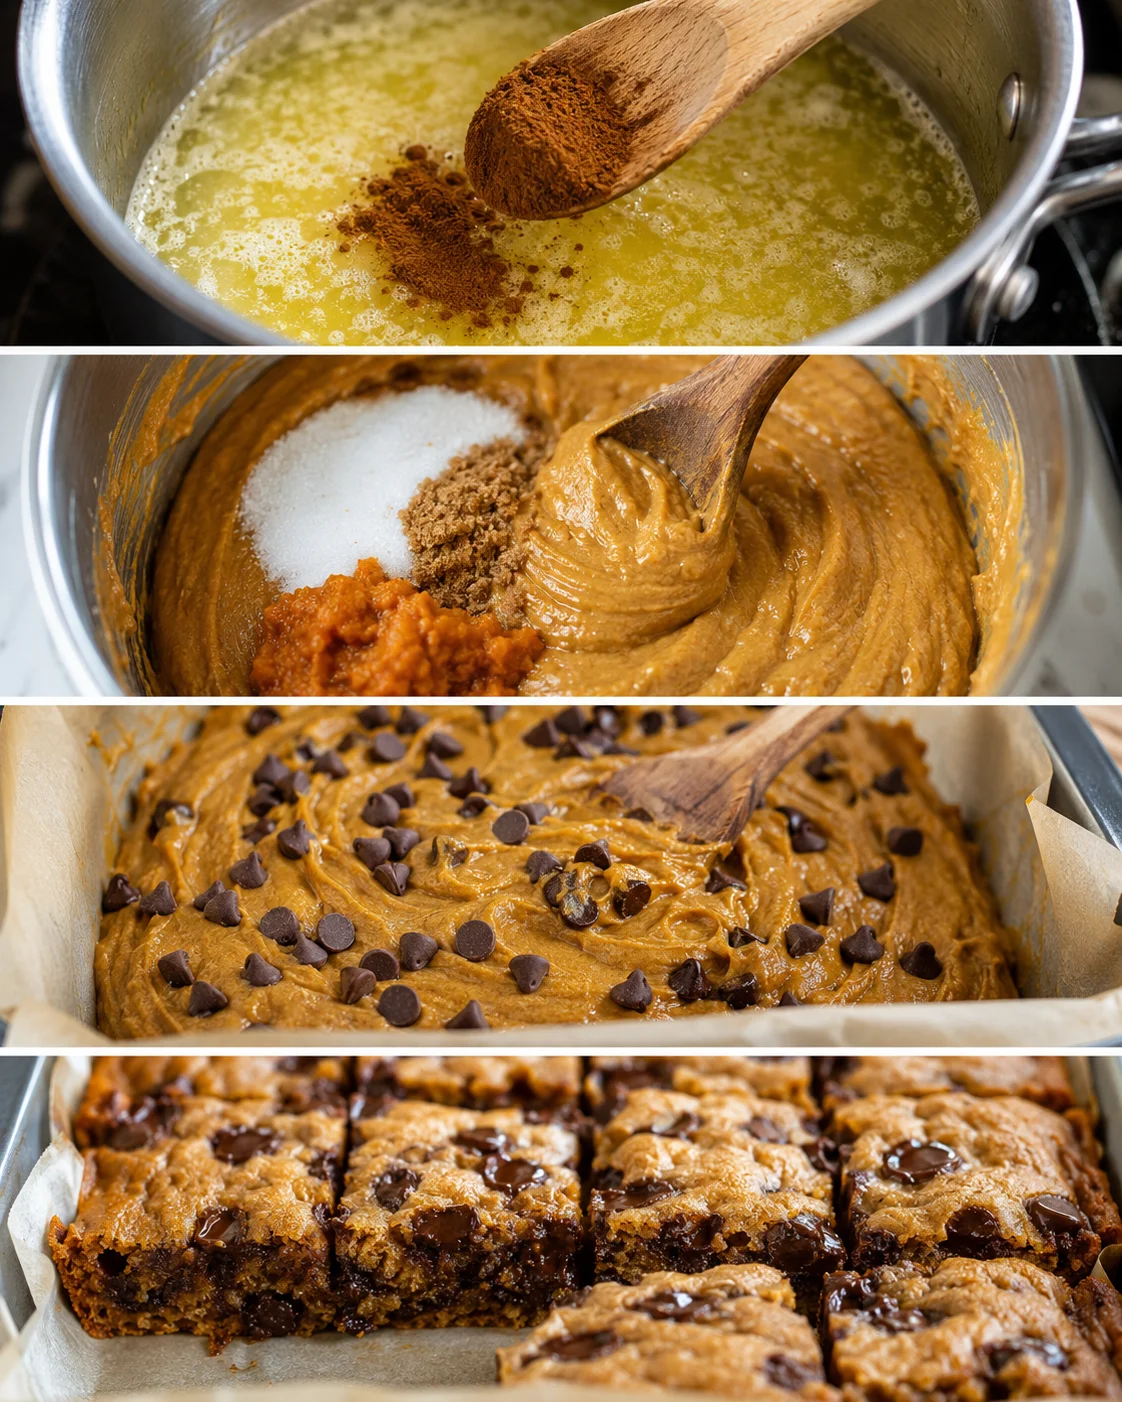
- Cool the bars completely in the pan, lift them out using the parchment overhang, and slice.
Tips for Fudgy, Moist Bars
Here are some handy little tricks to nail the fudgy texture of these pumpkin chocolate chip bars every single time:
- Browning the butter is delicious and adds a nice nutty note, but it does reduce moisture. If you go this route, toss in about 1 tablespoon of water with the batter to keep things moist. For more ideas on preserving tenderness in pumpkin bakes, see this recipe for incredibly moist pumpkin bread.
- Toast the pumpkin pie spice quickly in hot butter for a brighter, more vibrant spice flavor — just a few seconds while it bubbles is plenty.
- If your butter and sugar mix feels super hot, wait a minute to cool before adding the egg. This prevents the egg from scrambling. When you add it, stir really well and quickly.
- Don’t over-mix the batter once you add flour. Mix just until mostly smooth and lumps are mostly gone — too much stirring makes bars dense and tough, not fudgy.
- To avoid melted chocolate chips swirling into the batter, spread the batter in the pan first, then scatter chips on top and gently fold in.
- Check for doneness by inserting a toothpick in several spots in the center — there should be no wet batter, though melted chocolate is fine. Edges should pull away slightly from the pan.
- Allow the bars to cool completely before lifting them out and slicing. This helps them hold together beautifully.
- Line your pan with parchment paper and leave an overhang. It makes removing the bars and slicing so much easier and cleaner.
Flavor Swaps & Add-Ins
Want to switch things up or personalize your pumpkin chocolate chip bars? Try any of these simple changes:
- Change the chocolate: swap semisweet or dark chips for white chocolate, milk chocolate, or butterscotch chips — or mix several kinds together.
- Add crunch: toss in ½ to 1 cup chopped pecans or walnuts for a lovely texture contrast—similar to the nutty topping in this Pumpkin Pecan Dump Cake.
- Cream cheese swirl: dollop sweetened cream cheese (cream cheese mixed with a little sugar and egg) over the batter, then swirl with a knife before baking (see the technique in these Swirled Pumpkin Cheesecake Bars).
- Streusel topping: sprinkle a quick streusel made from brown sugar, butter, and flour on top before baking for a crunchy finish.
- Muffin or mini blondie form: bake batter in a lined muffin tin at 350°F for 18–22 minutes for portable, snackable treats.
- Thicker bars: use an 8×8 inch pan for thick, gooey bars; baking time will increase to about 30–35 minutes, so keep an eye and test doneness.
- Double chocolate: replace ¼ cup of the flour with cocoa powder for extra rich chocolate flavor.
- Gluten-free: swap all-purpose flour for a 1:1 gluten-free flour blend that includes xanthan gum. Texture might be slightly different, but still delicious!
- Vegan: try a flax egg (1 tablespoon ground flaxseed plus 3 tablespoons water, let sit 5 minutes) and vegan butter. Baking time may change and final texture can differ a bit.
Storage and Freezing Tips
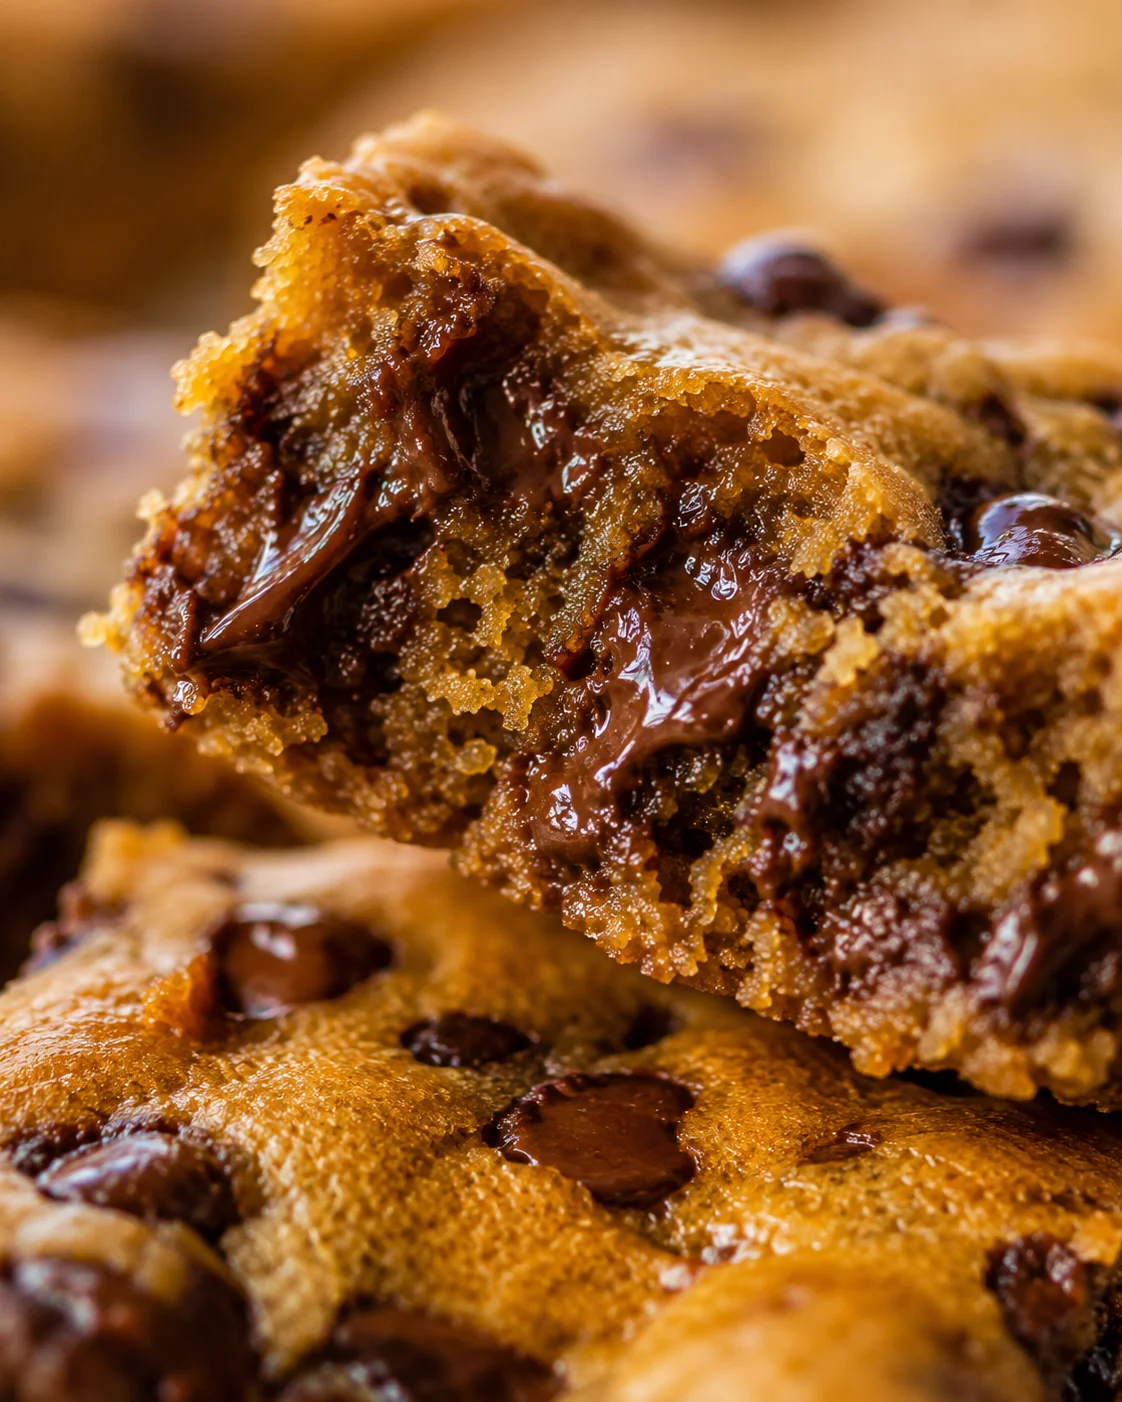
These pumpkin chocolate chip bars hold up beautifully stored at room temperature in an airtight container. If you prefer them chilled, toss them in the fridge—or, for a cold pumpkin dessert, try Mini Pumpkin Pie Cheesecakes (No Bake). Just warm a piece in the microwave before digging in to make them soft and gooey. These bars also freeze wonderfully! Just pop cooled bars into a zip-top bag or airtight container and freeze for up to 3 months. Let thaw on the counter still sealed before serving.
These pumpkin chocolate chip bars are best stored at room temperature in a sealed container where they’ll keep fresh for 2-3 days. If you like them chilled, store in the fridge but warm before eating for soft, fudgy flavor. They freeze amazingly well — just place completely cooled bars in a zip-top bag or airtight container and freeze for up to 3 months. When you want some, thaw them right in the sealed bag on your counter.
Common Questions Answered
Q: Can I use fresh pumpkin instead of canned?
A: Absolutely! Use smooth puree made from cooked or roasted pumpkin (see how to roast pumpkin if starting from fresh). Just make sure it’s not watery; you may need to drain or cook down excess moisture. Remember, use pumpkin puree—not pumpkin pie filling.
Q: Do I have to brown the butter?
A: Nope. Melted butter alone gives you that perfect fudgy texture. Browning it is optional—it adds a nutty twist but if you do brown it, add about 1 tablespoon of water back into the batter to replace lost moisture.
Q: Why only one egg? Will the bars be dense?
A: Pumpkin helps hold everything together and keeps these bars moist, acting a bit like an egg. That means with melted butter and a single egg, you get bars that’re tender and fudgy—not cakey or dense.
Q: How do I stop my chocolate chips from melting into the batter?
A: The batter is warm from melted butter, so chocolate chips melt quickly if stirred in right away. My trick: pour batter into the pan, sprinkle chips on top, then gently fold them in. This keeps the chips intact for melty pockets without disappearing.
Q: Why are my bars still wet in the middle after baking for the suggested time?
A: Oven temps vary, so test the bars by inserting toothpicks in several places in the center. Make sure the toothpick comes out with no wet batter, only some melted chocolate is fine. Also, confirm you measured only 1 cup of pumpkin, not the whole can. If bars are wet, bake a few more minutes, and let them cool completely before judging the texture.
Q: How should I store leftover bars?
A: Keep them airtight at room temperature for 2-3 days. You can also refrigerate and warm before serving or freeze completely cooled bars for 2-3 months.
Q: Can I reduce the sugar?
A: You can cut back sugar a bit, but it will affect sweetness and texture. Bars may be less tender and moist. Reduce sugar little by little and test for the best balance.
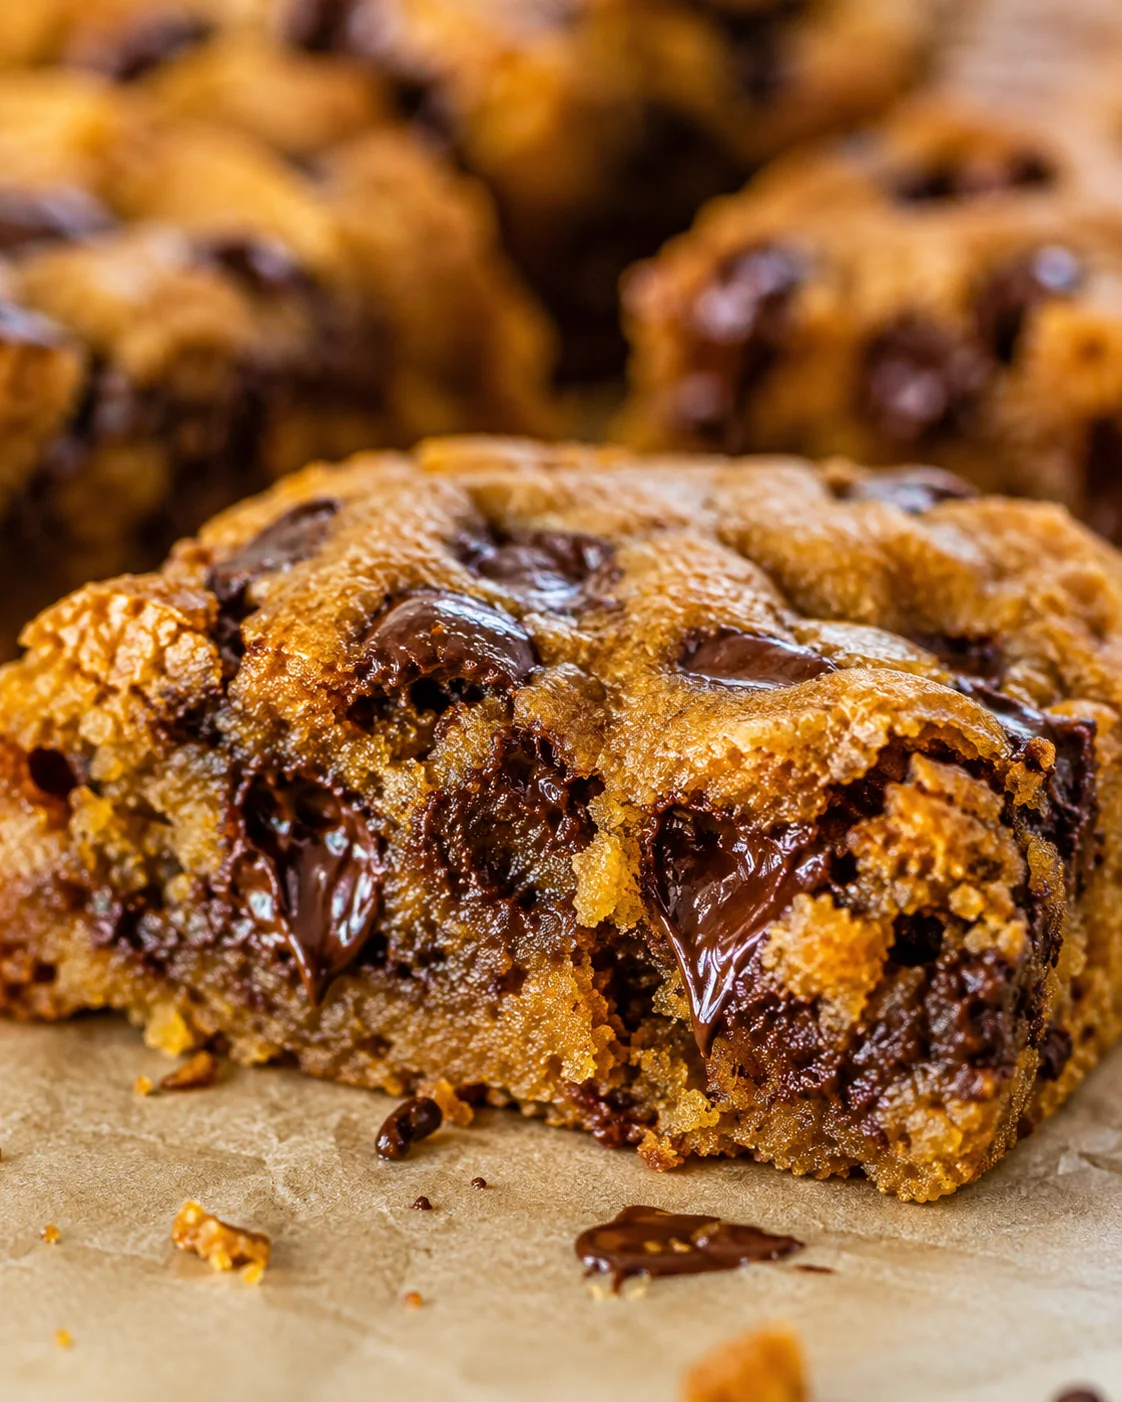
Fudgy and moist pumpkin bars loaded with semisweet and dark chocolate chips, made with melted butter and warm toasted pumpkin pie spice for a quick and flavorful fall treat.
- Prep Time: 10 mins
- Cook Time: 30 mins
- Total Time: 40 mins
- Yield: 12 bars 1x
- Category: Dessert
- Cuisine: American
Ingredients
- 1 cup butter (2 sticks)
- 1 tablespoon pumpkin pie spice
- 1 cup granulated sugar
- 1 cup brown sugar, packed
- 1 (8-oz) cup pumpkin, canned (not pumpkin pie filling)
- 2 teaspoons vanilla extract
- 1/2 teaspoon kosher salt
- 1 large egg
- 2 cups all-purpose flour, spooned and leveled
- 1 teaspoon baking powder
- 1 cup semisweet chocolate chips
- 1 cup dark chocolate chips
Instructions
- Preheat oven to 350°F and grease a 9×13-inch pan or line it with parchment paper.
- Melt 1 cup (2 sticks) butter in a medium saucepan over medium heat.
- When the butter is hot and bubbly (not browned), stir in 1 tablespoon pumpkin pie spice and toast for a few seconds, then remove the pan from the heat.
- Stir in 1 cup granulated sugar and 1 cup packed brown sugar until smooth.
- Add 1 cup canned pumpkin puree and stir to combine.
- Add 2 teaspoons vanilla and 1/2 teaspoon kosher salt.
- Crack in 1 large egg and stir quickly to combine; if the butter mixture is very hot, let it cool 1–2 minutes before adding the egg to avoid scrambling.
- Whisk together 2 cups all-purpose flour and 1 teaspoon baking powder in a separate bowl.
- Add the flour mixture to the wet ingredients and stir until mostly smooth and lumps are mostly gone; do not add chocolate chips yet.
- Pour the batter into the prepared pan and spread it evenly to the edges.
- Sprinkle 1 cup semisweet chocolate chips and 1 cup dark chocolate chips evenly over the top, then gently fold them into the batter in the pan to avoid melting.
- Bake at 350°F for about 25–30 minutes, until a toothpick inserted in the center comes out with no wet batter and the edges start to pull away from the pan.
- Cool the bars completely in the pan, lift them out using the parchment overhang, and slice.
Notes
To brown the butter for a nutty flavor, add about 1 tablespoon of water to the batter to maintain moisture., Toast the pumpkin pie spice in the hot butter for a brighter spice flavor., Avoid scrambling the egg by allowing the butter mixture to cool slightly if very hot before adding the egg., Do not over-mix the batter after adding flour to keep bars tender and fudgy., Add the chocolate chips on top of spread batter and fold gently to prevent melting them too much., Use a toothpick to check doneness; melted chocolate is fine but no wet batter should remain., Allow bars to cool completely before slicing for perfect texture., Line pan with parchment paper for easy removal and cleaner slicing., Variations include different chocolate chip types, nuts, cream cheese swirl, streusel topping, baking in muffins, changing pan size for thickness, adding cocoa powder, gluten-free substitution using 1:1 flour blend, and vegan swaps with flax egg and vegan butter., Store bars at room temperature in an airtight container for 2-3 days, or refrigerate and warm before serving., Freeze cooled bars in airtight bags or containers for up to 3 months and thaw before eating.
Nutrition
- Serving Size: 1 bar
- Calories: Approximately 250 calories per bar (estimate, based on ingredients)
- Fat: Approximately 12 grams per serving (estimate)
- Carbohydrates: Approximately 35 grams per serving (estimate)
- Protein: Approximately 3 grams per serving (estimate)
More in Uncategorized
Pecan Pie Muffins
Maple Walnut Muffins – The Littlest Crumb
Maple Pecan Muffins