Pan-Fried Fresh Milk Mochi (Soft, Chewy & Extra Stretchy) – Slice Pizzeria

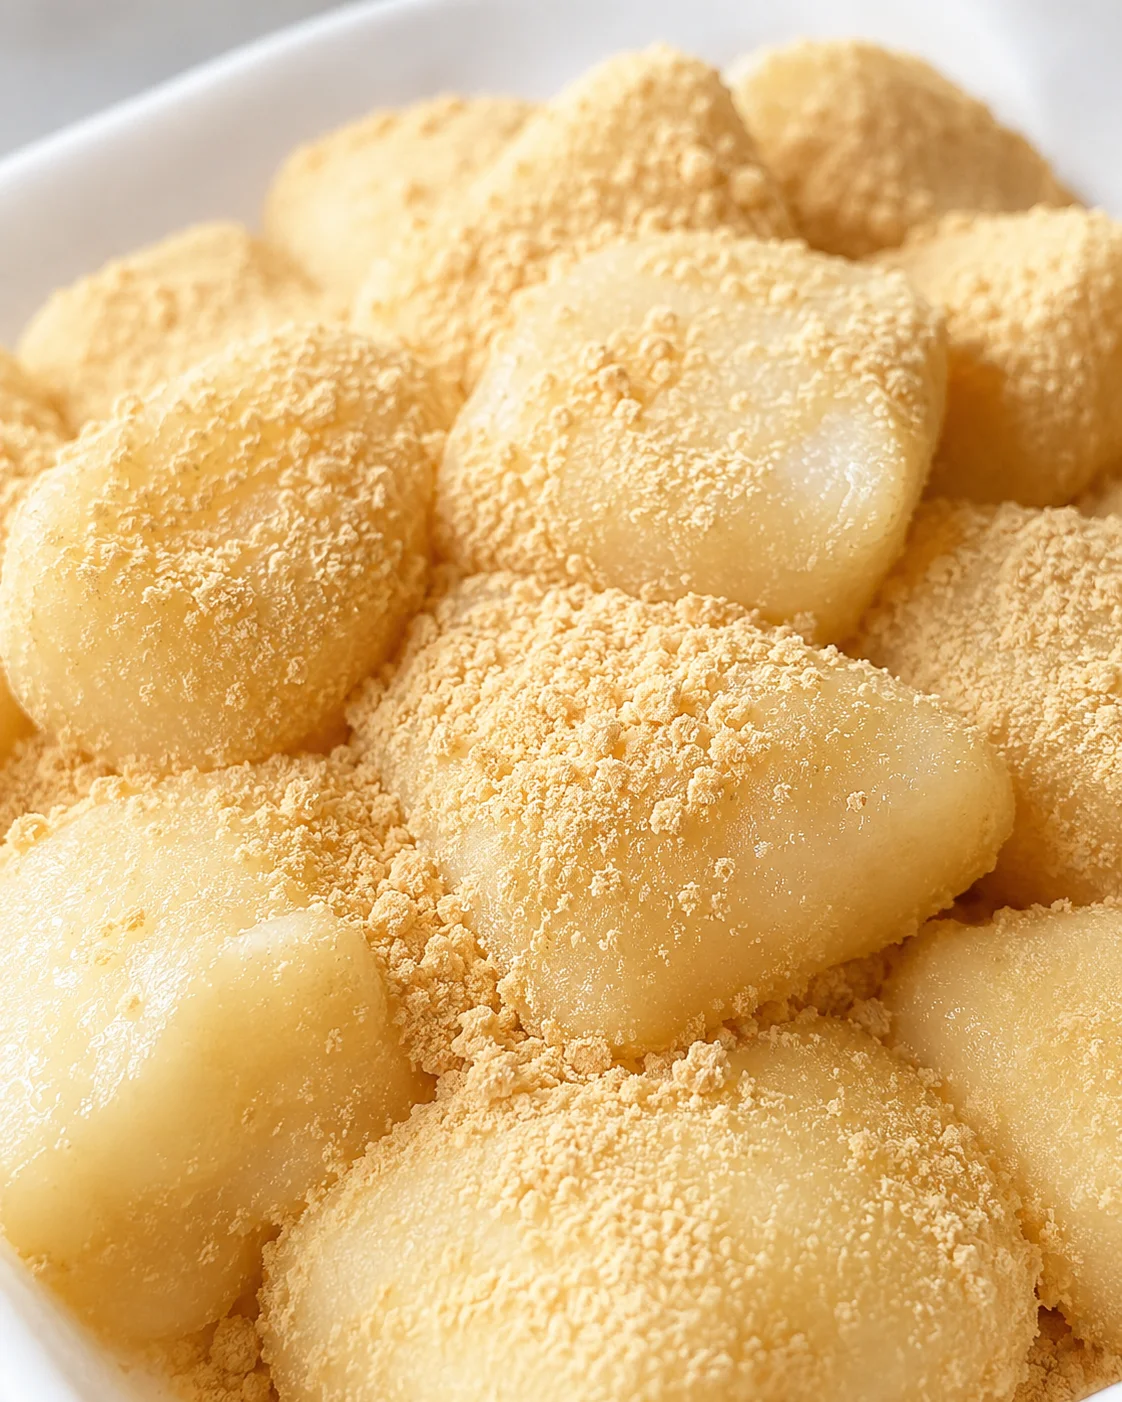
Whenever I’m craving something soft, chewy, and utterly comforting, I turn to this fresh milk mochi recipe. It’s super simple to make using just a frying pan and a handful of straightforward ingredients. The magic happens right on the stovetop, creating a silky, stretchy mochi that’s bursting with a rich milk flavor. Best of all, no oven or fancy gadgets are needed, making it a perfect recipe for beginners and busy home cooks alike.
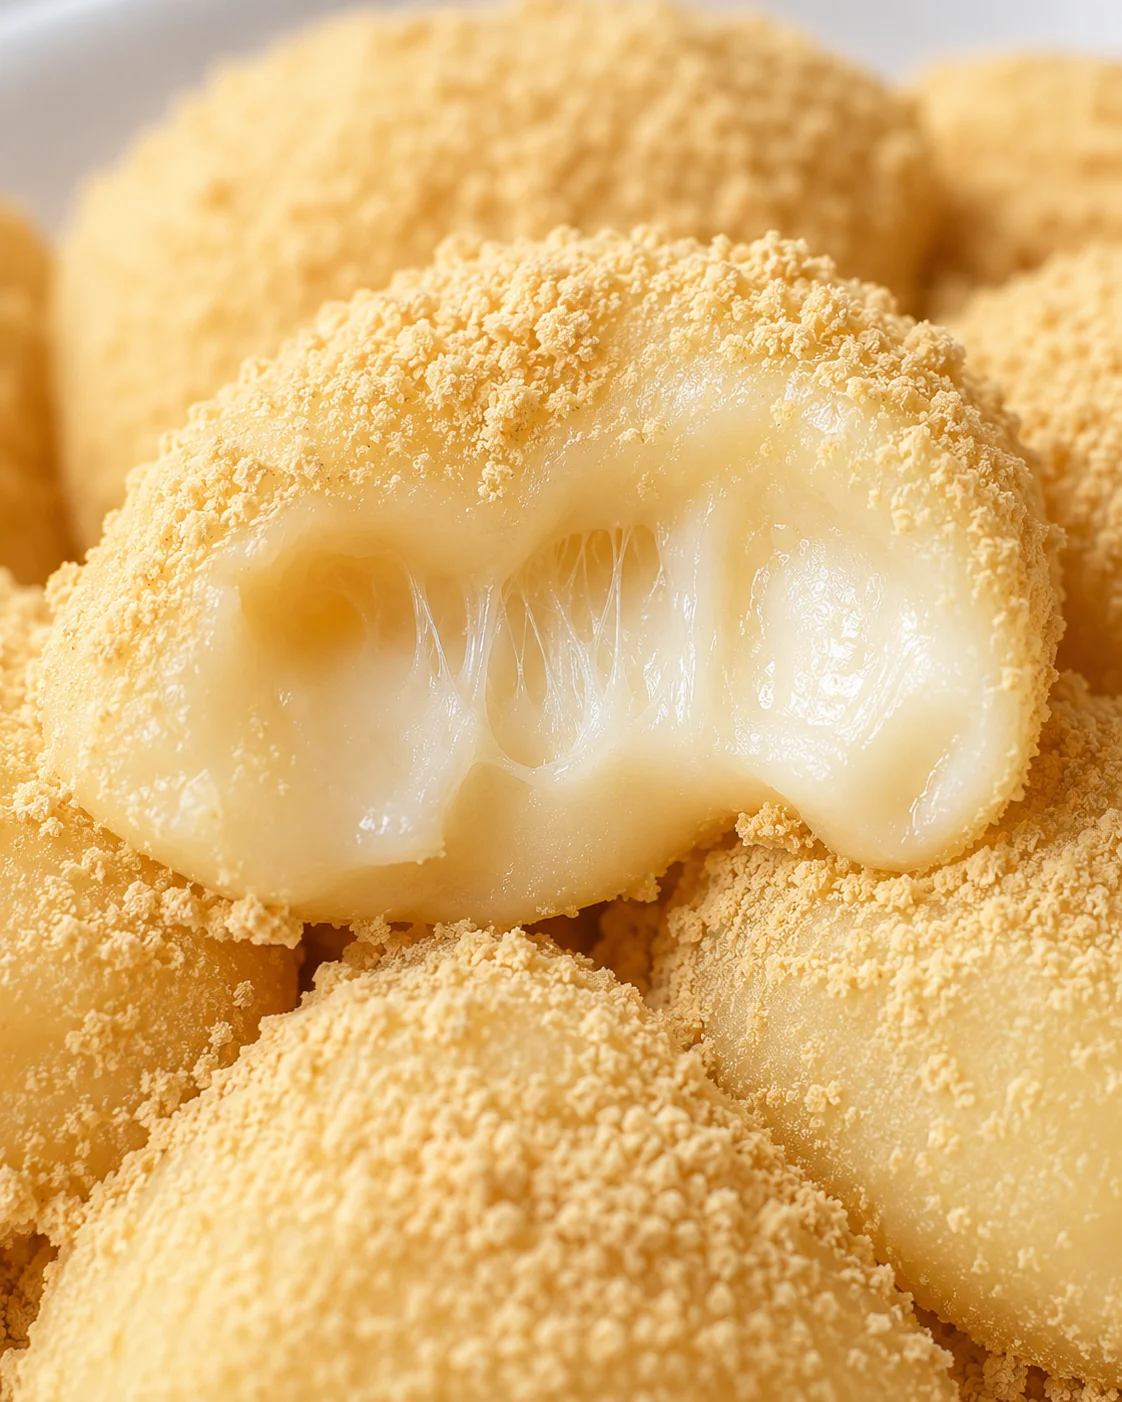
This pan-cooked milk mochi has become a favorite because it’s tender, springy, and gently sweet. Coated in fragrant roasted soybean powder, it’s excellent as a quick homemade snack, a kid-approved treat, or a cozy dessert alongside your favorite tea. One bite reveals that iconic “mochi pull” and creamy aroma that’s seriously hard to resist.
This pan-cooked milk mochi is tender, bouncy, and lightly sweet, coated in fragrant roasted soybean powder. It’s perfect as a quick homemade snack, a kid-friendly treat, or a cozy dessert to enjoy with tea. One bite gives you that irresistible “mochi pull” and creamy aroma that’s hard to stop eating.
Course Dessert
Cuisine Japanese
Servings 3
Instructions
- Start by mixing the glutinous rice flour, sugar, and cornstarch in a large bowl. Pour in the cooking oil and milk, then whisk everything together until you have a perfectly smooth, lump-free batter.
- Pour this batter into a non-stick frying pan and cook it on low heat. Keep stirring constantly with a silicone spatula — this is key to prevent sticking and getting lumps.
- As it heats, the mixture will slowly thicken and start coming together. Keep stirring until it turns into a smooth, elastic dough that no longer sticks to the pan or spatula. Then, turn off the heat.
- Take the dough from the pan and gently stretch it a few times to boost that stretchiness and softness we all love in mochi.
- When it’s cool enough to handle comfortably, roll the dough into a long log and slice it into bite-sized pieces. Easy and fun!
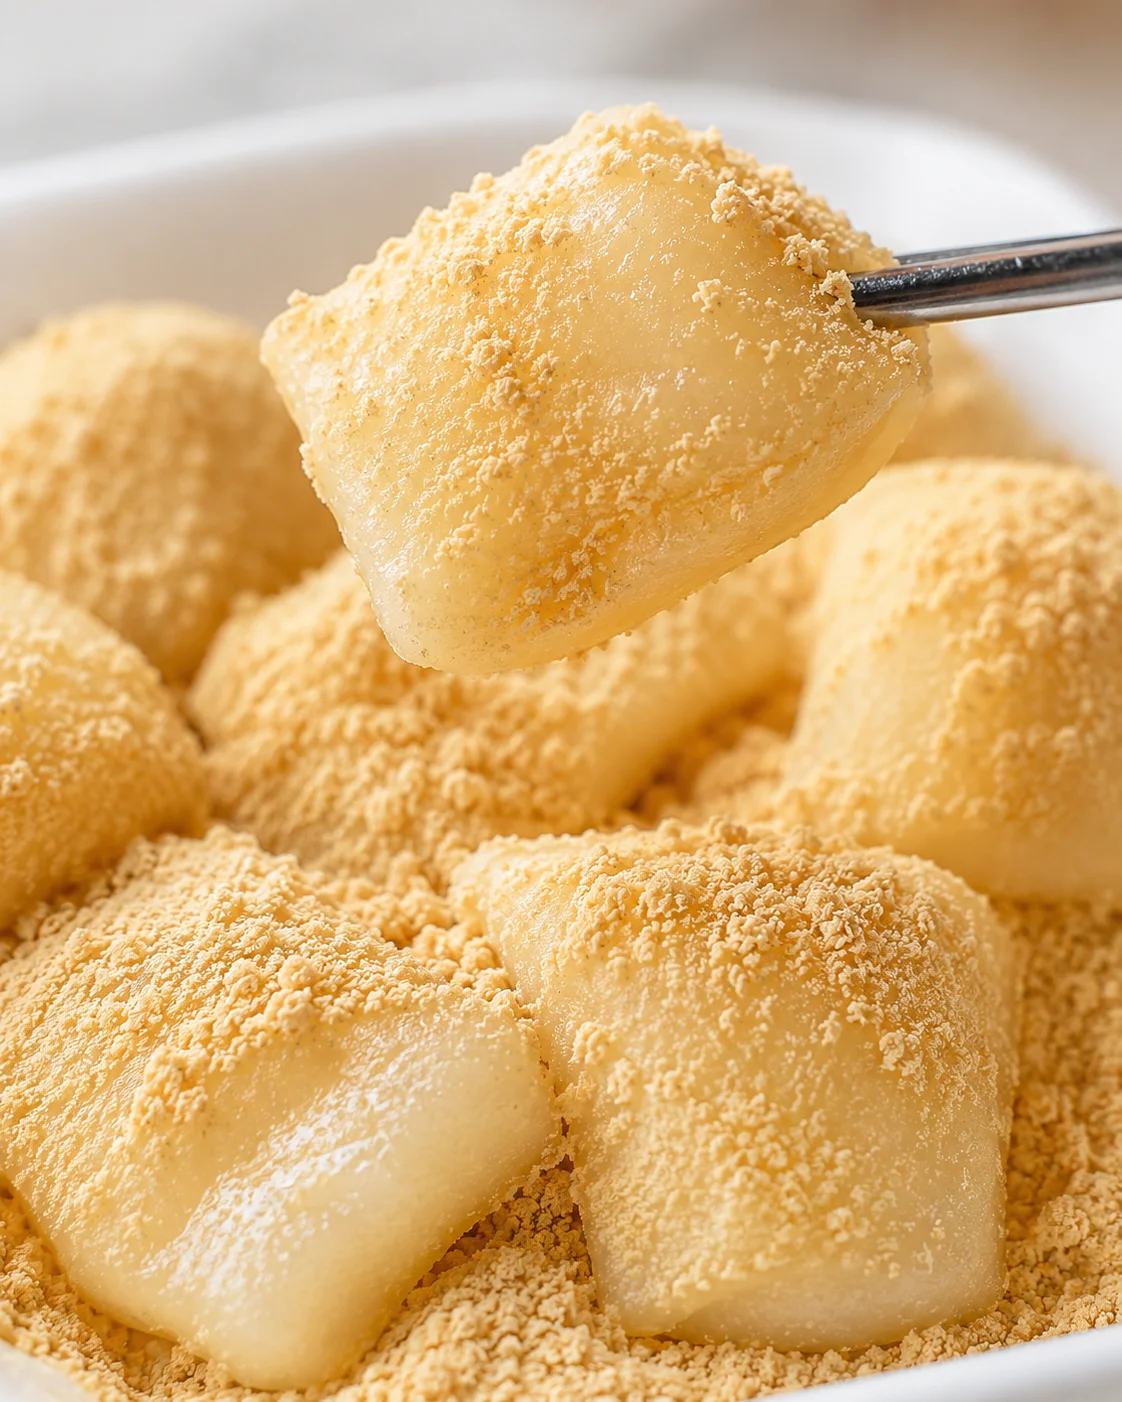
- Finally, toss the mochi pieces in roasted soybean powder until they’re nicely coated. Serve them immediately and watch how quickly they disappear!
- Add glutinous rice flour, sugar, and cornstarch to a large bowl. Pour in the oil and milk, then whisk until the mixture is completely smooth and free of lumps.
- Transfer the batter to a non-stick pan. Cook over low heat, stirring constantly with a silicone spatula to prevent sticking.
- As the mixture heats, it will gradually thicken and come together. Keep stirring until a smooth, elastic dough forms and no longer sticks to the pan or spatula. Turn off the heat.
- Remove the dough from the pan and gently stretch it a few times to improve elasticity.
- Once cool enough to handle, roll the mochi into a log and cut into bite-sized pieces.
- Toss the pieces in roasted soybean powder until evenly coated. Serve immediately.
Why This Recipe Stands Out
- This recipe uses just one pan—no need for ovens or steaming, keeping things simple and quick.
- Enjoy that soft, chewy, and naturally stretchy texture every time.
- The milk flavor is rich and comforting without being too sweet, letting the texture shine.
- Super beginner-friendly with easy-to-find ingredients and straightforward steps.
- Enjoy it plain or experiment by swapping coatings and toppings for variety, like a bright citrus twist with zesty lemon mochi.
Looking for a homemade treat that’s not only fun to make but also impossible to put down? This milk mochi recipe hits the spot perfectly. It blends simple pantry staples with a no-fuss, one-pan cooking trick that creates a soft, chewy, milky dessert. Perfect for afternoon snacks, cozy tea time, or sharing with the kids on a lazy weekend.
- Effortless one-pan cooking: No oven, no steaming gear, no special kitchen tools — just a non-stick pan and a spatula. Perfect if you’re juggling busy days or just getting comfortable in the kitchen.
- That dreamy mochi texture: Tender, bouncy, and delightfully stretchy with that signature “mochi pull” you crave.
- Pure, creamy flavor: A gentle milk aroma and mild sweetness that lets the chewy texture be the star.
- Pantry-friendly and easy: Only common ingredients like glutinous rice flour, milk, a bit of sugar, and oil—nothing complicated, so you can whip it up anytime.
- Family and crowd-pleaser: Bite-sized pieces are just right for little hands or easy sharing at get-togethers, and the kinako (roasted soybean powder) coating is a hit with everyone.
- Totally flexible: Feel free to swap the milk for your favorite plant-based option, mix in matcha or cocoa powder, add fillings (for a fruit-forward example, try whole peach mochi), or try out different coatings. The base method stays as simple as ever.
- Easy to store and reheat: Leftovers keep well in the fridge or freezer, and heating them up is a breeze with a quick microwave zap or gentle pan warm-up to bring back their soft, tender texture.
All in all, this milk mochi recipe delivers a quick, gratifying, and endlessly adaptable dessert experience with zero fuss. Give it a shot, and enjoy the stretchy, milky delight that comes right off your pan.
What You Need to Make Mochi
- 150 g glutinous rice flour
- 20 g sugar
- 30 g cornstarch
- 30 g cooking oil
- 300 ml milk
- Roasted soybean powder, as needed (for coating)
Make the Mochi on the Stovetop
- Combine glutinous rice flour, sugar, and cornstarch in a large bowl.
- Add cooking oil and milk; whisk until completely smooth and lump-free.
- Pour the batter into a non-stick frying pan over low heat.
- Cook, stirring constantly with a silicone spatula to prevent sticking and lumps.
- Keep stirring as the mixture thickens until it forms a smooth, elastic dough that no longer sticks to the pan or spatula, then turn off the heat.
-
Remove the dough from the pan and gently stretch it several times to develop elasticity.
- When cool enough to handle, roll the dough into a log and cut into bite-sized pieces.
- Toss the mochi pieces in roasted soybean powder until evenly coated.
Tips for Silky, Stretchy Mochi
- Always cook over low heat and stir without stopping to avoid burning or lumps.
- Make sure the batter is completely smooth before cooking — this makes all the difference for that silky texture.
- Stretch the dough gently after cooking; pulling too hard might cause tears.
- You can make your own roasted soybean powder by lightly toasting soybean flour until it’s fragrant and a golden color.
- Mochi tastes best fresh. If you keep leftovers in the fridge, heat them in the microwave for about 10 seconds to bring back softness before eating.
- Try changing things up by coating your milk mochi in coconut flakes, brown sugar syrup, or crushed cookies—try white chocolate macadamia nut cookies—for a fun twist.
Flavor Swaps and Mix-Ins
Want to play around with flavors and add-ins but keep the basic milk mochi method? Here are some easy ideas:
- Milk swaps: Use whole milk for a richer taste, or try plant-based milks like soy, oat, or almond milk (same amount). The recipe works beautifully with any of these.
- Flavor powders: Mix in 1–2 teaspoons of matcha powder or 1 tablespoon of unsweetened cocoa powder with the dry ingredients for a lovely green tea or chocolate twist.
- Coatings & toppings: Besides the classic roasted soybean powder (kinako), experiment with toasted coconut flakes, cookie crumbs, or drizzle with brown sugar syrup or honey for extra fun.
- Fillings: After rolling the cooked dough into a log, make small wells and add a spoonful of sweet red bean paste (anko), jam, homemade lemon curd, or even chocolate before slicing and sealing each piece. Keep the filling light so it’s easy to close up.
- Finish option: After cutting, quickly sear the mochi pieces in a dry non-stick pan over low heat (10–20 seconds per side). This adds a bit of golden crispiness and a chewier outside without changing the soft center.
How to Store and Reheat
Mochi is undeniably best fresh, but if you have leftovers, here’s how to store and reheat your milk mochi safely and deliciously—especially since it contains milk:
- Short-term storage (fridge): Cool the mochi pieces completely, then place them in a single layer or separated by parchment paper in an airtight container. Keep in the fridge for up to 2–3 days. Avoid leaving at room temp for more than two hours to keep it safe and fresh.
- Freezing (longer storage): Freeze pieces spread out on a tray until frozen solid, then transfer to a sealed freezer bag or container. Freeze for up to 1 month. Thaw in the refrigerator or at room temperature before reheating.
- Avoid sticking: Dust the pieces lightly with cornstarch, potato starch, or roasted soybean powder before storing. This helps keep them from sticking together.
- Reheating: Warm individual pieces in short microwave bursts (about 8–15 seconds depending on size and microwave strength) until soft and pliable. Be careful not to overheat, which can make them gummy. Alternatively, heat gently in a dry non-stick pan over very low heat for 10–30 seconds, turning often to warm evenly without drying.
- Make-ahead idea: You can prepare the dough ahead, let it cool, then wrap tightly in plastic wrap and refrigerate for a day. When ready to serve, heat the wrapped dough briefly in the microwave (15–30 seconds) until soft, then roll, slice, and coat with kinako or your favorite topping.
Answers to Common Mochi Questions
Can I reduce or skip the sugar?
Absolutely! The sugar here is quite mild and can be cut back or left out, especially if you’re making this for kids or prefer less sweetness.
What kind of milk works best?
Whole milk makes for the richest flavor, but you can also use plant-based milks like soy, oat, or almond. Formula milk works in a pinch too.
Why is my mochi not stretchy?
This usually happens if the heat was too high or if you didn’t stir the dough enough while cooking. Stirring constantly over low heat is key.
Can I store leftover mochi?
Mochi is always best eaten fresh. But if you need to store it, keep it airtight and reheat briefly before serving to bring back that soft, stretchy texture.
Instructions
- Add glutinous rice flour, sugar, and cornstarch to a large bowl. Pour in the oil and milk, then whisk until the mixture is completely smooth and free of lumps.
- Transfer the batter to a non-stick pan. Cook over low heat, stirring constantly with a silicone spatula to prevent sticking.
- As the mixture heats, it will gradually thicken and come together. Keep stirring until a smooth, elastic dough forms and no longer sticks to the pan or spatula. Turn off the heat.
- Remove the dough from the pan and gently stretch it a few times to improve elasticity.
- Once cool enough to handle, roll the mochi into a log and cut into bite-sized pieces.
-
Toss the pieces in roasted soybean powder until evenly coated. Serve immediately.
A tender, bouncy, and lightly sweet pan-cooked milk mochi coated in fragrant roasted soybean powder. Perfect as a quick homemade snack, kid-friendly treat, or cozy dessert to enjoy with tea. Offers an irresistible “mochi pull” and creamy aroma.
- Prep Time: 10 minutes
- Cook Time: 10-15 minutes
- Total Time: 20-25 minutes
- Yield: 3 servings 1x
- Category: Dessert
- Cuisine: Japanese
Ingredients
- 150 g glutinous rice flour
- 20 g sugar
- 30 g cornstarch
- 30 g cooking oil
- 300 ml milk
- Roasted soybean powder, as needed (for coating)
Instructions
- Combine glutinous rice flour, sugar, and cornstarch in a large bowl.
- Add cooking oil and milk; whisk until completely smooth and lump-free.
- Pour the batter into a non-stick frying pan over low heat.
- Cook, stirring constantly with a silicone spatula to prevent sticking and lumps.
- Keep stirring as the mixture thickens until it forms a smooth, elastic dough that no longer sticks to the pan or spatula, then turn off the heat.
- Remove the dough from the pan and gently stretch it several times to develop elasticity.
- Once cool enough to handle, roll the dough into a log and cut into bite-sized pieces.
- Toss the mochi pieces in roasted soybean powder until evenly coated. Serve immediately.
Notes
Always cook over low heat and stir constantly to avoid burning or lumps., Ensure the batter is completely smooth before cooking for silky texture., Stretch the dough gently after cooking to avoid tearing., Make your own roasted soybean powder by lightly toasting soybean flour until fragrant and golden., Best enjoyed fresh, but leftovers can be refrigerated or frozen as per storage guidelines., Try coating milk mochi with coconut flakes, brown sugar syrup, or crushed cookies for variation., The recipe supports swapping milk with plant-based alternatives, adding flavor powders like matcha or cocoa, and fillings like sweet red bean paste or jam., Leftovers reheat well in microwave (8-15 seconds) or gently in a non-stick pan over low heat.
Nutrition
- Serving Size: 1 serving
- Calories: Approximately 180-200 kcal per serving (estimated from ingredients)
- Fat: Approximately 5g per serving
- Carbohydrates: Approximately 35g per serving
- Protein: Approximately 5g per serving (from milk and rice flour)
More in Baking & Desserts

Apple Fritter Cinnamon Roll Bake

Apple Pie Cookies Recipe
Cinnamon Apple Bread