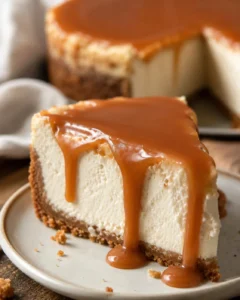
No Bake Peaches and Cream Cheesecake

Print Recipe
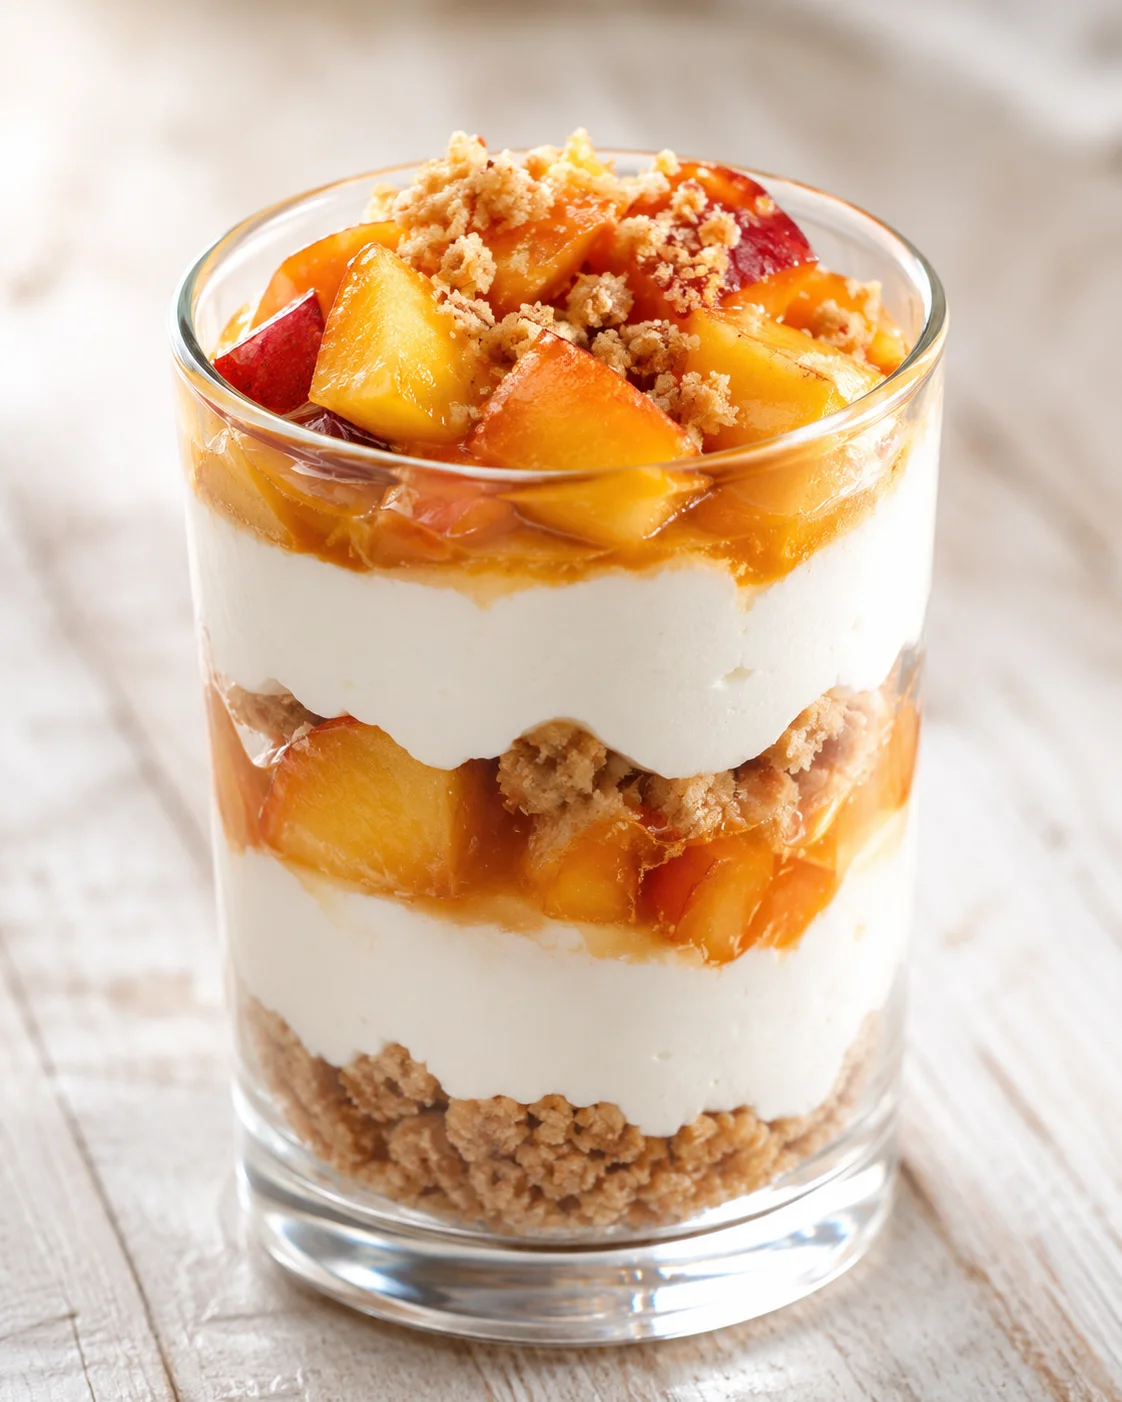
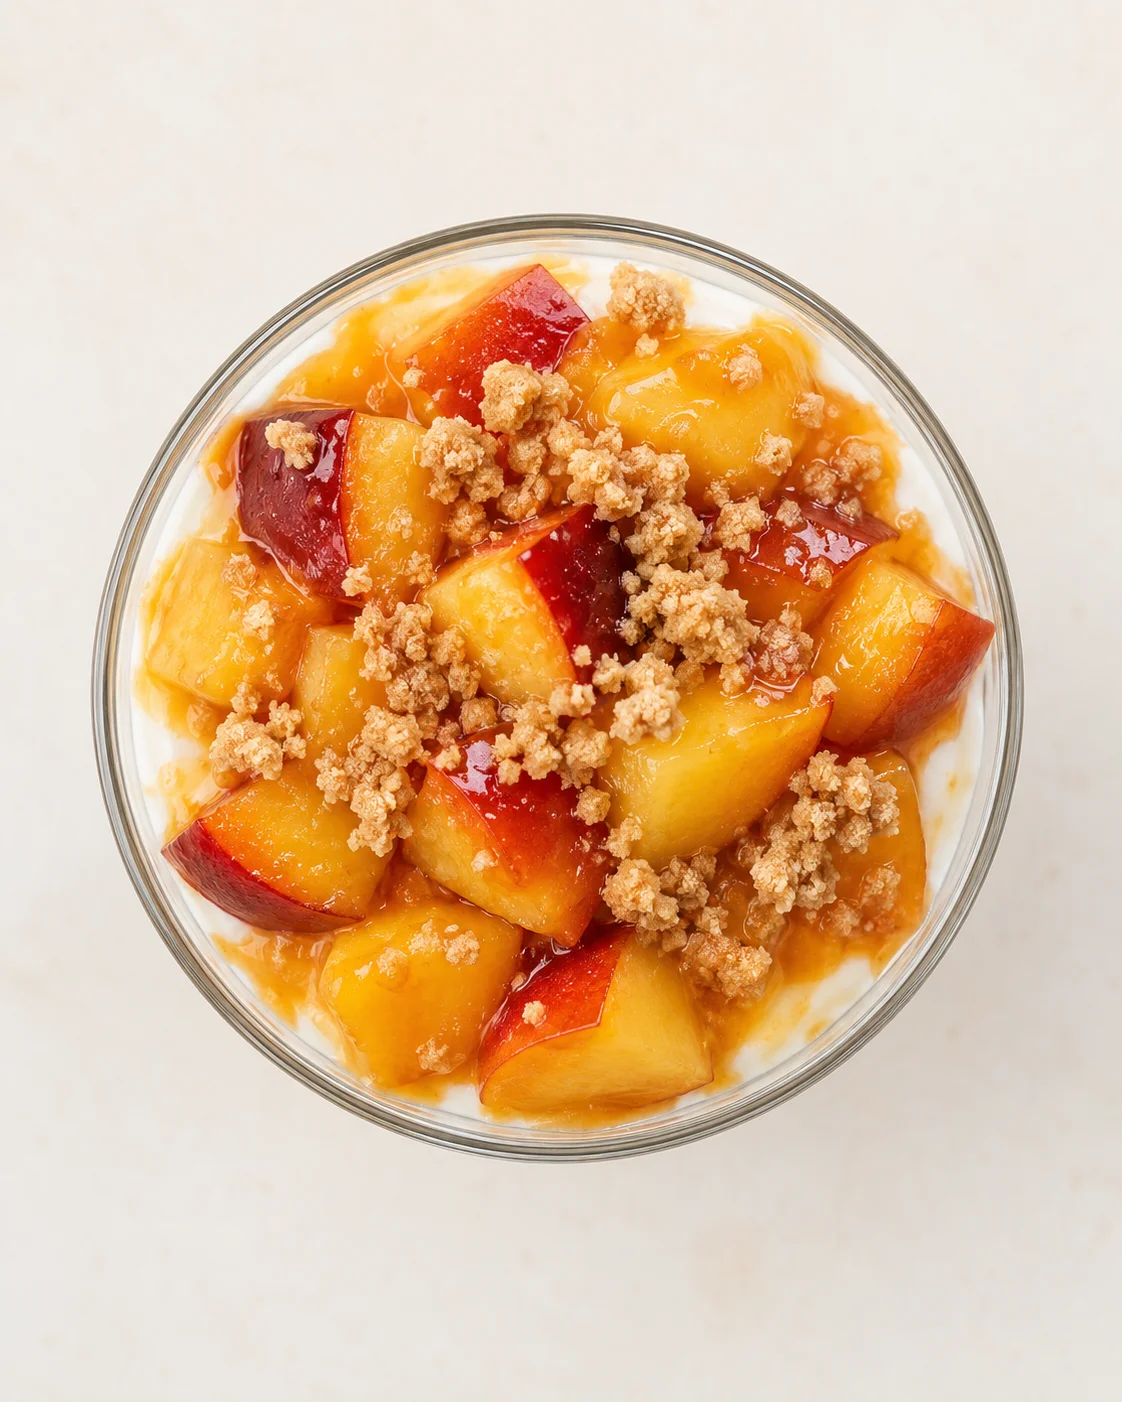
Imagine juicy summer peaches blended into a creamy, light cheesecake filling — that’s what this no bake peach cheesecake is all about. This dessert shines with fresh fruit, simple ingredients, and an easy assembly that makes it perfect for those warm days when you want a sweet treat without the heat of the oven. You can serve it in beautiful individual glasses or as one big cheesecake pie for sharing.
I’ve packed this post with everything you need: a straightforward recipe card with ingredients and nutrition facts, easy-to-follow steps, my favorite pro tips, some fun flavor twists, and advice on storing and prepping ahead. It takes about 10 minutes of active work plus chilling time, uses everyday ingredients like cream cheese, whipped cream, graham crackers, and fresh peaches, and there’s a little oven step for a crispy crust if you want it.
- A quick look at ingredients and tools
- Simple assembly instructions with timing and tricks
- Flavor swaps and creative serving ideas
- Storage tips, make-ahead hints, plus common questions answered
Scroll down when you’re ready to dive in — these tasty peach parfaits come together fast and disappear even faster!
What Makes It Irresistible
This no bake peach cheesecake is truly a summer dream come true. It combines fresh, fragrant peaches with a creamy, light cheesecake filling that feels like a cool breeze on a hot day. The dessert comes together quickly — around 10 minutes of hands-on prep — and is so easy to serve in charming individual glasses, perfect for parties or family dinners. Plus, you can skip baking the crust if you prefer, making it even easier. The graham cracker crust adds a crunchy contrast that really completes this fresh, fruity indulgence. Love peach desserts? You might also enjoy our Peach Cobbler Pound Cake with Bourbon Glaze.
Ingredients You’ll Need
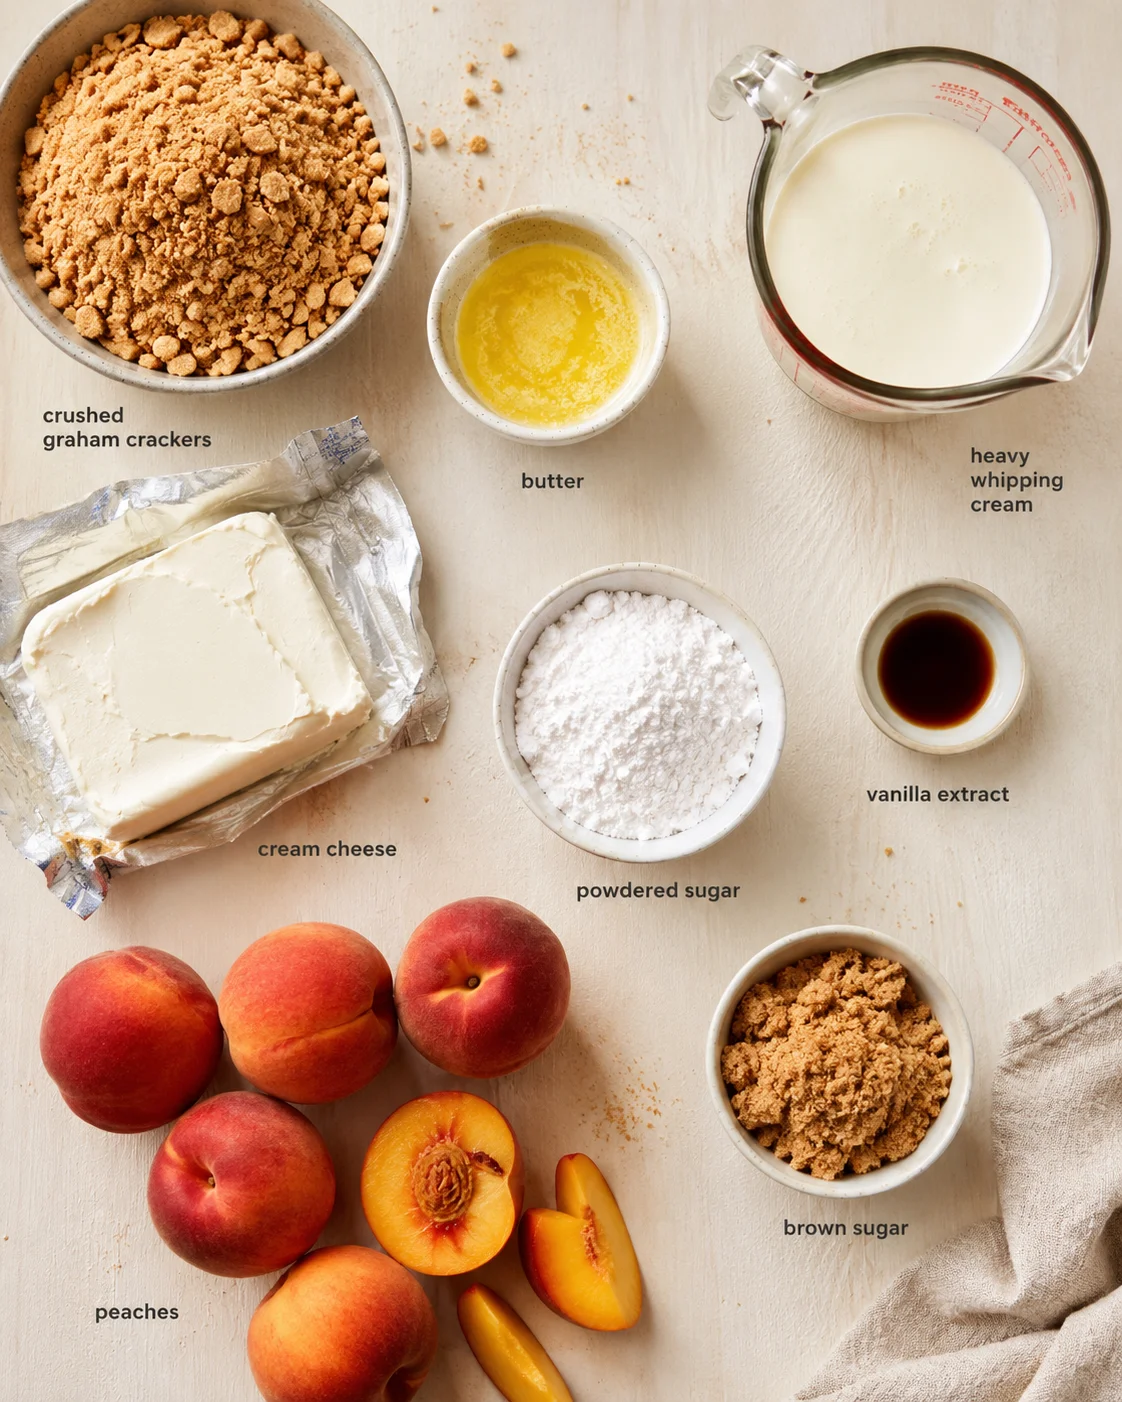
- 8 whole graham crackers, crushed
- 2 tablespoons butter
- 2 cups heavy whipping cream
- 8 oz cream cheese, softened
- ¾ cup powdered sugar
- 1 teaspoon vanilla extract
- 4-5 medium peaches or nectarines
- ¼ cup brown sugar
Assembly and Filling Steps
- Mix crushed graham crackers and melted butter until the crumbs are evenly coated.
- Press or spread the crust mixture onto a baking sheet or into dessert glasses/pan and bake at 325°F for 7 minutes for a crunchier crust, or skip baking and press firmly to compact; cool completely.
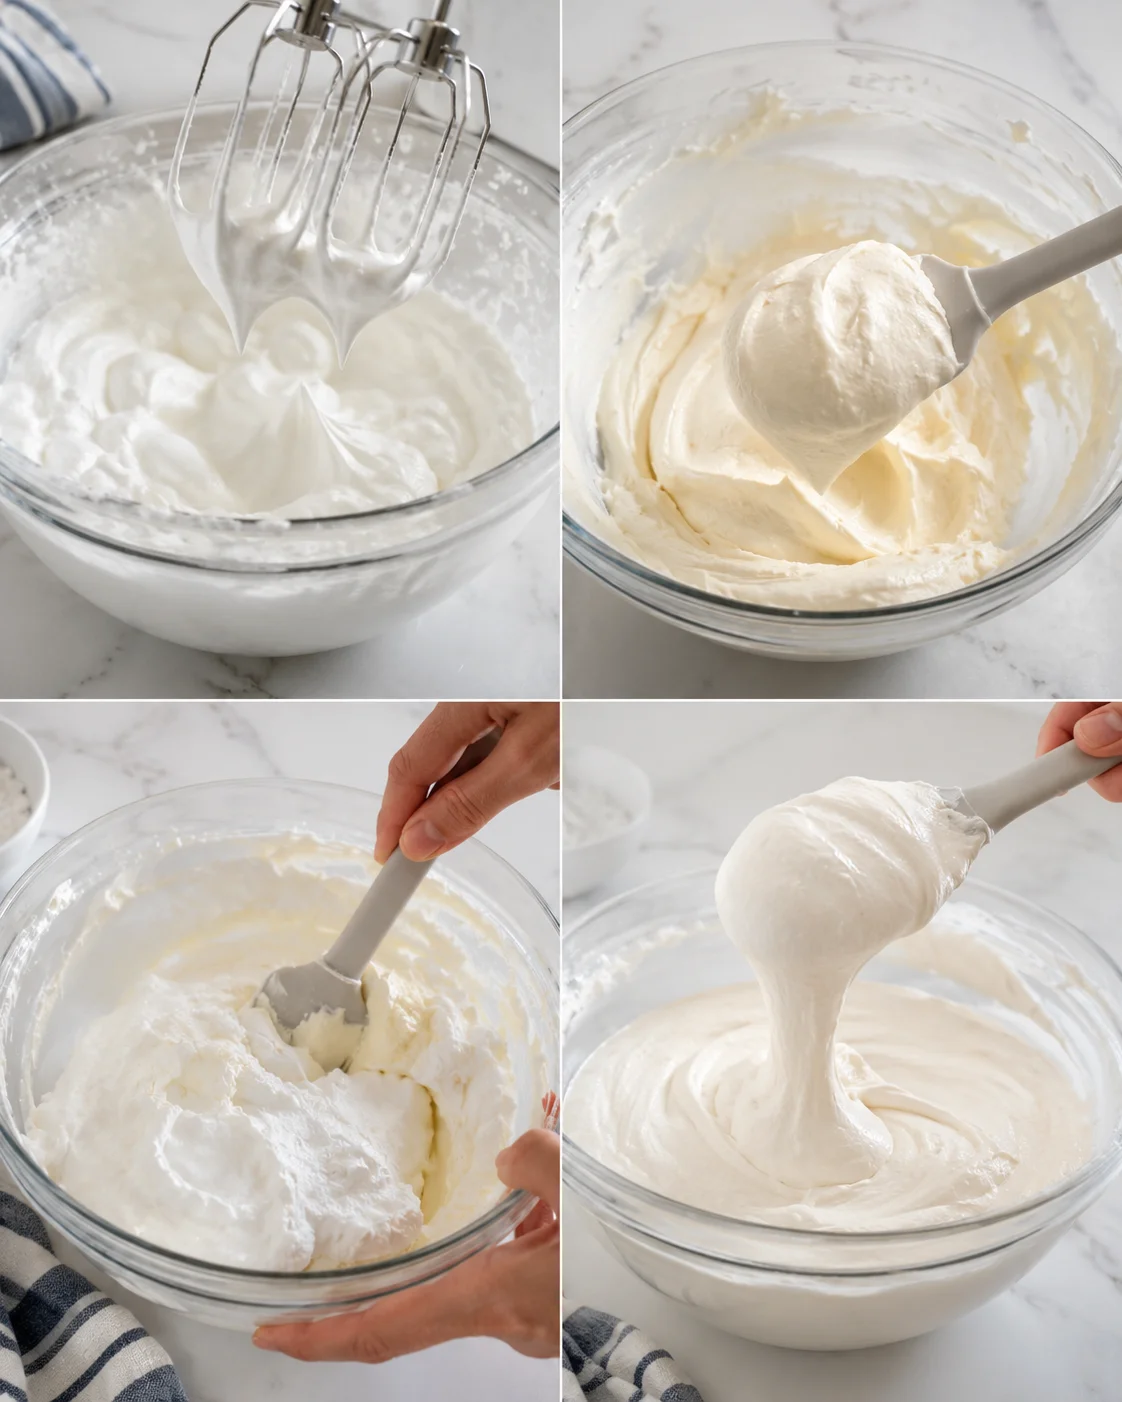
- Pour heavy whipping cream into a chilled mixing bowl and whip with an electric mixer until stiff peaks form.
- Beat softened cream cheese, powdered sugar, and vanilla extract in a separate bowl until smooth and lump-free.
-
Gently fold the whipped cream into the cream cheese mixture until combined and airy.
- Slice peaches or nectarines into bite-sized pieces, toss with brown sugar, and let sit for a few minutes to soften and sweeten.
- Layer crust, cheesecake filling, and brown sugar peaches in dessert glasses or a pie dish, repeating until filled and finishing with peaches and reserved crust crumbs.
- Chill the assembled desserts in the refrigerator for at least 1 hour to set.
Tips for Perfect Texture
- Pick ripe and fragrant peaches for the best flavor; if your peaches are a bit firm, just leave them out at room temperature for a day or two to soften up.
- For a firmer and fluffier filling, chill your mixing bowl and beaters before whipping the cream. Also, make sure your cream cheese is fully softened to avoid any lumps; this easy no-bake strawberry cheesecake walks through the same technique step by step.
- If you want to skip baking the crust, press the graham cracker mixture firmly into your dessert cups or pan so it holds together nicely.
- Use a rubber spatula to fold the whipped cream gently into the cream cheese mixture — don’t overmix! This keeps your cheesecake airy.
- Slice the peaches evenly so each bite gets a good mix of fruit and filling — it just makes the eating experience nicer.
Flavor Swaps and Add-Ins
- Berry twist: Swap out the peaches for fresh sliced strawberries or a mix of your favorite berries. Toss them with a tablespoon of sugar to make macerated strawberries (or add a splash of lemon juice) for extra zest.
- Spiced peaches: Sprinkle a pinch of cinnamon or nutmeg into the brown sugar when you toss the peaches for a cozy flavor kick.
- Cookie crust swap: Use crushed vanilla wafers or buttery shortbread cookies instead of graham crackers—or take inspiration from this no-bake Biscoff cheesecake and use speculoos cookies for a warmly spiced base.
- Mascarpone mix: Replace half the cream cheese with mascarpone for an extra rich and silky cheesecake filling.
- Boozy upgrade: For an adult twist, macerate your peaches with a tablespoon or two of bourbon, rum, or peach liqueur before assembling.
Storing and Make-Ahead Tips
Store any leftovers covered in an airtight container in the fridge for 2 to 3 days. When you store individual parfaits (like our Strawberry Parfait) layered with crust inside, the crust might soften over time—if that bothers you, just sprinkle some fresh graham crumbs on top before serving to bring back the crunch. Freezing the assembled cheesecake isn’t the best idea because the whipped filling changes texture after thawing. However, you can freeze the crust crumbs ahead of time and thaw them before assembling (graham or even an Oreo cookie crust is fine), or you can freeze the peach mixture (without whipped cream) for up to a month and assemble fresh whenever you’re ready.
Answers to Common Questions
- Q: Can I skip baking the crust? A: Absolutely! Baking the crust is optional and just adds an extra crunch. If you skip it, the crust will be softer but still delicious.
- Q: Can I use canned or frozen peaches? A: Yes! If you don’t have fresh peaches, drained canned peaches or thawed frozen peaches work in a pinch. Just drain off any excess syrup and toss with a little brown sugar or lemon juice to brighten the flavor.
- Q: How far ahead can I make these cheesecakes? A: You can assemble them up to 24 hours in advance and keep refrigerated. Any longer and the crust might soften too much.
- Q: Can I make this as one big cheesecake instead of individual servings? A: Definitely! Use a pie dish or springform pan, and layer the crust, filling, and peaches just like the layered glasses—see these Individual No-Bake Cheesecake Cups for step-by-step layering tips—then chill until firm.
- Q: What if my filling turns out runny? A: Make sure you whip your cream to stiff peaks and that the cream cheese is fully softened but not too warm. Also, fold the whipped cream gently to keep the volume—these steps usually do the trick.
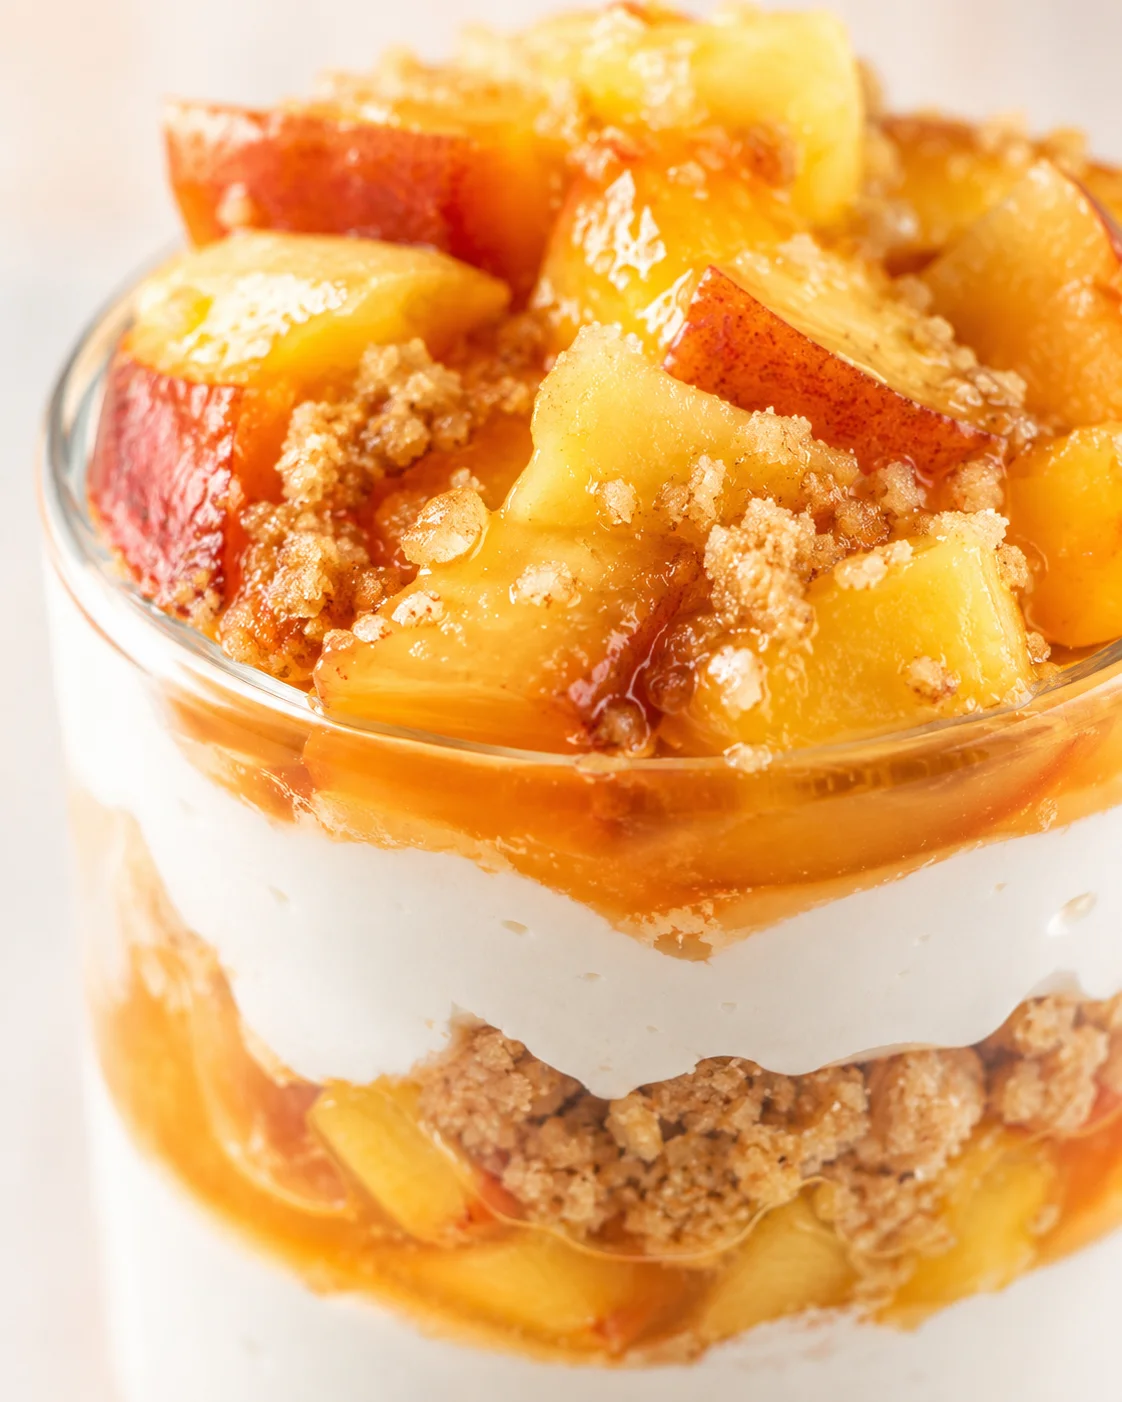
A light and creamy no bake cheesecake featuring fresh peaches blended into a smooth cheesecake filling layered over a crunchy graham cracker crust. Perfect for warm days and quick assembly with optional crust baking for added crunch.
- Prep Time: 10 minutes
- Cook Time: 7 minutes (optional crust baking)
- Total Time: 1 hour 17 minutes (including chilling)
- Yield: 6 servings 1x
- Category: Dessert
Ingredients
- 8 whole graham crackers, crushed
- 2 tablespoons butter, melted
- 2 cups heavy whipping cream
- 8 oz cream cheese, softened
- 3/4 cup powdered sugar
- 1 teaspoon vanilla extract
- 4–5 medium peaches or nectarines, sliced
- 1/4 cup brown sugar
Instructions
- Mix crushed graham crackers and melted butter until the crumbs are evenly coated.
- Press or spread the crust mixture onto a baking sheet or into dessert glasses/pan and bake at 325°F (163°C) for 7 minutes for a crunchier crust, or skip baking and press firmly to compact; cool completely.
- Pour heavy whipping cream into a chilled mixing bowl and whip with an electric mixer until stiff peaks form.
- Beat softened cream cheese, powdered sugar, and vanilla extract in a separate bowl until smooth and lump-free.
- Gently fold the whipped cream into the cream cheese mixture until combined and airy.
- Slice peaches or nectarines into bite-sized pieces, toss with brown sugar, and let sit for a few minutes to soften and sweeten.
- Layer crust, cheesecake filling, and brown sugar peaches in dessert glasses or a pie dish, repeating layers until filled and finishing with peaches and reserved crust crumbs.
- Chill the assembled desserts in the refrigerator for at least 1 hour to set.
Notes
Pick ripe and fragrant peaches for best flavor; soften firm peaches at room temperature for 1-2 days., Chill the mixing bowl and beaters before whipping cream for firmer, fluffier filling., Use a rubber spatula to gently fold whipped cream into cream cheese mixture to maintain airiness., If skipped baking crust, press graham cracker mixture firmly to hold crust together., Optionally, sprinkle fresh graham cracker crumbs on top before serving if crust softens in storage., Flavor variations include using strawberries or mixed berries, spicing peaches with cinnamon or nutmeg, substituting cookie crusts like vanilla wafers or shortbread, mixing mascarpone with cream cheese, or macerating peaches with bourbon, rum, or peach liqueur for an adult version., Store leftovers covered in airtight container in fridge for 2-3 days. Freezing the assembled dessert is not recommended due to texture changes, but crust crumbs or peach mixture (without whipped cream) can be frozen separately.
Nutrition
- Serving Size: Approximately one glass or 1/6 of pie
- Calories: Approximately 350 calories per serving
- Fat: 22 g per serving
- Carbohydrates: 35 g per serving
- Protein: 6 g per serving
More in Baking & Desserts
Apple Fritter Cinnamon Roll Bake
Apple Pie Cookies Recipe
Cinnamon Apple Bread