Chocolate Hazelnut Mascarpone Cups

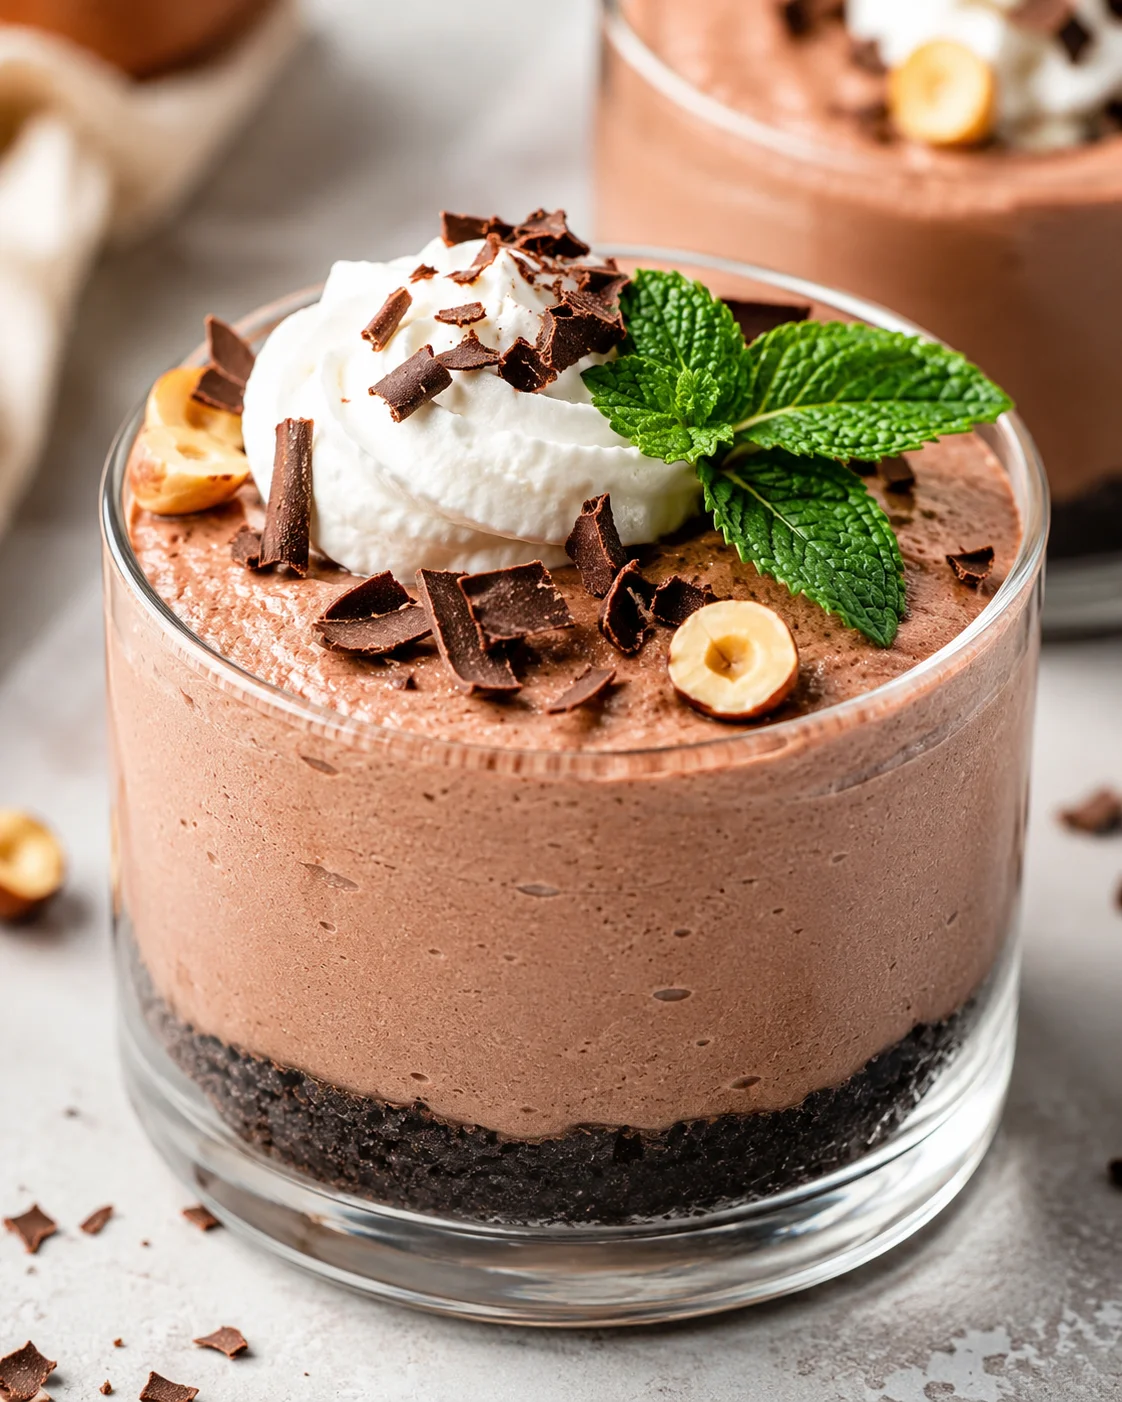
Here’s a recipe for creamy and dreamy Chocolate Hazelnut Mascarpone Cups! This no-bake chocolate hazelnut dessert cups treat features a luscious, smooth mascarpone and chocolate-hazelnut blend served chilled on top of a crunchy chocolate cookie crumb crust.
These chocolate hazelnut dessert cups are truly a rich, creamy little slice of heaven!
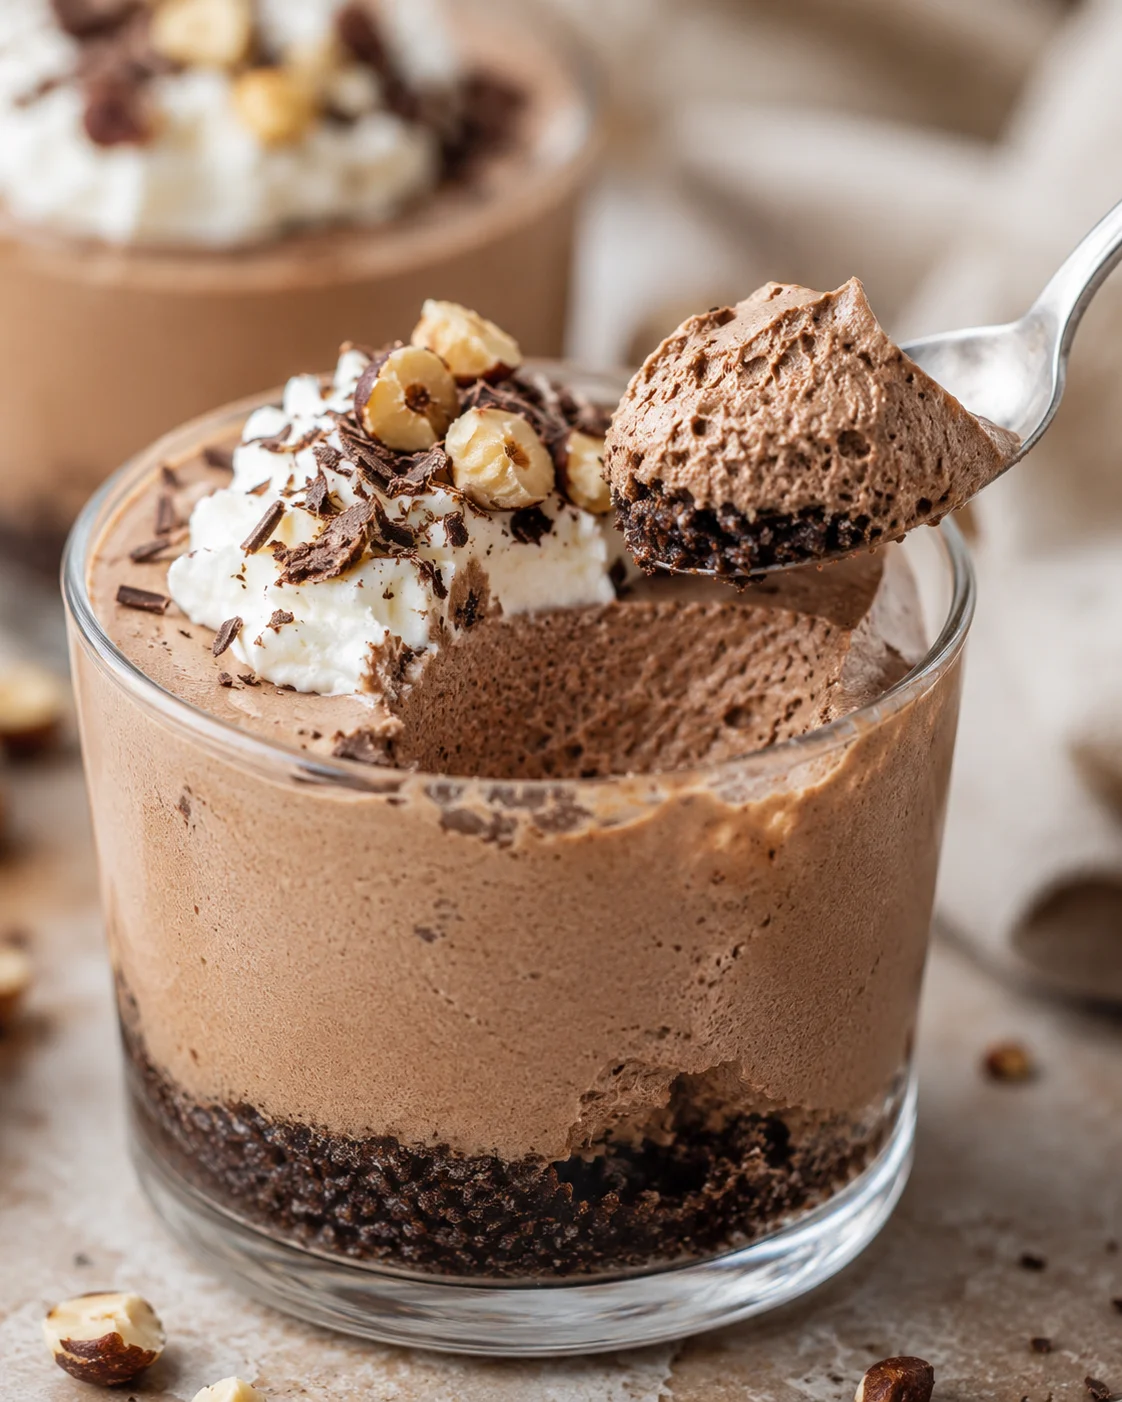
We start by beating creamy mascarpone with chocolate hazelnut spread, powdered sugar, and a touch of vanilla until silky smooth. Then, we gently fold in fluffy whipped cream for that light, airy feel.
Next, we layer that dreamy cheesecake-like filling over a crunchy chocolate cookie crust, spoon them into individual cups, and pop them in the fridge to chill for a couple of hours.
They’re even better if you make them the day before, which makes for such an easy, impressive dessert when you’re entertaining.
Right before serving, add a little whipped cream on top if you like. I love finishing mine with a fresh mint sprig and some chocolate flakes — it adds a nice pop of color and a bit of texture contrast.
Feel free to get creative here: sprinkles, chocolate curls, chopped hazelnuts, or fresh strawberries would all be fantastic toppings to try.
Welcome! You’re about to whip up some easy and indulgent no‑bake chocolate hazelnut dessert cups that feel fancy but take almost no time at all. These Chocolate Hazelnut Mascarpone Cups have a silky, cheesecake-inspired mascarpone and chocolate-hazelnut filling, lightened with whipped cream, set on a crunchy chocolate cookie crumb base, then chilled to perfect refreshment.
Below you’ll find everything to make these gorgeous individual cups: a simple ingredient list, clear, step-by-step directions for both crust and filling, handy pro tips for smooth texture, smart make-ahead advice, great flavor swaps, and answers to all those questions you might ask. Plan on about 15 minutes of hands-on prep, 2 hours (or even overnight) to chill, and you’ll have a dessert that serves six and is super easy to dress up however you like.
What Makes Them Irresistible
These chocolate hazelnut dessert cups are a dream for anyone who wants a quick, no-bake dessert that feels like a treat but doesn’t take all day.
- They’re no-bake and come together fast—only about 15 minutes of prepping.
- The mascarpone gives this dessert a rich, cheesecake flavor (mascarpone also shines in this Strawberry Mascarpone Cake), while the whipped cream keeps it light and fluffy.
- They’re perfect for making ahead—just chill for a couple of hours or even overnight.
- You can easily swap out the cookies, spreads, or toppings to fit what you have or your taste.
- Individually served cups look classy and are a breeze to portion for any gathering, much like these no-bake mini Biscoff cheesecakes.
What You’ll Need
- 12 chocolate creme sandwich cookies
- 2 tablespoons (30 grams) unsalted butter, melted
- 8.8 ounces (250 grams) Mascarpone cheese, softened at room temperature
- 2/3 cup (200 grams) chocolate hazelnut spread
- 1/4 cup (30 grams) powdered sugar
- 1 teaspoon vanilla extract
- 1 cup (240 milliliters) heavy cream
Assembling the Cups
- Bring mascarpone to room temperature (about 30–60 minutes).
- Pulse chocolate creme sandwich cookies in a food processor until they are super fine crumbs.
- If you don’t have a food processor, seal cookies in a zip-top bag and crush with a rolling pin until fine.
- Mix the crushed cookies with melted butter until the crumbs are evenly coated.
- Divide the crumb mixture evenly among 6–8 small glasses and press firmly with a spoon, fingers, or tart tamper to form the crust.
- Chill the crusts in the refrigerator while you prepare the filling.
- Beat mascarpone, chocolate hazelnut spread, powdered sugar, and vanilla together with a stand mixer (paddle) or hand mixer until smooth and glossy.
- Whip the heavy cream in a separate bowl until it holds soft peaks.
-
Fold about one-third of the whipped cream into the mascarpone mixture to lighten it, then gently fold in the remaining whipped cream until fully combined and airy.
- Spoon or pipe the chocolate hazelnut mascarpone filling over the chilled cookie crusts in each glass.
- Cover the glasses and refrigerate for at least 2 hours or overnight to chill and set the cups.
Kitchen Tips for Perfect Cups
Using a food processor to crush cookies is hands-down the easiest way. It gives you a nice, uniform crumb texture. No processor? Just pop those cookies into a zip-top bag, squeeze out extra air, seal tight, and pound away with a rolling pin or heavy pan.
Press the cookie crumbs down solidly with the back of a spoon, your fingers, or a tart tamper to get a firm base that holds up well under the creamy topping (the same technique you’d use for an easy graham cracker crust recipe). Then stick those cups in the fridge until you’re ready to add the filling.
Room temperature mascarpone is key! Taking it out about 30 minutes to an hour before mixing helps it combine smoothly with the other ingredients, preventing lumps and making your dessert silky.
Don’t have mascarpone? No worries—softened cream cheese works as a substitute and gives the dessert a slightly tangy, firmer texture, much like the filling in this easy no-bake cheesecake recipe.
If you prefer a less sweet version, just skip the powdered sugar or reduce it to about 2 tablespoons to suit your taste.
Keep your chocolate hazelnut dessert cups covered in the fridge for at least 2 hours to chill, or store for up to 3 days—it keeps them fresh and creamy.
Bear in mind serving size may vary depending on how big your glasses are, so adjust accordingly.
Easy Swaps and Add-Ins
Want to mix things up or use what’s in your pantry? Here are some easy swaps and ideas to try:
- Switch mascarpone for an equal amount of softened cream cheese for a tangier, a bit thicker filling.
- Try different crusts like graham cracker crumbs, Biscoff cookies, or crisp chocolate wafer cookies (or a homemade Oreo pie crust) for a new twist.
- For a mocha flavor, mix in 1–2 teaspoons of instant espresso powder into the mascarpone blend.
- Swap out the chocolate hazelnut spread for almond or peanut butter, adding 1–2 tablespoons of cocoa powder to keep that chocolatey flavor.
- Add a fruity surprise by layering sliced strawberries or raspberry jam between the crust and cream (for inspiration, see this No-Bake Strawberry Cheesecake).
- Dress ’em up with texture and flavor by sprinkling chopped toasted hazelnuts, mini chocolate chips, or chocolate curls on top right before serving.
How to Store and Make Ahead
Here’s how to store your chocolate hazelnut dessert cups and make them ahead for easy entertaining.
- Keep the cups covered in the refrigerator for at least 2 hours to set, and up to 3 days. Use plastic wrap over each cup or store them in an airtight container to keep them fresh.
- To make ahead, prepare the cookie crusts and refrigerate covered. Make the mascarpone cream ahead and keep it refrigerated (unwhipped) for up to 24 hours, then whip fresh cream (see our guide to perfect homemade whipped cream) and fold it in just before assembling for best texture.
- Freezing isn’t the best option here, as whipped cream and mascarpone can separate when thawed. If you do freeze, skip the whipped cream topping, freeze the cups well sealed for about a month, then thaw overnight in the fridge. Texture may change a bit, so stir gently before serving.
-
Leftovers keep best chilled. If they get a little firm in the fridge, let them sit at room temperature for 10 to 20 minutes before scooping—they’ll soften right up.
Answers to Common Questions
Got questions? Here are answers to some common ones about these chocolate hazelnut dessert cups.
- Can I use cream cheese instead of mascarpone? Absolutely! Use the same amount of softened cream cheese. Your cups will be a touch tangier and a little firmer, but still delicious. If you love this chocolate-hazelnut combo and want a full cake version, try our Nutella Chocolate Cake.
- How many servings does this recipe make? It serves 6, but you can stretch to 8 smaller portions depending on the size of your cups.
- Can I prepare these ahead of time? Yes! You can assemble the cups and refrigerate them for 2 hours or overnight. They’re great for making ahead and travel well if kept chilled.
- My mascarpone got lumpy—what happened? Mascarpone mixes best at room temperature. If it’s cold, it can seize or get lumpy. Beat gently, and avoid overmixing for the smoothest texture.
- Is there a nut-free alternative to the chocolate hazelnut spread? You can use seed or nut butters if avoiding hazelnuts—just check labels for cross-contamination. Also, some chocolate spreads are labeled nut-free, which work well. For a completely nut-free chocolate dessert, try our Chewy and Gooey Chocolate Crinkle Cookies.
- How can I stabilize the whipped cream? For firmer whipped cream, whisk in 1–2 tablespoons powdered sugar or dissolve 1 teaspoon unflavored gelatin in 1 tablespoon warm water (chill briefly), then fold into the mascarpone.
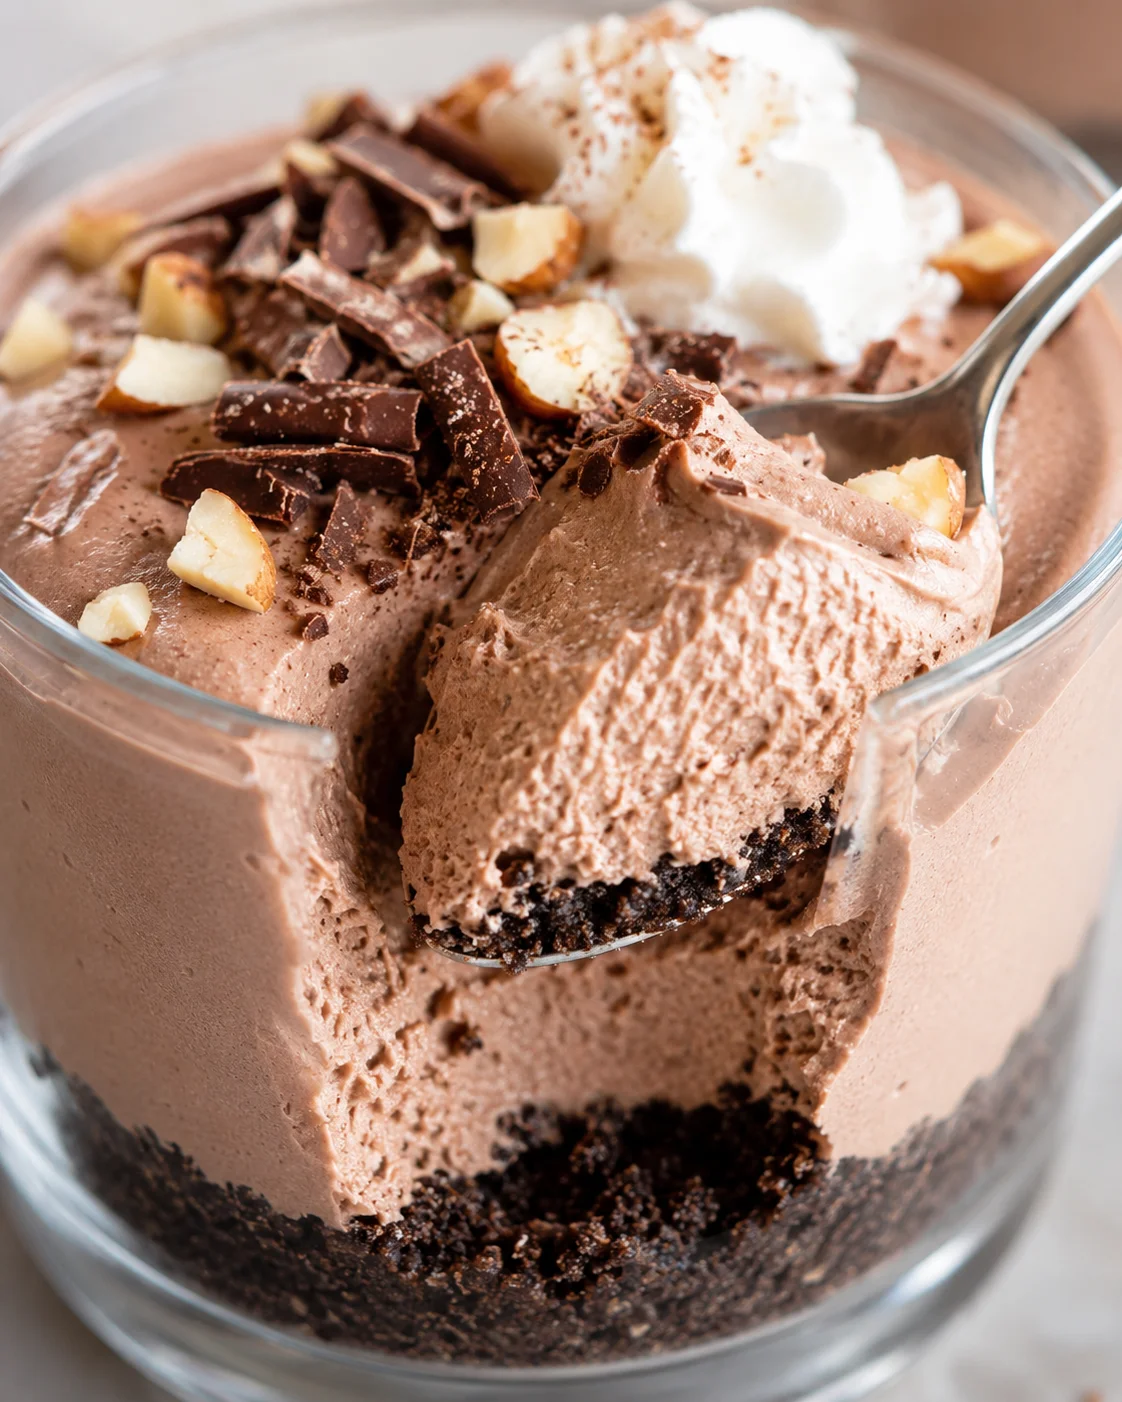
No-bake creamy dessert cups featuring a luscious mascarpone and chocolate hazelnut filling layered over a crunchy chocolate cookie crumb crust, served chilled.
- Prep Time: 15 minutes
- Cook Time: 0 minutes
- Total Time: 2 hours 15 minutes
- Yield: 6 servings 1x
- Category: Dessert
Ingredients
- 12 chocolate creme sandwich cookies
- 2 tablespoons (30 grams) unsalted butter, melted
- 8.8 ounces (250 grams) mascarpone cheese, softened at room temperature
- 2/3 cup (200 grams) chocolate hazelnut spread
- 1/4 cup (30 grams) powdered sugar
- 1 teaspoon vanilla extract
- 1 cup (240 milliliters) heavy cream
Instructions
- Bring mascarpone to room temperature (about 30–60 minutes).
- Pulse chocolate creme sandwich cookies in a food processor until they become super fine crumbs.
- If no food processor is available, place cookies in a zip-top bag and crush with a rolling pin until fine.
- Mix crushed cookies with melted butter until crumbs are evenly coated.
- Divide crumb mixture evenly among 6–8 small glasses and press firmly to form the crust.
- Chill the crusts in the refrigerator while preparing the filling.
- Beat mascarpone, chocolate hazelnut spread, powdered sugar, and vanilla together with a mixer until smooth and glossy.
- Whip heavy cream in a separate bowl until it holds soft peaks.
- Fold one-third of whipped cream into mascarpone mixture to lighten, then gently fold in remaining whipped cream until fully combined and airy.
- Spoon or pipe filling over chilled cookie crusts in each glass.
- Cover glasses and refrigerate for at least 2 hours or overnight to chill and set.
Notes
Using a food processor yields uniform cookie crumbs; alternatively, crush cookies in a sealed bag with a rolling pin., Press crust firmly to hold well under filling., Room temperature mascarpone ensures smooth mixing and silky dessert texture., Cream cheese can substitute mascarpone for a tangier, firmer texture., Adjust powdered sugar for sweetness preference or omit for less sweetness., Cups should be kept covered and chilled for at least 2 hours up to 3 days., Store assembled cups covered in the refrigerator. Whipped cream stability can be improved with powdered sugar or gelatin., Freezing is not recommended due to separation risks but if done, omit whipped cream topping and thaw overnight gently before serving., Serving size may vary depending on cup size; recipe serves 6 but can be stretched to 8 smaller servings., Flavor and texture variations are possible by swapping cookie crusts, spreads, or adding espresso, nuts, fruits, or chocolate toppings.
Nutrition
- Serving Size: 1 cup (approximately)
- Calories: Approximately 350 calories per serving
- Fat: 25 g per serving
- Carbohydrates: 30 g per serving
- Protein: 6 g per serving
More in Uncategorized

Crock Pot Chicken and Rice Recipe

Crock-Pot Chicken Noodle Soup

Slow Cooker Hearty Chicken Soup.