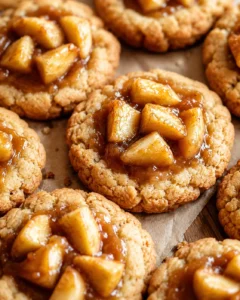
Apple Pie Cookies Recipe

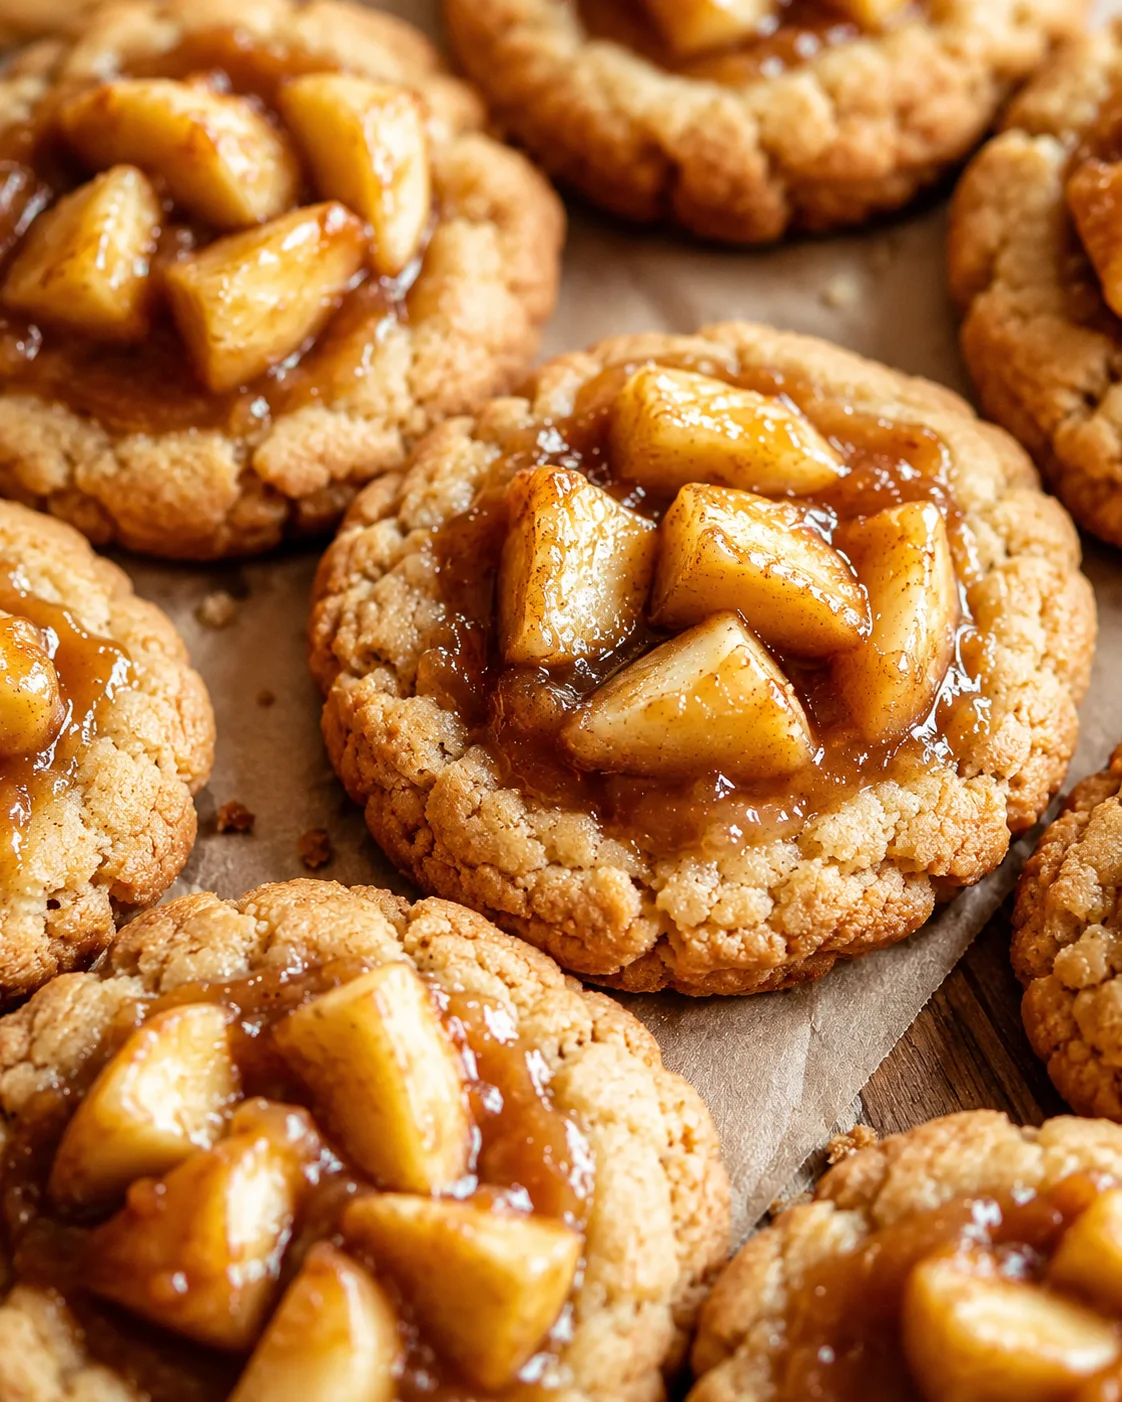
Apple pie is a classic dessert that brings cozy feelings, tasty memories, and that warm, comforting vibe we all love.
But what if you could enjoy all that delicious apple pie flavor in a fun little handheld bite?
That’s where Apple Pie Cookies come in – they’re a brilliant mix of cookie and pie, perfect for munching anytime and anywhere.
Whether you’re a baking pro or just starting out, I’m here to guide you through everything you need to know to whip up these total crowd-pleasers.
Ready to dive in? Let’s bake!
Apple pie cookies bring together the best of two worlds: the warm spice and tender apples of classic apple pie, combined with the easy, fun nature of a cookie.
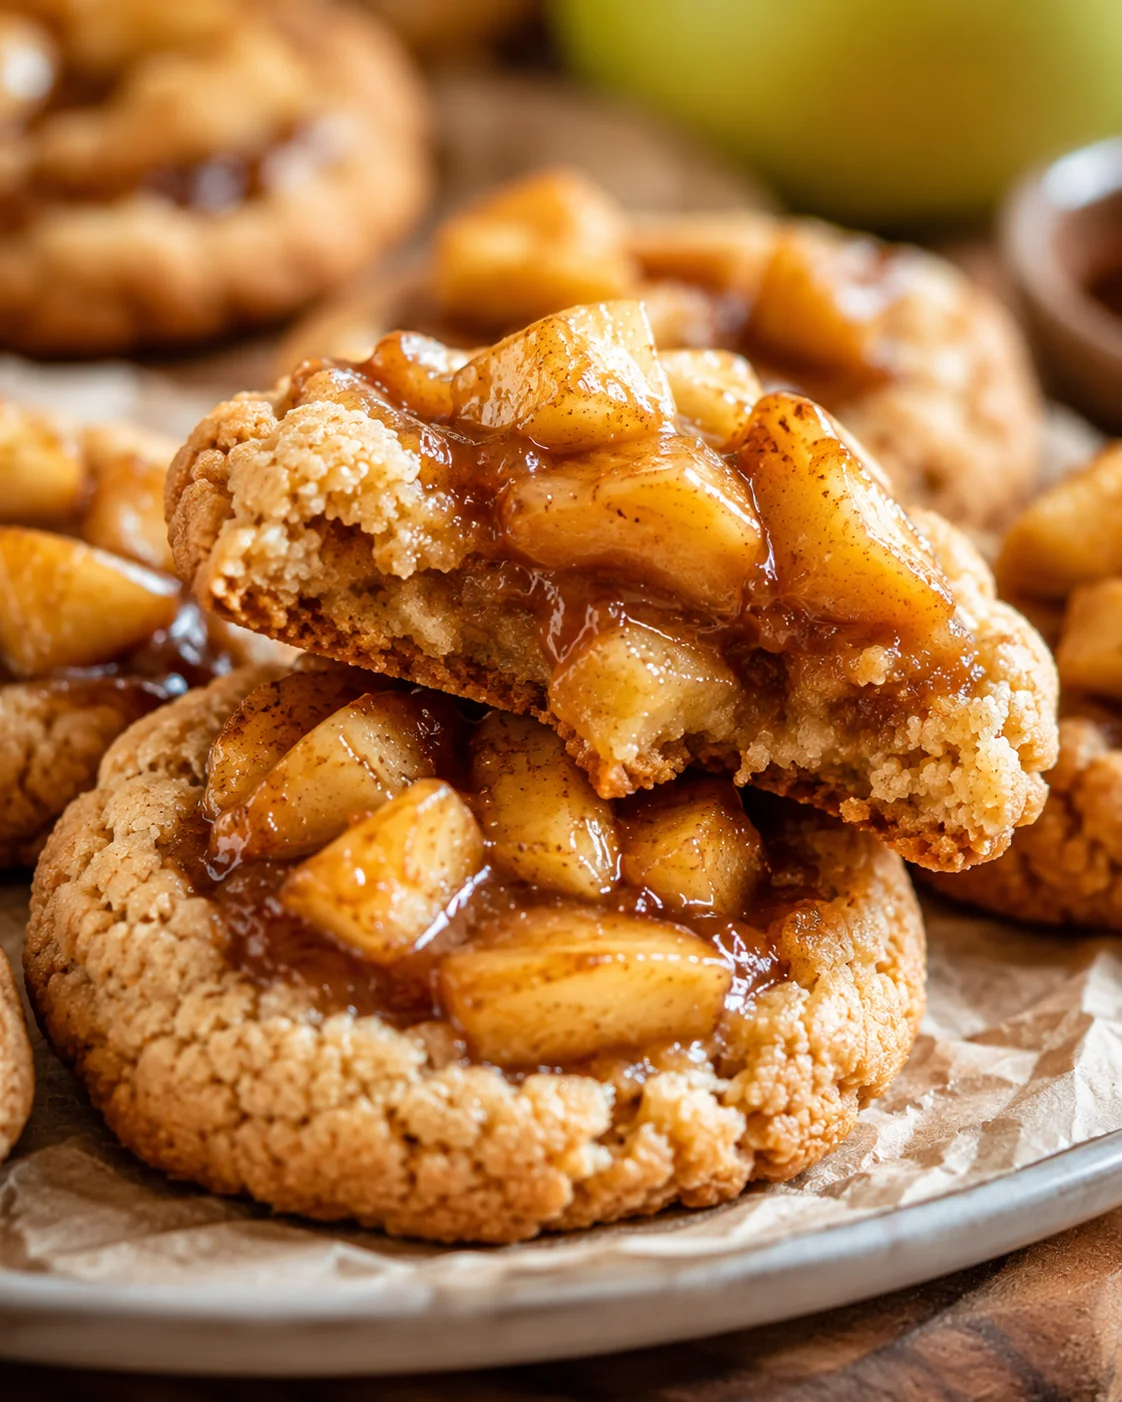
These little delights pack all the flavors of your favorite pie filling plus a flaky, buttery crust into perfectly sized 2-3 inch cookies that are great for snacks, sharing, or satisfying that sweet tooth without cutting a big slice.
What’s more, apple pie cookies are super adaptable.
You can make them as drop cookies filled with spiced apples, sandwich a layer of filling between two cookie rounds, or even bake them like tiny tarts.
The result? A bite of autumn magic you can enjoy year-round!
Apple pie is that perfect flavor for chilly nights and festive gatherings — and these Apple Pie Cookies capture all that goodness in a neat, easy-to-handle bite. Picture flaky, buttery cookie dough embracing a warm, warmly spiced apple center: all the nostalgia of your favorite pie but none of the fuss with slicing or serving.
In this post, I’ll take you step-by-step through making these beauties at home. Whether you’re feeling confident in the kitchen or just curious about pie-inspired baking, this recipe makes about 24 cookies and takes just under two hours from mixing to cooling (around 30 minutes of hands-on prep, an hour chilling, and 15 minutes baking). Plus, it’s super easy to tweak for special diets or fun flavor swaps.
Here’s what you’ll get:
- A detailed ingredient list with measurements
- Clear, beginner-friendly baking steps
- Handy tips for flaky crusts and juicy but not soggy fillings
- Advice on storing, freezing, and reheating your cookies
- Tasty variations and answers to the questions I get asked most
Why You’ll Love These
These apple pie cookies pack all the warmth and spice of a homemade apple pie into an easy-to-eat cookie format. You get that flaky, buttery crust hugging a cinnamon-spiced apple filling, so every bite is like a mini celebration of fall’s best flavors. Here’s why they’re so great:
- Easy to take on the go — perfect for snacks, packing lunches, or party platters.
- Pretty quick to pull together — less than two hours total, including dough chilling.
- Super flexible — customize them with things like caramel drizzle, nuts, or make them gluten-free or vegan.
- Great for prepping in advance — both dough and assembled cookies freeze well for busy days or last-minute treats.
Gather Your Ingredients
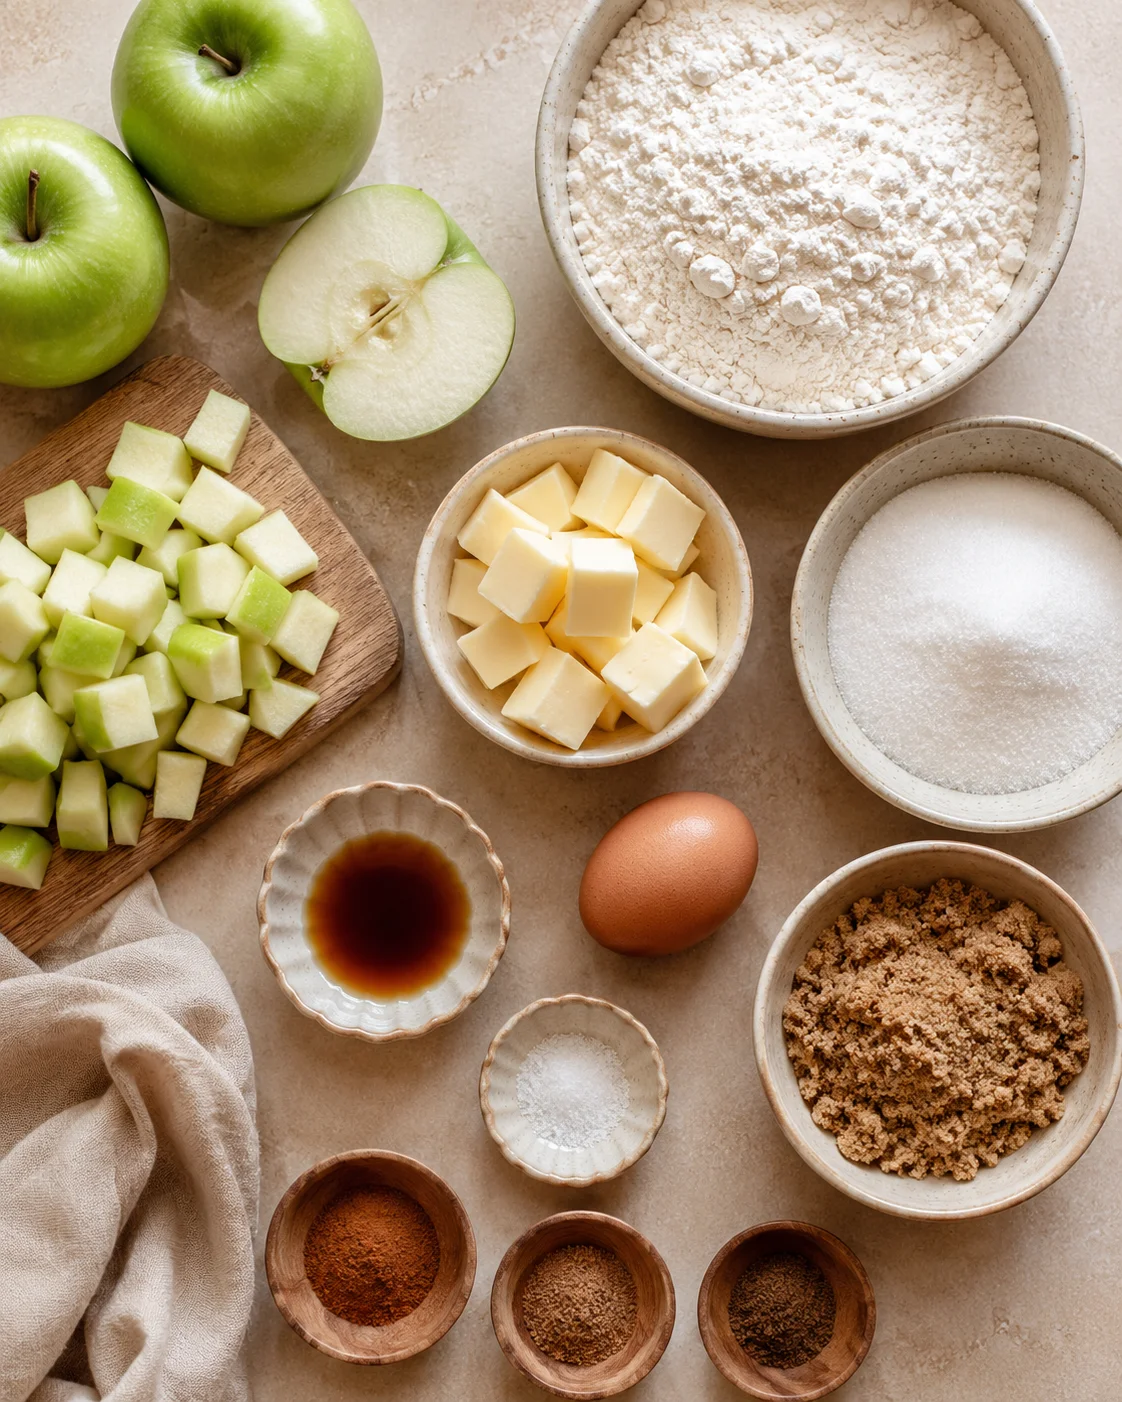
- 2 ½ cups all-purpose flour
- 1 cup unsalted butter cold and cubed
- ¼ cup granulated sugar
- ¼ cup brown sugar
- 1 egg
- 1 tsp vanilla extract
- ¼ tsp salt
- 2 Granny Smith apples peeled and finely diced
- ¼ cup brown sugar for filling
- 1 tsp cinnamon
- ¼ tsp nutmeg
- Pinch of allspice
How to Make the Cookies
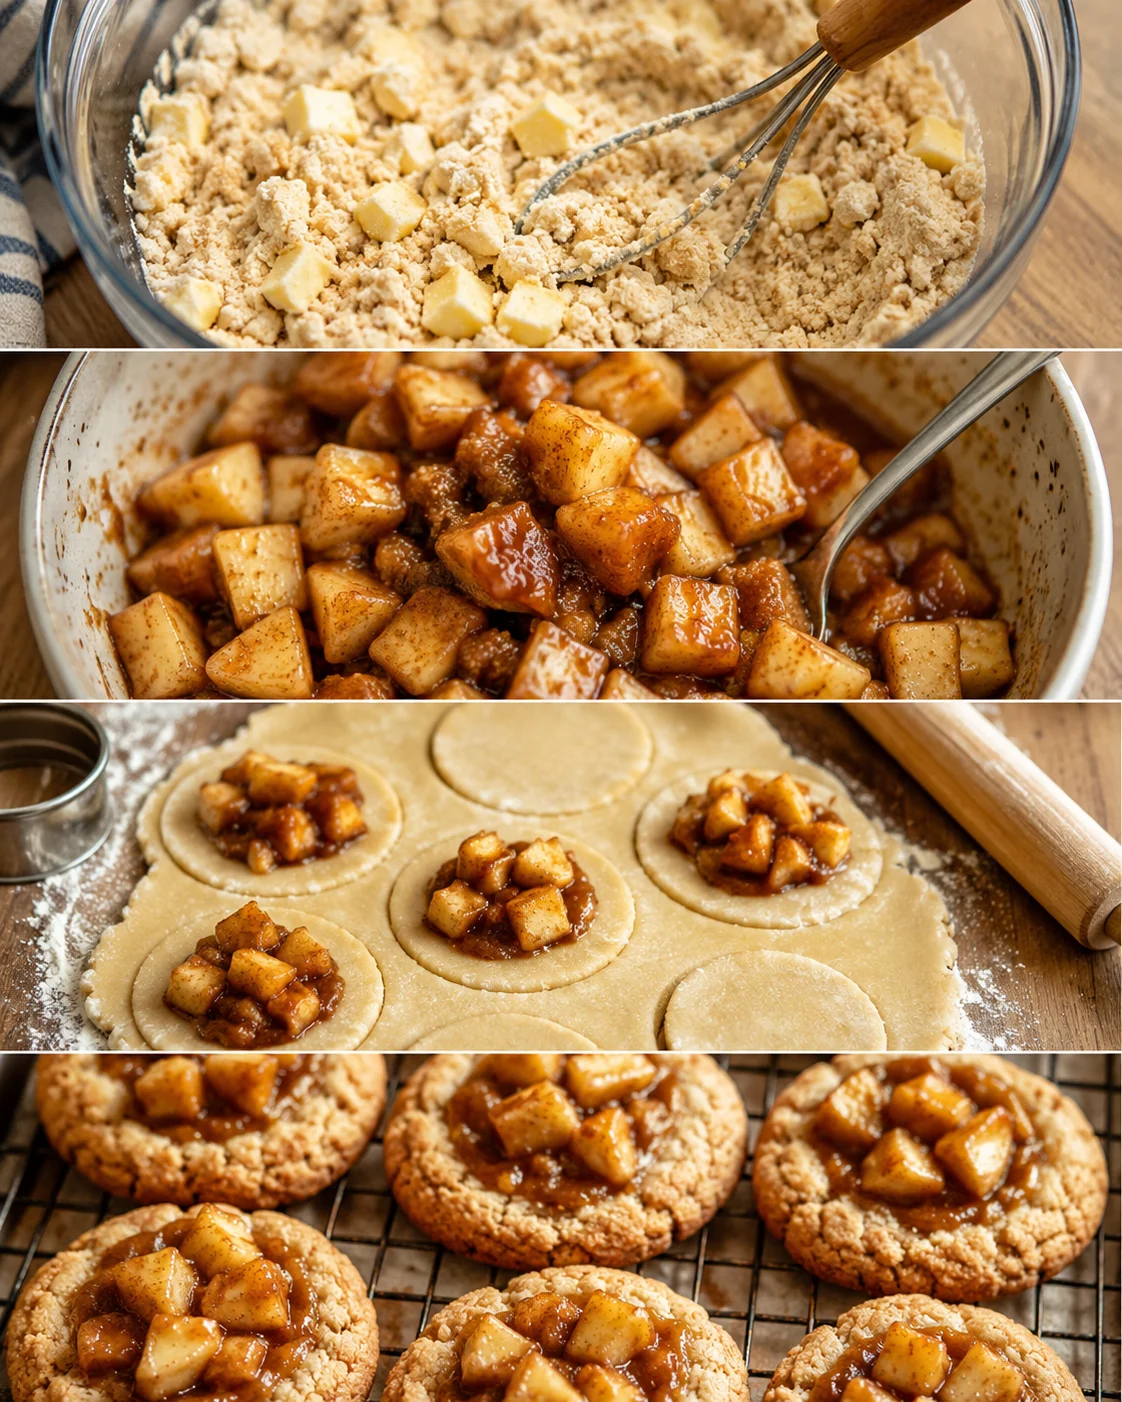
- Pulse 2½ cups all-purpose flour, ¼ cup granulated sugar, ¼ cup brown sugar, and ¼ tsp salt in a food processor until combined.
- Add 1 cup cold, cubed unsalted butter and pulse until mixture resembles coarse crumbs.
-
Add 1 egg and 1 tsp vanilla; pulse just until the dough begins to come together without overmixing.
- Shape the dough into a disk, wrap tightly in plastic wrap, and chill in the refrigerator for 1 hour.
- Toss peeled, finely diced apples with ¼ cup brown sugar, 1 tsp cinnamon, ¼ tsp nutmeg, and a pinch of allspice to make the filling.
- Optional: sauté the apple filling over medium heat 3–5 minutes until softened and most liquid evaporates; cool before using.
- Preheat oven to 350°F (175°C) and line a baking sheet with parchment paper.
- Lightly flour a work surface and roll the chilled dough to about 1/8-inch thickness.
- Use a 3-inch cutter to cut out dough circles.
- Place a small spoonful of cooled apple filling in the center of each dough circle, avoiding overfilling.
- Lift and fold the edges up around the filling to form a mini tart and pinch the edges tightly to seal.
- Optional: brush edges with beaten egg or sprinkle a little sugar; arrange cookies on the prepared sheet about 1 inch apart.
- Bake 15–18 minutes until edges are golden brown and the filling is bubbling.
- Transfer baked cookies to a wire rack to cool.
Pro Tips for Perfect Results
Baking can always use a few helpful hints, so here are my top tips to make sure your apple pie cookies turn out just right every time:
- Keep it cool: Use cold butter for your dough. This is the secret to getting that tender, flaky crust you crave.
- Don’t overmix: Mix your dough only until it comes together. Overworking it will make your cookies tough.
- Chill out: Let your dough rest in the fridge before rolling—it helps prevent spreading and keeps the texture perfect.
- Size matters: Cut your apples into small, even pieces. This helps them cook evenly and fit nicely inside each cookie.
- Seal the deal: Pinch your cookie edges tight to stop that yummy filling from leaking out while baking.
- Golden brown: Watch your cookies closely in the oven. Pull them out once they’re golden and not a shade darker to keep them tender and tasty.
Once cooled, store your cookies in an airtight container at room temperature—they’ll stay fresh for up to 3 days, or pop them in the fridge for up to a week.
Got extra? They freeze beautifully for up to 3 months, making them a lifesaver for busy days or surprise guests.
These apple pie cookies are wonderful on their own, but if you’re looking to switch things up, here are some fun serving ideas:
- A la mode: Serve these cookies warm alongside a scoop of vanilla ice cream for that ultimate cozy combo.
- Dunking delight: They’re divine dipped in a cup of hot apple cider or fresh coffee.
- Crumble topping: Sprinkle with a crunchy oat crumble just before baking for added texture.
- Dessert charcuterie: Add them to a dessert board with cheese, nuts, and fresh fruit for a fun spread.
- Gift giving: Package in pretty boxes or jars—they make awesome homemade gifts.
For a pretty finish, dust your apple pie cookies with powdered sugar or drizzle a simple glaze made from powdered sugar and milk.
Instructions
- Pulse the flour, granulated sugar, brown sugar, and salt together until combined.
- Add the cold butter cubes and pulse until the mix looks like coarse crumbs.
- Then add the egg and vanilla extract and pulse until the dough comes together but don’t overmix.
- Wrap the dough in plastic wrap and chill it for 1 hour.
- While dough chills, mix diced apples with brown sugar, cinnamon, nutmeg, and allspice for the filling.
- Preheat your oven to 350°F (175°C).
- Roll the dough out to 1/8 inch thickness; cut into 3-inch circles.
- Place a spoonful of apple filling in the center of each circle.
- Fold the edges up around the filling to make a little tart and pinch to seal.
-
Bake for 15-18 minutes until golden brown on the edges.
Creative Swaps and Add-Ins
Who says you have to stick with plain old apple pie flavor? Here are some fun ways to mix it up and make these apple pie cookies your own:
- Caramel Apple Pie Cookies: Add a drizzle of caramel sauce over the baked cookies for a rich, gooey finish.
- Apple Pie Cookie Sandwiches: Spread a little extra apple filling between two cookies to make sandwich-style treats.
- Nutty Apple Pie Cookies: Toss in chopped pecans or walnuts for extra crunch and flavor in the filling.
- Gluten-Free Apple Pie Cookies: Swap the all-purpose flour for your favorite gluten-free flour blend to make these safe for gluten-sensitive friends.
- Vegan Apple Pie Cookies: Use vegan butter and replace the egg with a flax egg (1 tbsp ground flax + 3 tbsp water) to keep it dairy and egg-free without sacrificing taste.
Feel free to get adventurous with apple varieties too! Mixing pears or cranberries into the filling adds unique sweetness and texture that’s delicious.
Storing and Freezing Tips
Room temperature: Keep your cooled apple pie cookies fresh by storing them in an airtight container on the counter for up to 3 days.
Refrigerator: For longer freshness, store them sealed in the fridge for up to a week.
Freezing: These cookies freeze beautifully for up to 3 months. To freeze baked cookies, let them cool completely, then spread them out in a single layer on a tray until firm in the freezer. After that, transfer to a freezer-safe bag or container with parchment paper between layers to prevent sticking. For unbaked cookies, place them on a tray and freeze until firm, then move to a bag and bake straight from frozen—just add a few extra minutes to the baking time.
Reheating: To enjoy your cookies fresh-tasting, warm them in a 325°F (160°C) oven for 5 to 10 minutes if thawed or 8 to 12 minutes if frozen. You can also microwave them in short 10-20 second bursts, but note they’ll be softer that way.
Make-ahead tips: The dough can be chilled overnight or refrigerated up to 48 hours before rolling. You can also freeze the dough tightly wrapped for up to a month—thaw it in the fridge before rolling. Assembled but unbaked cookies freeze well too and can be baked straight from frozen when you’re ready.
Answers to Common Questions
- Can I use other apple varieties? Absolutely! Granny Smith apples work great because they’re tart and hold up well, but you can also try Honeycrisp, Braeburn, or Pink Lady. Just reduce the added sugar a bit if you use sweeter apples.
- How do I prevent soggy bottoms? Dice your apples into small, even pieces and either sauté the filling briefly to evaporate extra moisture or drain any liquid before filling the dough circles. This really helps keep your crust crisp.
- Can I make these gluten-free or vegan? Yes! Swap in a gluten-free 1:1 flour blend for the all-purpose flour. For vegan, use vegan butter and replace the egg with a flax egg (1 tablespoon ground flaxseed mixed with 3 tablespoons water), then skip the egg wash on top.
- Can I assemble these ahead of time? You sure can! Assemble the unbaked cookies on a baking tray, freeze them until firm, then store in a sealed bag. When it’s baking time, bake them straight from frozen—just add a few minutes to your baking time.
- What’s the best way to serve them? I love these warm with vanilla ice cream or drizzled caramel. A light dusting of powdered sugar also looks pretty and tastes great!
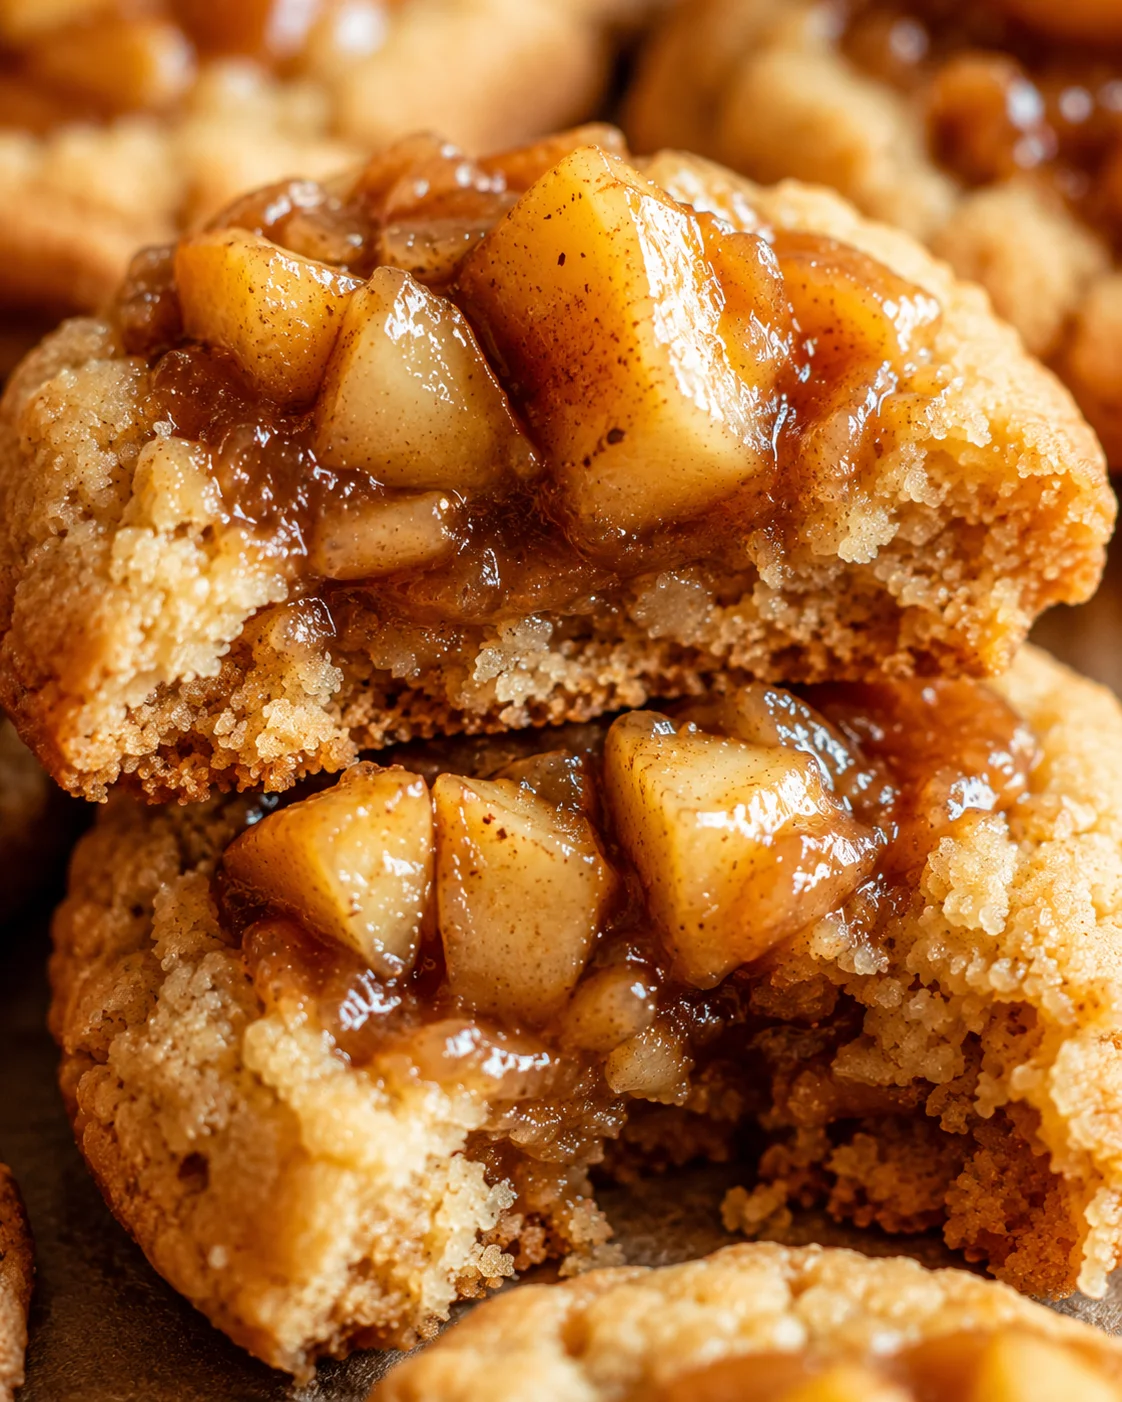
These charming apple pie cookies offer the cozy, sweet taste of apple pie wrapped up in a cookie you can eat anytime, anywhere. With a flaky, buttery crust and a warm, spiced apple center, they’re perfect for dessert, snacks, or lunchbox treats.
- Prep Time: 30 mins
- Cook Time: 15 mins
- Total Time: 1 hr 45 mins
- Yield: 24 cookies 1x
- Category: Dessert, Snack
- Cuisine: American
Ingredients
- 2 ½ cups all-purpose flour
- 1 cup unsalted butter, cold and cubed
- ¼ cup granulated sugar
- ¼ cup brown sugar
- 1 egg
- 1 tsp vanilla extract
- ¼ tsp salt
- 2 Granny Smith apples, peeled and finely diced
- ¼ cup brown sugar for filling
- 1 tsp cinnamon
- ¼ tsp nutmeg
- Pinch of allspice
Instructions
- Pulse the flour, granulated sugar, brown sugar, and salt together until combined.
- Add the cold butter cubes and pulse until the mixture looks like coarse crumbs.
- Add the egg and vanilla extract and pulse until the dough comes together but don’t overmix.
- Wrap the dough in plastic wrap and chill it for 1 hour.
- While dough chills, mix diced apples with brown sugar, cinnamon, nutmeg, and allspice for the filling.
- (Optional) Sauté the apple filling over medium heat 3–5 minutes until softened and most liquid evaporates; cool before using.
- Preheat the oven to 350°F (175°C).
- Roll the dough out to about 1/8 inch thickness; cut into 3-inch circles.
- Place a spoonful of apple filling in the center of each dough circle.
- Fold the edges up around the filling to make a mini tart and pinch the edges tightly to seal.
- (Optional) Brush edges with beaten egg or sprinkle a little sugar; arrange cookies about 1 inch apart on a parchment-lined baking sheet.
- Bake for 15–18 minutes until golden brown on the edges and filling is bubbling.
- Transfer baked cookies to a wire rack to cool.
Notes
Use cold butter for a tender, flaky crust., Don’t overmix dough to prevent toughness., Chill dough before rolling to prevent spreading., Dice apples small and even for even cooking and fitting inside cookies., Pinch edges tightly to prevent filling leaks., Watch cookies closely and remove when golden to keep tender texture., Store cooled cookies in an airtight container at room temperature for up to 3 days or refrigerated for up to a week., Cookies freeze well for up to 3 months; can freeze unbaked shapes and bake from frozen with added time., Reheat thawed cookies in a 325°F oven for 5–10 minutes or frozen for 8–12 minutes., Creative variations include caramel drizzle, sandwich style, added nuts, gluten-free flour substitution, and vegan butter plus flax egg substitutions.
Nutrition
- Serving Size: 1 cookie
- Calories: 120 kcal
- Fat: 6g
- Carbohydrates: 18g
- Protein: 2g
More in Uncategorized
Apple Fritter Cinnamon Roll Bake

Fresh Tomato Soup

Broccoli Cheddar Soup